Printables are a blogger’s best friend because they help build your email list and generate serious passive income. However, it takes more than designing printables to convert page visitors into subscribers. Learn how to make printables in Canva that stand out and provide your readers with value!
Over the years, we’ve had dozens of emails asking us why their printables aren’t converting. Throughout those years, we’ve noticed they all had one thing in common: design.
It’s easy to make printables in Canva. However, creating high-converting printables requires thought and strategy.
The thing is, even though something is free, it still won’t convert if it doesn’t contain a few key design traits.
Why use something that isn’t functional, regardless of its cost? Now, function aside, looks also play a huge role in conversion.
Ready to grow your email list? Get our FREE Lead Magnet Template Pack! Create high-converting lead magnets AND promotional graphics for lightning-speed list growth!
As sad as it is, if it doesn’t look pretty, your audience won’t want it – plain and simple.
Because of that, your printable is preventing you from engaging with your subscribers, growing your email list, and even making money with your blog.
So, if your printables need an upgrade or you want to create them in Canva, you’ve come to the right place.
WANT TO REMEMBER THIS LATER? SAVE IT TO YOUR FAVORITE PINTEREST BOARD! ⬇
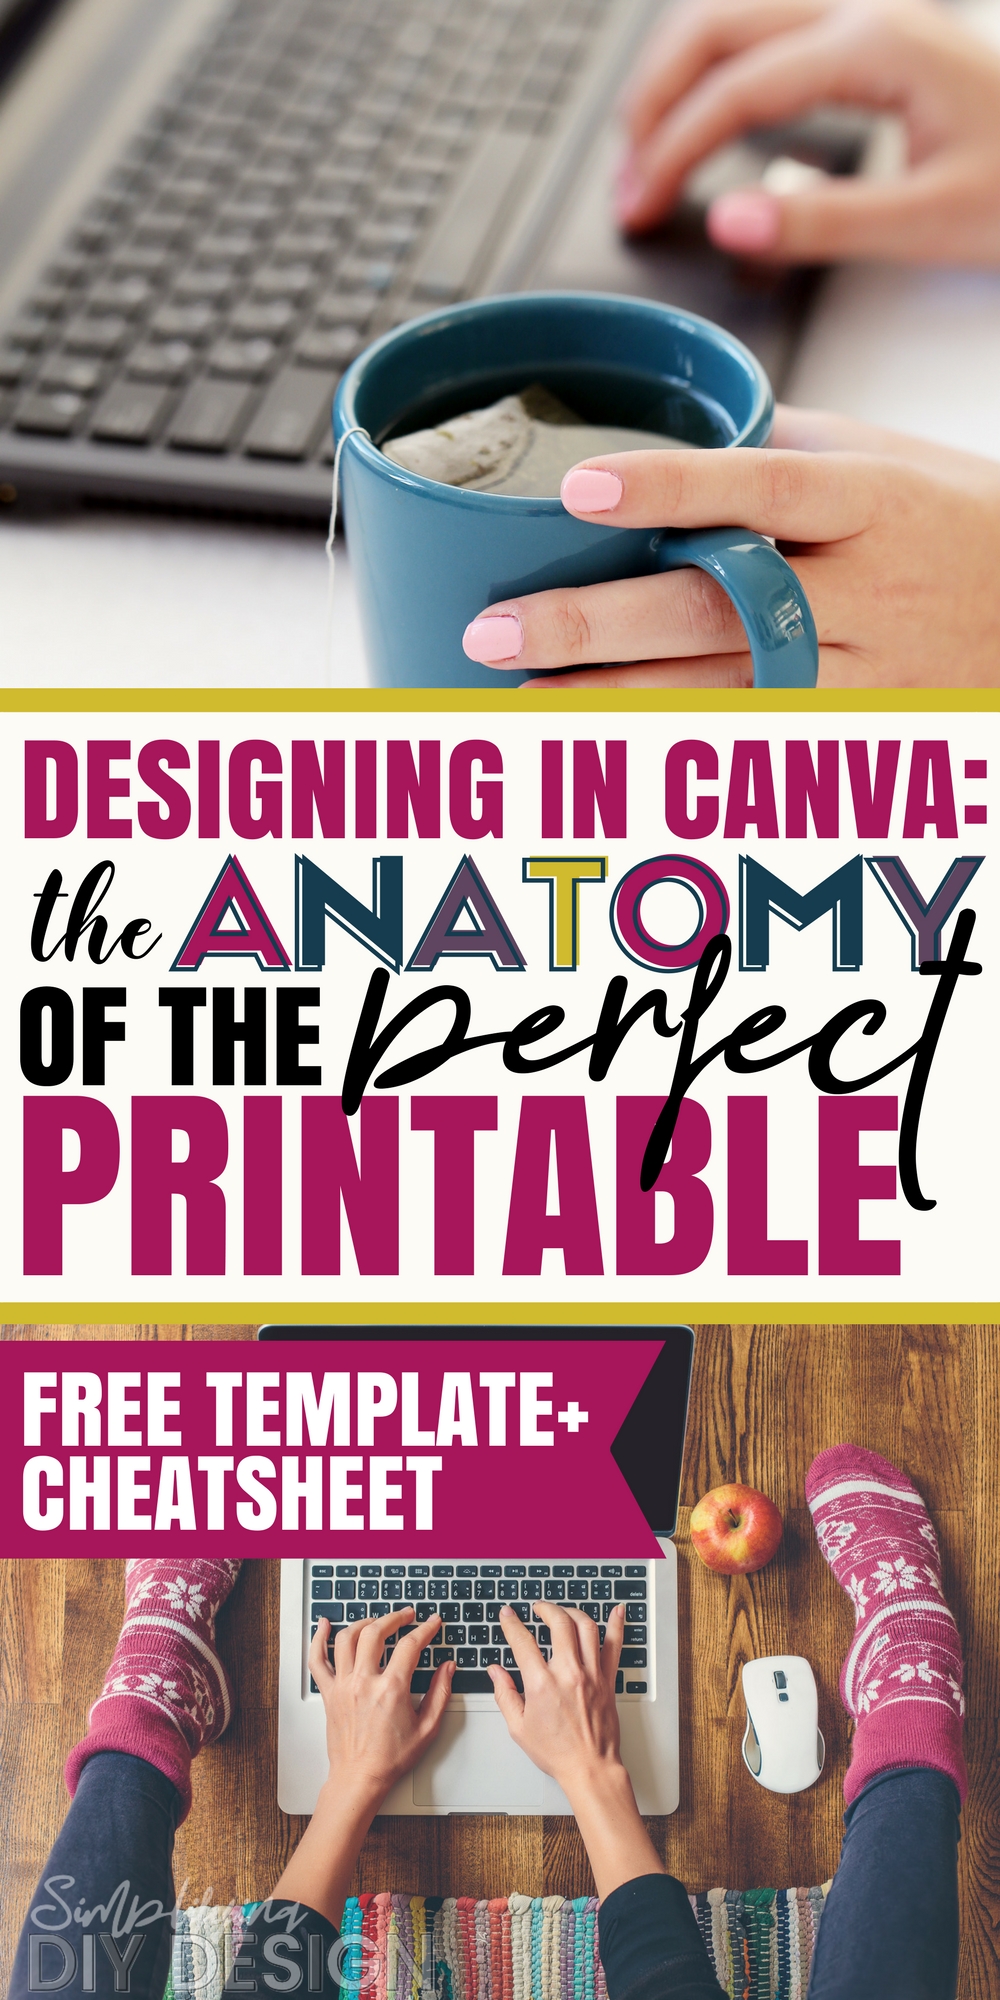
Table of Contents
SCROLL-STOPPING HEADER
We often use the term “scroll-stopping” because there are SO MANY things fighting for attention in the online space.
People are busy, and they’re usually scrolling while waiting for the school bus or sitting in a waiting room. What will make them stop scrolling long enough to read your content?
A killer cover.
But this is a printable! Instead of a cover, you have the header. It’s what the eye hits first, naturally making it your viewer’s first impression of your product.
Related Post: 12 Digital Products That Are Selling Like Hotcakes
Is your header going to help your printable stand out in the crowd? Sure will. That means more people will sign up for your email list, resulting in a bigger audience coming time to launch your digital products.
BODY AND LAYOUT
Naturally, you want your printable’s body to be full of super helpful, amazing content. This is your opportunity to solve your reader’s problem. You want to make it awesome, help them take action, and make them want more.
Related Post: The Easy Way to Create Printables Your Audience WANTS
Not only does your content need to be spectacular, but the layout must also be clean. It must be organized, readable, and make sense to the reader.
The biggest mistake we see bloggers make with the layout is going overboard with the design.
White space is your friend, and now isn’t the time to experiment with the crazy-curly-fun font you found in the latest Creative Market font bundle.
Typography
Typography is just a fancy word for text. It’s the fonts you use and how you use them. Never add more than 3 different fonts to a design. If you use brand-specific fonts, stick to them.
Having a consistent look for all your products will actually save you time, as you won’t have to come up with something new every time.
Your readers won’t mind the same look each time, either. Check out our Five-Minute Brand templates if you need extra help with your brand!
Additionally, be consistent with your fonts. If you use a font like Quicksand for the body of your blog posts, use the same thing in your printables.
Related Post: 5 Font Design Tips Every Blogger Needs to Know
Now, this isn’t a deal-breaker; you can use a different font for your products (especially if you have no control over what font your blog uses). But use the same font for all your products.
As a general rule, we like to use sans-serif fonts for large bodies of text because they’re easier to read. We also like san-serif in headers since it pairs well with script fonts.
DESIGN ELEMENTS
Pick 2-3 design elements per design that’ll help you organize the layout of your printable. Our favorites are banners and arrows.
Banners help distinguish different sections or identify “important” information. They also dress up your printable and look nice!
MESSAGE
While this goes along with the content and body of your printable, it’s important to establish the goal of your overall message/purpose before you make printables in Canva.
Do you want to inspire, motivate, or encourage your reader to take action? Answer those questions first because they matter and need to be reflected in your design.
FOOTER AND COPYRIGHT INFORMATION
We always include a copyright notice on all our digital products, including printables. While this doesn’t prevent copyright infringement, it does deter it.
CALL TO ACTION OR NEXT STEPS
This doesn’t have to be included in every printable, but it’s something that we think is important and often overlooked.
Related Post: How to Use QR Codes for Easy Money
Our choice of bridging the gap from one step to the next is through the use of QR codes. It’s simple to use, change/update destinations, and can be used both digitally and printed.
PROMOTION
While this isn’t part of your printable’s actual design, it’s equally important. No one will ever see your printable if you don’t promote it. Create launch graphics for social media, blog posts, emails, and even Pinterest!
Here are some ways you can promote your new Canva printable:
- Share on social media
- Make a simple landing page using Elementor, Leadpages, or ConvertKit
- Set up an ad promotion
- Do a Facebook live
- Write a blog post about it
- Share it in relevant Facebook groups
- Pin, pin, pin!
The best part is that you can use this same structure to promote ALL of your blog’s lead magnets, such as workbooks, templates, planners, and more!
Related Post: 17 Lead Magnets Ideas to Grow Your Email List
Learning to make printables in Canva from scratch will take time. That’s why we love using templates as often as we can.
The more time saved, the more we can put back into our business, making more products to sell, writing more blog posts to increase our traffic, and the like.
For us, time saved equals more money we can make. That’s why we created The Complete Blogger Template Toolkit, so you’ll have a template for every aspect of your blog.
You’ll be able to make printables in Canva in just a few minutes!
With OVER 450 Canva and PicMonkey templates to choose from, you’ll have more time now than ever to grow your blog!
But if you’re ready to tackle your Canva printable from scratch, we recommend starting with the header.
Once the header is out of the way, everything will flow much easier.
Now, you can rock your content, lay it out, and make it professional. Add the finishing touches with design elements, a copyright statement, and CTA. Then, all that’s left is to promote it!
RESOURCES MENTIONED IN THIS POST:
- Digital Product Launch Graphics You Need to Create
- Five-Minute Brand (just $27!)
- 12 Digital Products That Are Selling Like Hotcakes
- 5 Font Design Tips Every Blogger Needs to Know
- The Easy Way to Create Printables Your Audience WANTS
Don’t forget to grab our FREE Lead Magnet Template Pack! These fully editable Canva templates will help you create lead magnets that build trust so they’re ready to buy!
TRY CANVA PRO FREE FOR 30 DAYS
Start your FREE Canva Pro trial today and unlock ALL of their incredible time-saving features that cut your design time to just minutes.
To be honest? It’s the best $14.99/mo OR $119/yr we spend on our business because that time we save with every design is put back into making MORE money in our business!
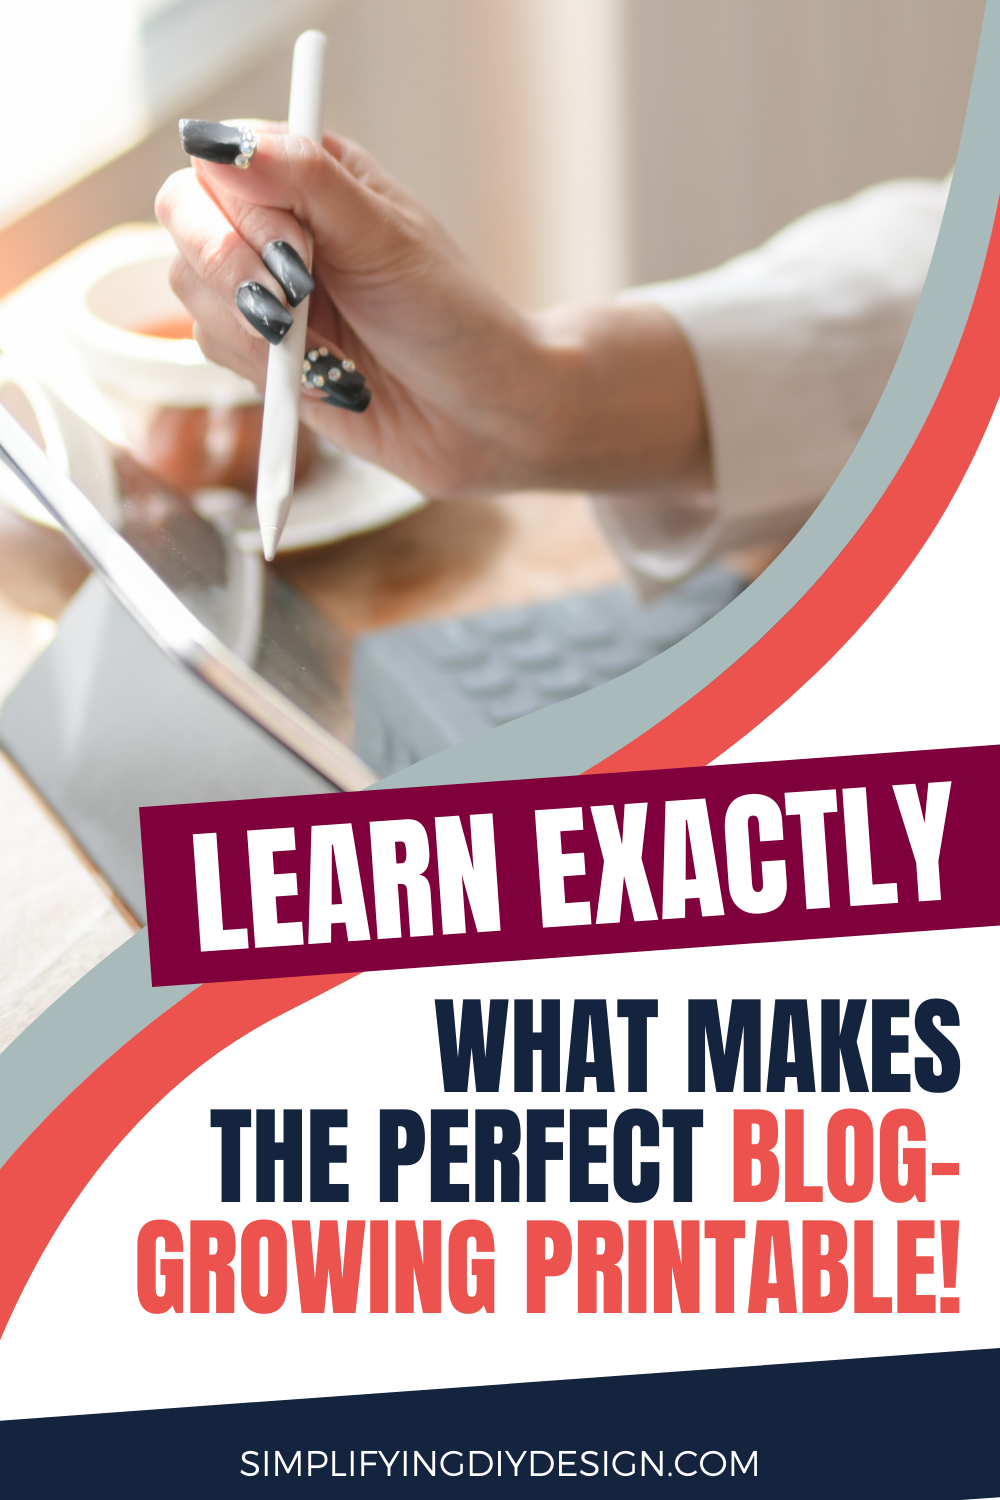
WANT TO SAVE THIS FOR LATER? PIN IT TO YOUR FAVORITE PINTEREST BOARD!⬇

Wendy Wallace says
These are great articles. Can I ask, though. Once you have the poo printable. How do you get it to your subscribers? I use constant contact.
karafidd says
I always include it in the first email of the welcome sequence. I’m unfamiliar with constant contact, but as long as you have a way to send an automated email as soon as someone subscribe, you can just include the printable as a link for them to click and download. Hope that helps!