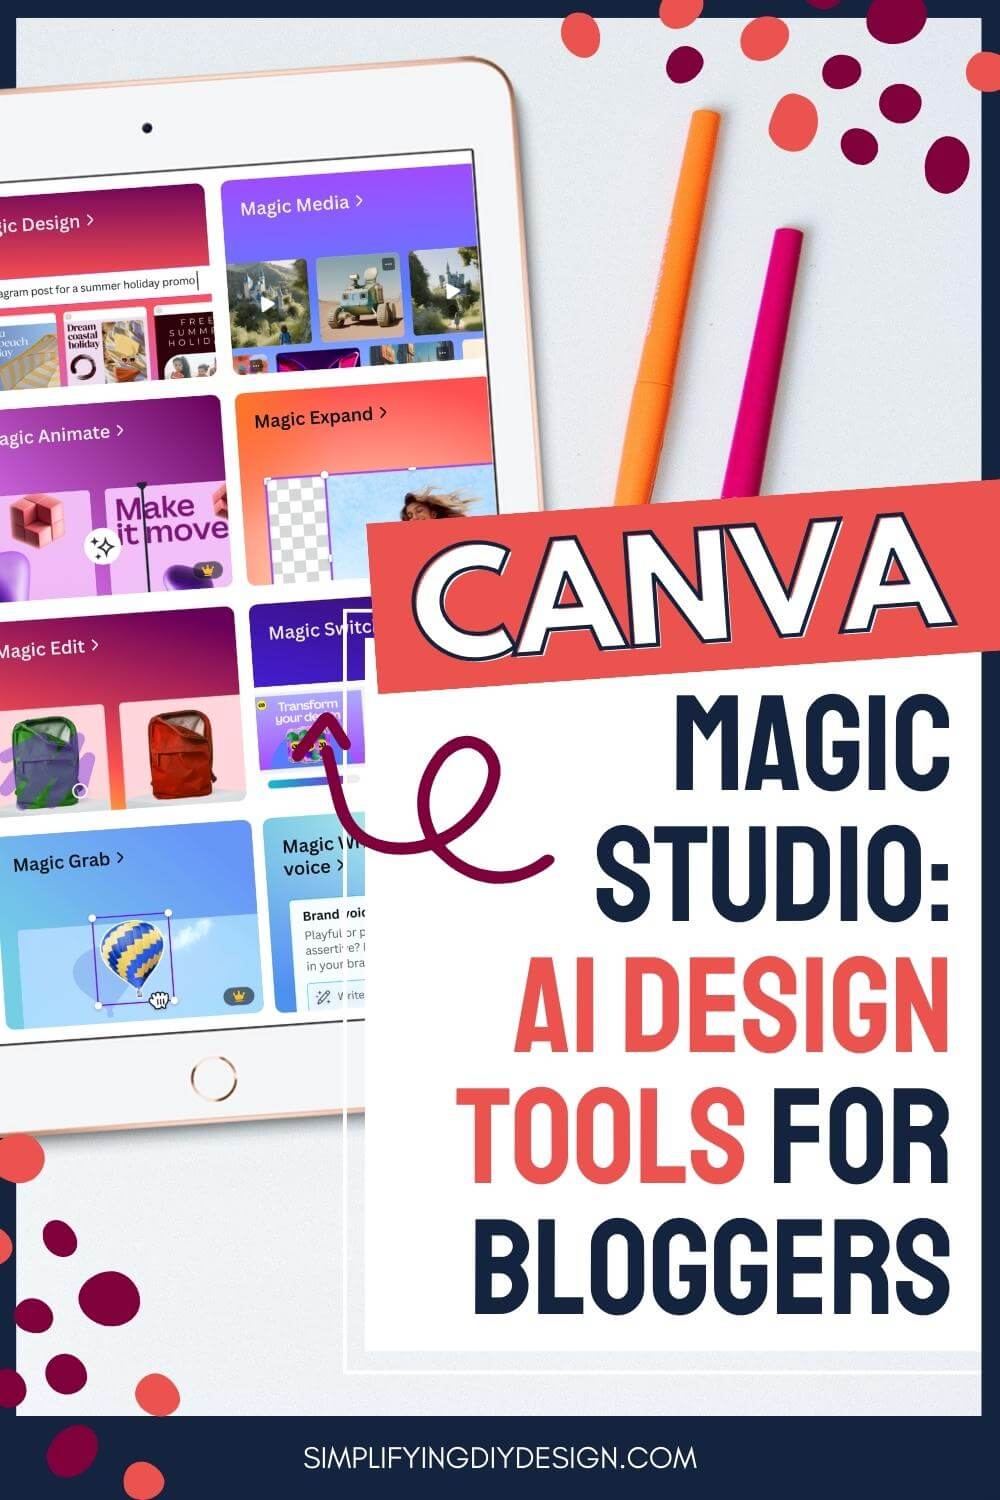
AI is so much more than just a copywriting assistant. Canva Magic Studio combines the power of AI with its easy-to-use design interface to bring the best suite of AI design tools for bloggers EVER!
Within the past four weeks, eight emails hit our inbox about AI.
Within the past two, we’ve seen almost a dozen Facebook conversations about incorporating AI into your content creation strategy.
No matter how you feel about AI, it’s here and not going anywhere.
Want a FREE, no-fluff crash course on how to use Canva as a blogger? Enroll in our self-paced Canva 2.0 Quick Start NOW to dive in!
We completely understand the pushback that some bloggers have about incorporating AI into their blogging strategy.
Truth be told, we were a little hesitant about it as well. We’ve built a relationship with our readers using OUR words. But AI-created copy is just a fraction of what’s out there for us to use to grow our blog.
Canva just launched its new suite of design tools that focus solely on AI called Canva Magic Studio.
While we may be a tad biased because of our (very) strong love of Canva, we think that every blogger in every niche can benefit from these incredible AI design tools.
WANT TO SAVE THIS POST FOR LATER? BE SURE TO PIN IT!
Please keep an open mind as we discuss these new Canva Magic Studio tools.
Most are brand new to the Canva scene and, as such, will require some back-end tweaks to improve—especially Magic Morph, but we’ll get to that later.
If you’re new to Canva or have a free account, keep in mind that only five of the 10 Canva Magic Studio tools we’re about to discuss are available for free Canva users.
The other five are exclusive to Canva Pro accounts.
We’ve been Canva Pro subscribers for years and can truly say without a shred of doubt that Canva Pro is worth its weight in gold. At only $14.99/mo or $119/yr, it’s definitely budget-friendly.
See for yourself with a FREE 30-day trial of Canva Pro!
MAGIC DESIGN (FREE)
Turn your ideas into visuals using Canva’s Magic Design. Magic Design instantly creates graphics (and videos!) using a simple written prompt.

Search for something basic like ‘Instagram post for skincare’ or get more complex like ‘Instagram story to promote skincare giveaway.’
Related Post: How to Set Up Your Canva Brand Kit the Right Way
Take your Magic Design one step further by selecting any applicable filters, adding your own media (photos and videos), and applying your Brand Kit for a completely branded look.
OUR TAKE ON CANVA’S MAGIC DESIGN
Currently, Canva’s Magic Design (as well as a few other Canva Magic tools) has been flagged as ‘new and improving,’ so take this new AI feature with a grain of salt.
We hoped this feature would pull the most popular template styles and apply them to your searched term. Unfortunately, that did not happen.
Instead, we get very subpar design templates that require quite a few edits to really make them stand out.
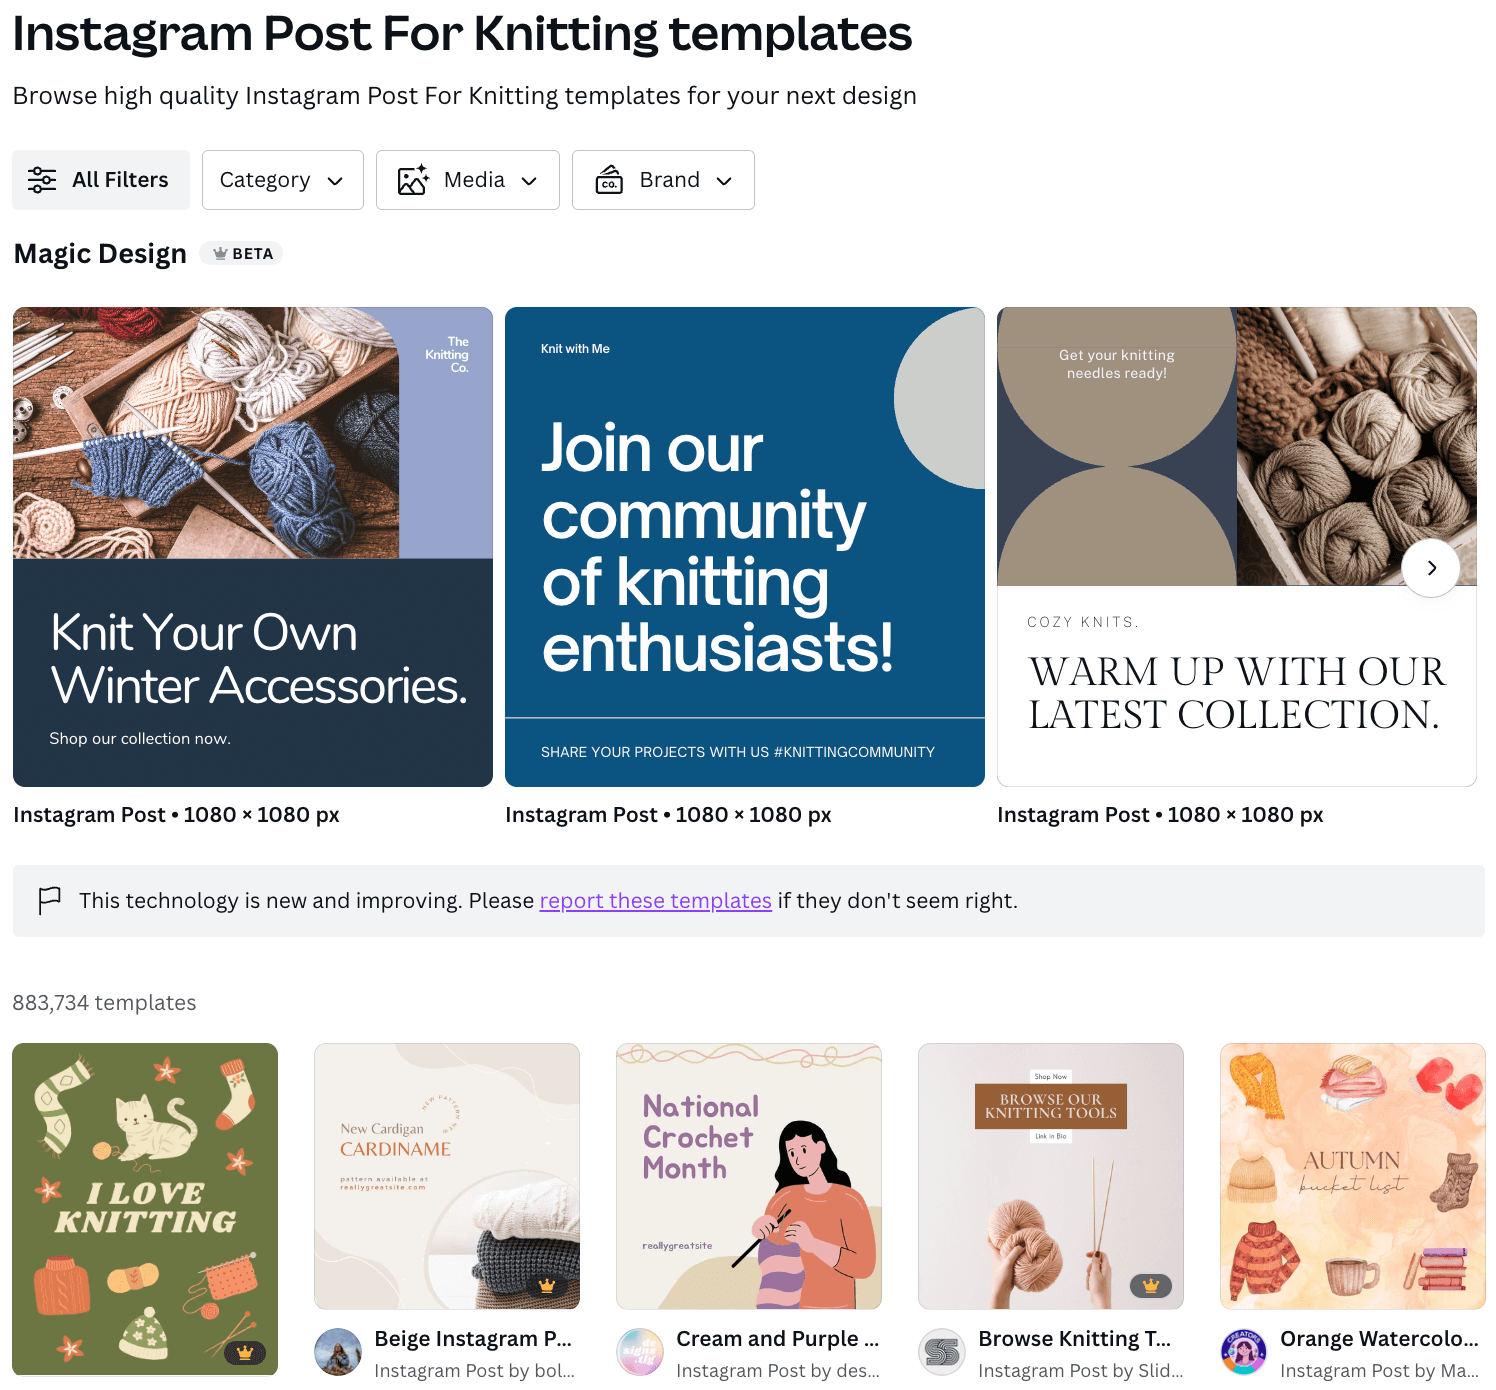
If your niche is VERY popular, like travel or fashion, you may find some decent templates to work with.
There’s a distinct difference between the Magic Design results and the related design templates shown below. However, you can use Magic Design for inspiration if you prefer to design from scratch.
MAGIC SWITCH (PRO)
Magic Switch incorporates a handful of awesome Magic tools into one drop-down.
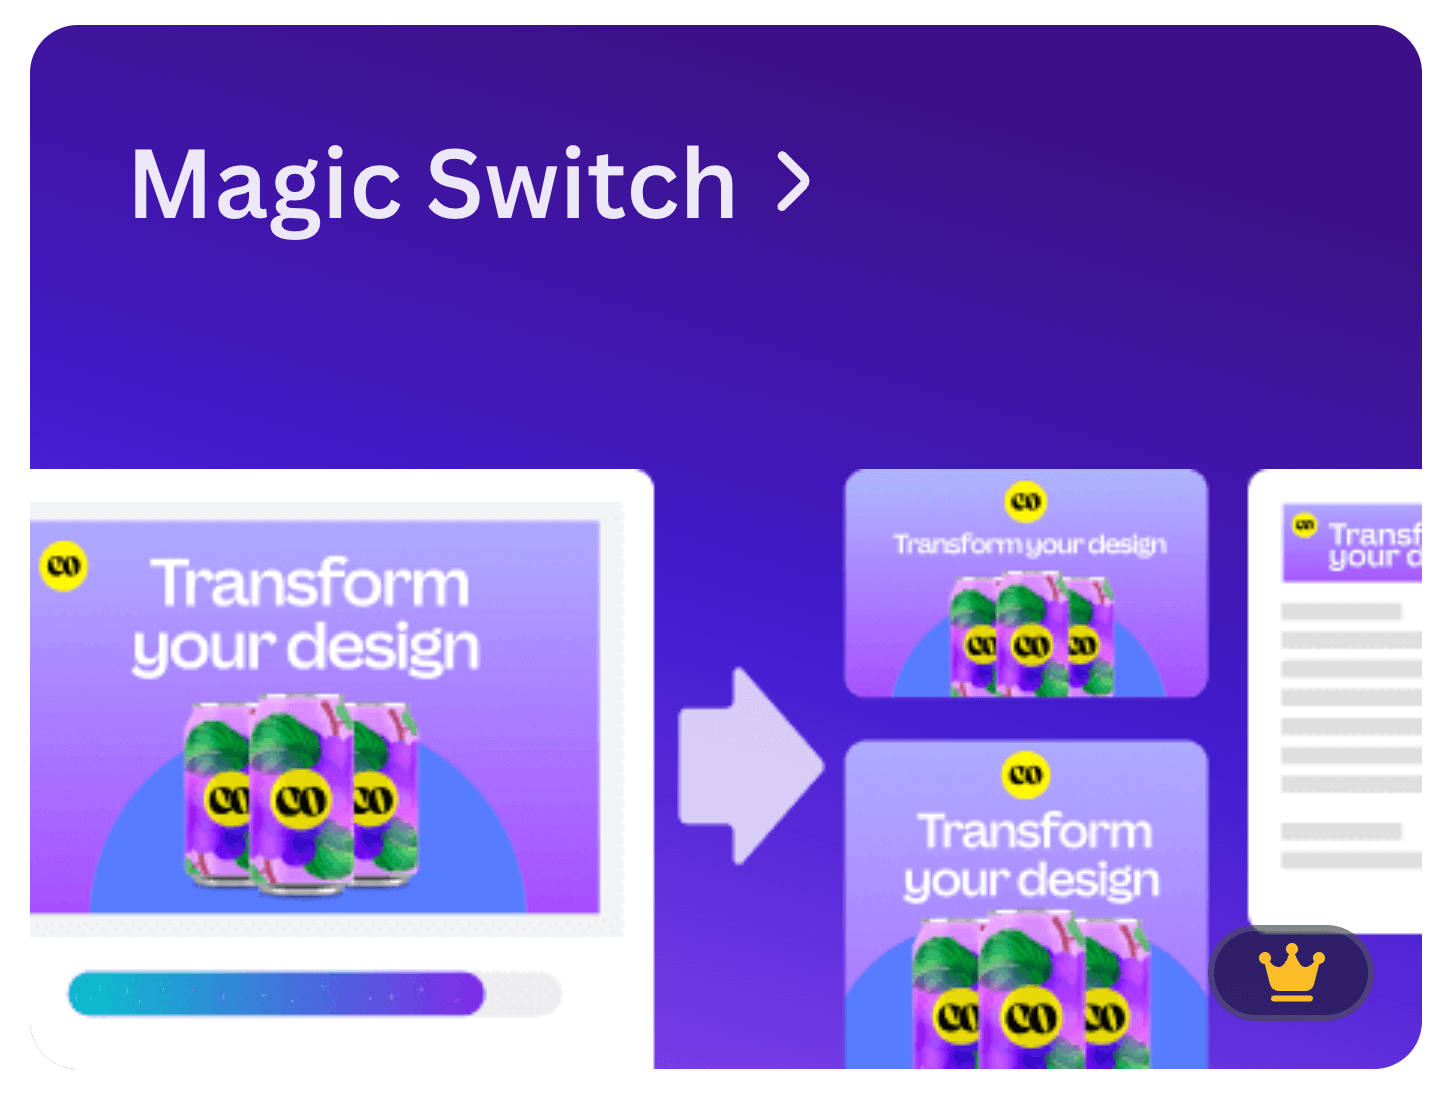
Here, you can instantly resize any design (formerly known as Magic Resize), translate your text into another language, and even re-format your content into a summary, blog post, and more.
OUR TAKE ON CANVA’S MAGIC SWITCH
From a blogger’s standpoint, we love Magic Switch.
Magic Resize is great for saving time, especially when designing our Canva templates for multiple uses – Pinterest pins to page designs.
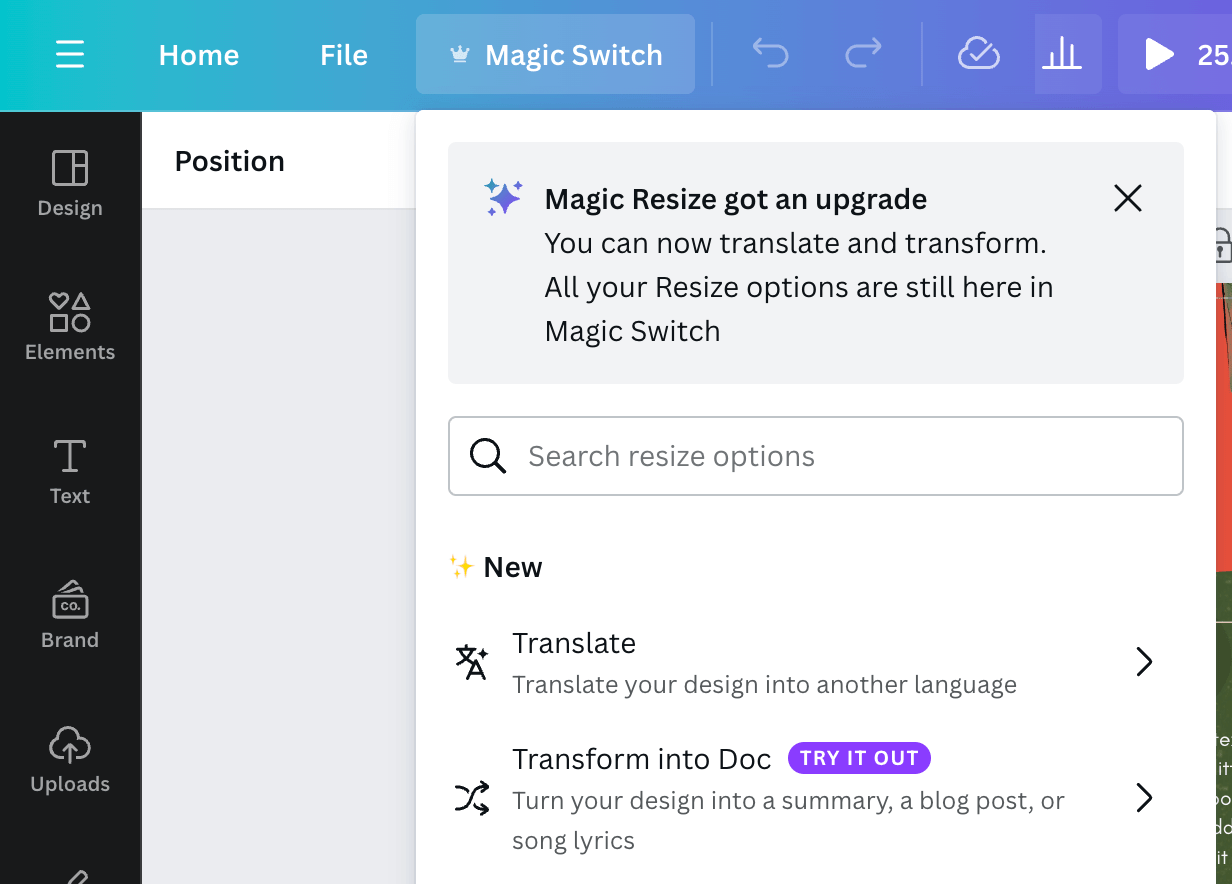
If you have a bilingual audience, we highly encourage you to use ‘Translate’ for your designs. Translate your graphics and digital products (like workbooks, cheatsheets, etc.) for better inclusion!
The ‘Transform into Doc’ option is fantastic for content repurposing.
Related Post: 5 Ways to Repurpose Blog Content to Grow Your Email List
We took a 16-page branding guide and transformed it into a summary, blog post, and email.
The summary can be repurposed into social media and email content.
The blog post can be used as a baseline for a new blog post and as repurposed content for other areas of our blog.
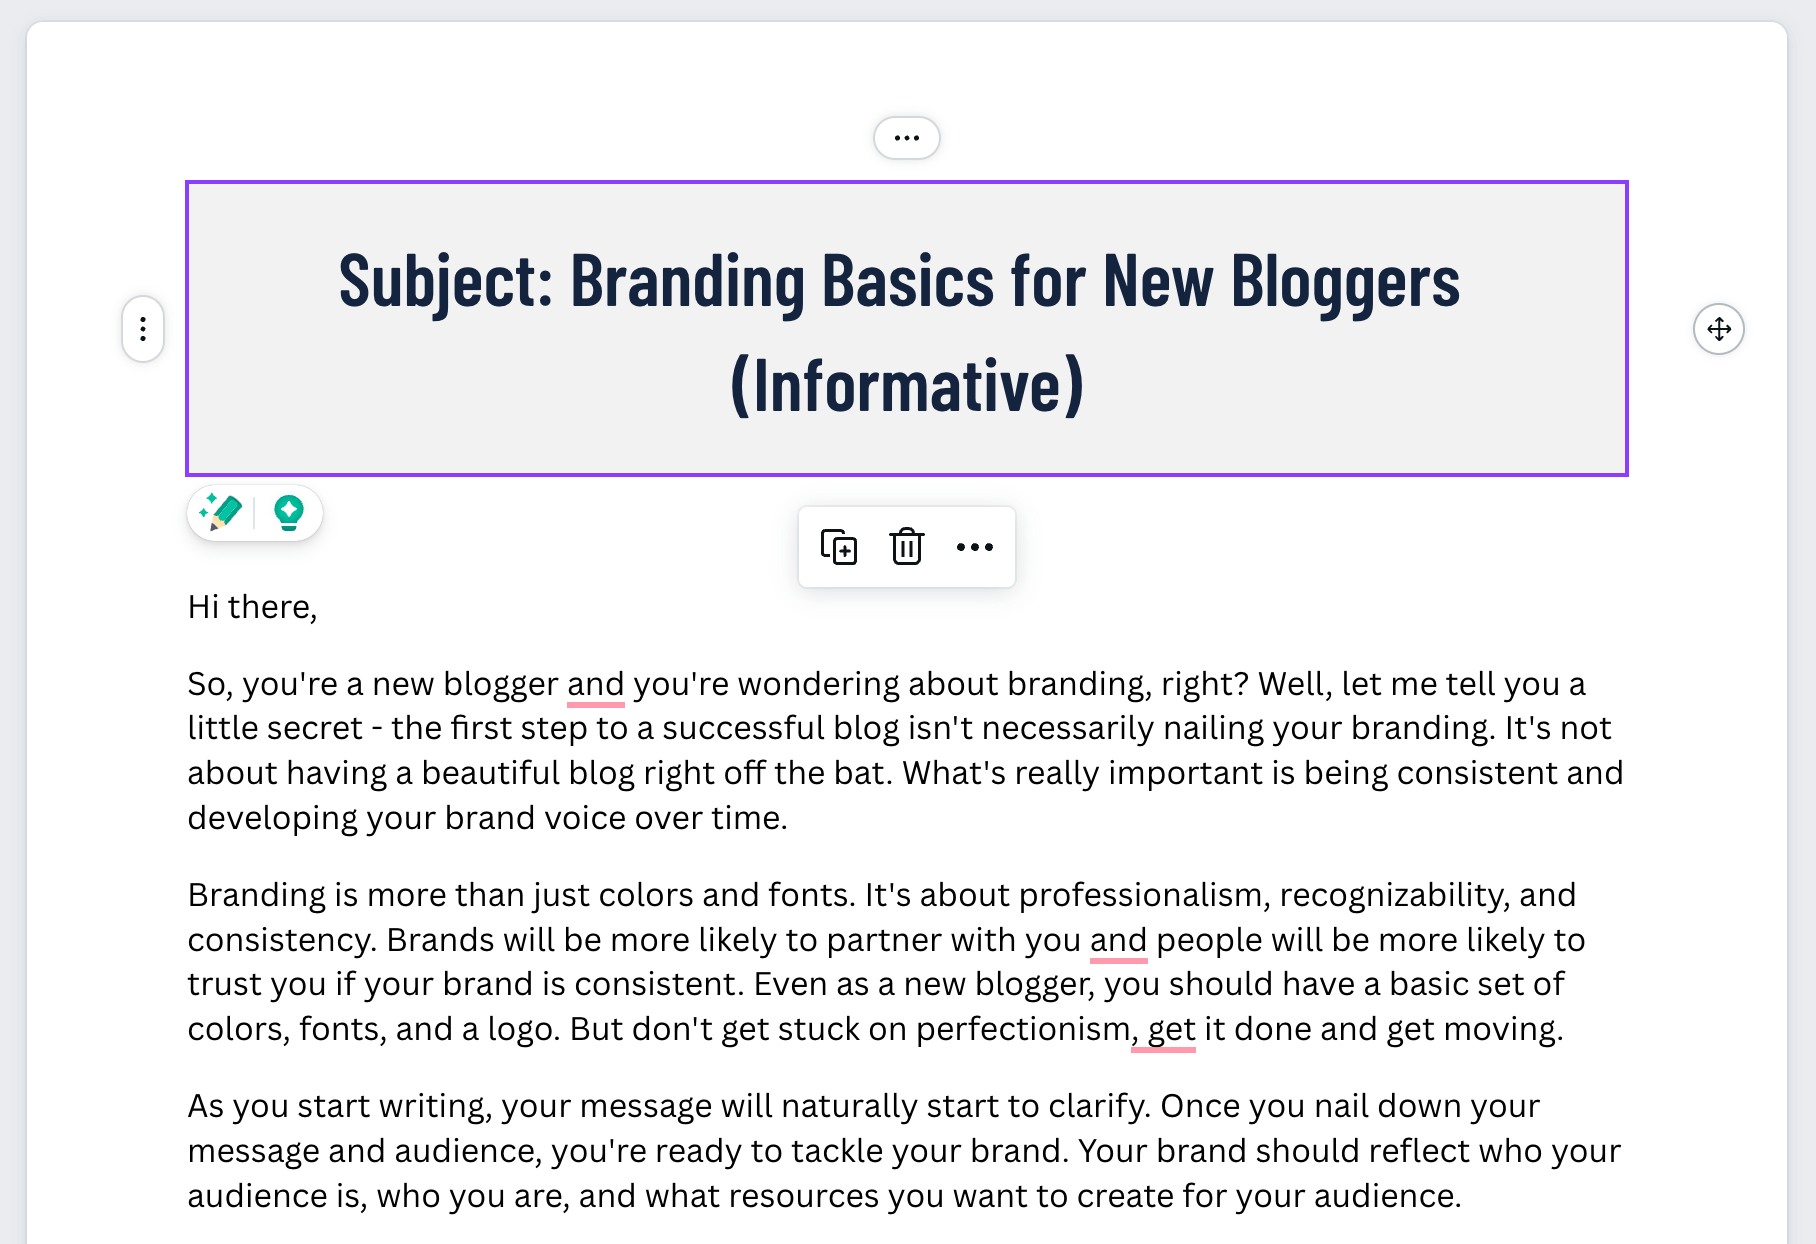
Regarding the email transformation, we’re blown away. We still cannot believe how Canva took a 16-page guide and transformed it into an email. It’s the perfect length and flows beautifully.
It even promotes our Five-Minute Brand at the end! How cool is that?
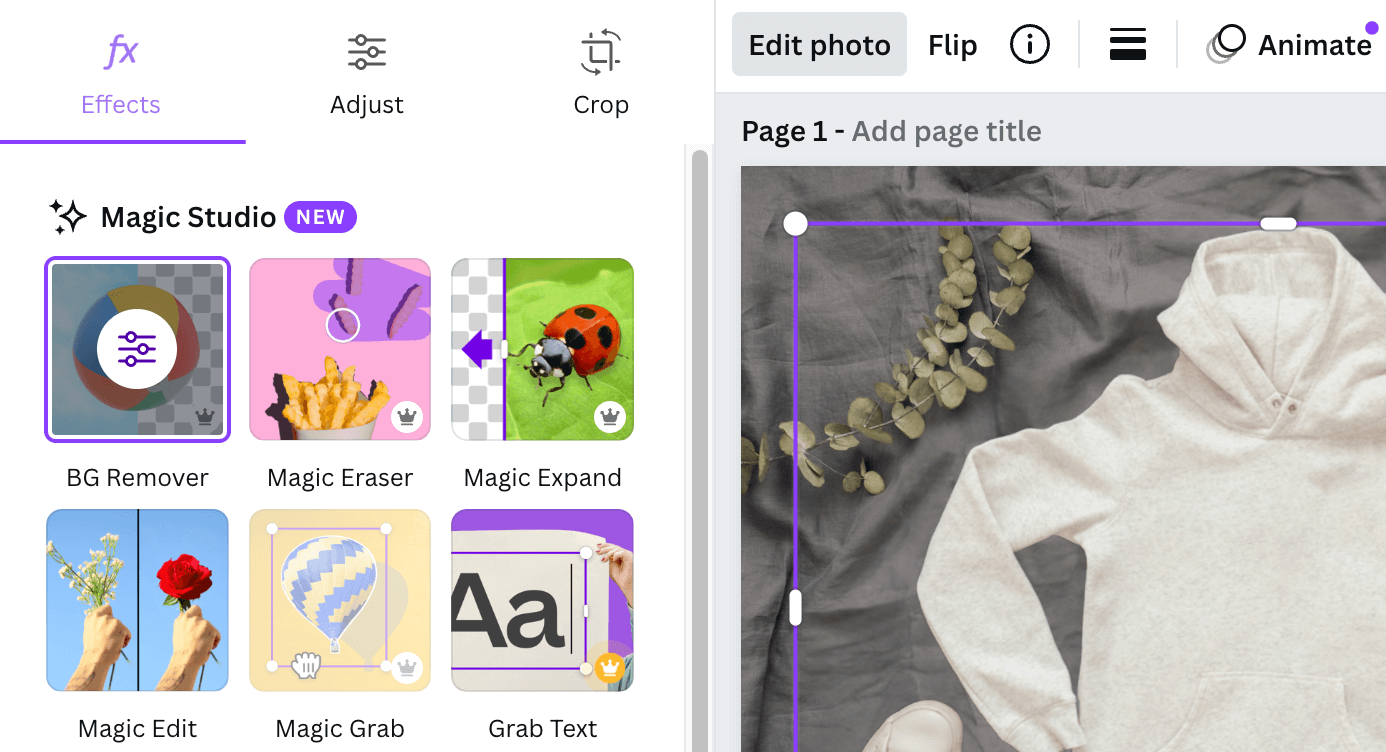
MAGIC GRAB (PRO)
If you have any photos where the placement of an object makes it difficult to use, this one’s for you!
Canva’s Magic Grab turns your photos into completely editable designs. With this tool, you can easily edit, reposition, or resize the subject of your photo (both people and objects).
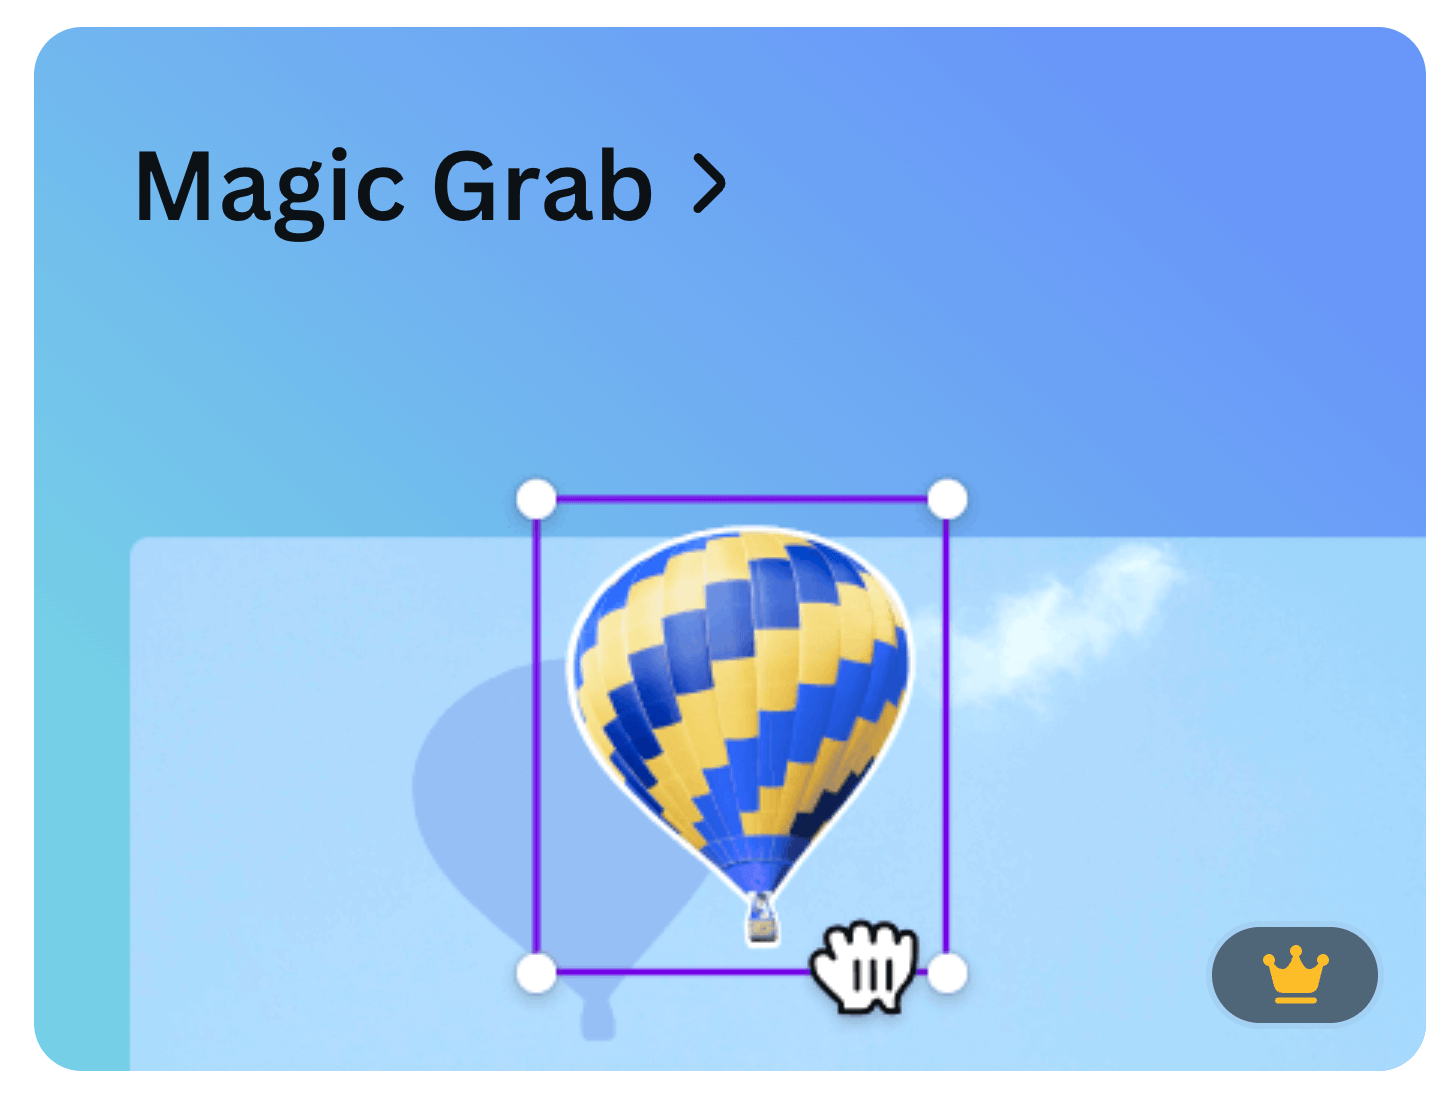
The best part is that it applies to text (using the ‘Grab Text’ feature). This will come in handy for graphics that include text (like billboards or street signs), weren’t created in Canva, or ones for which you no longer have the original design.
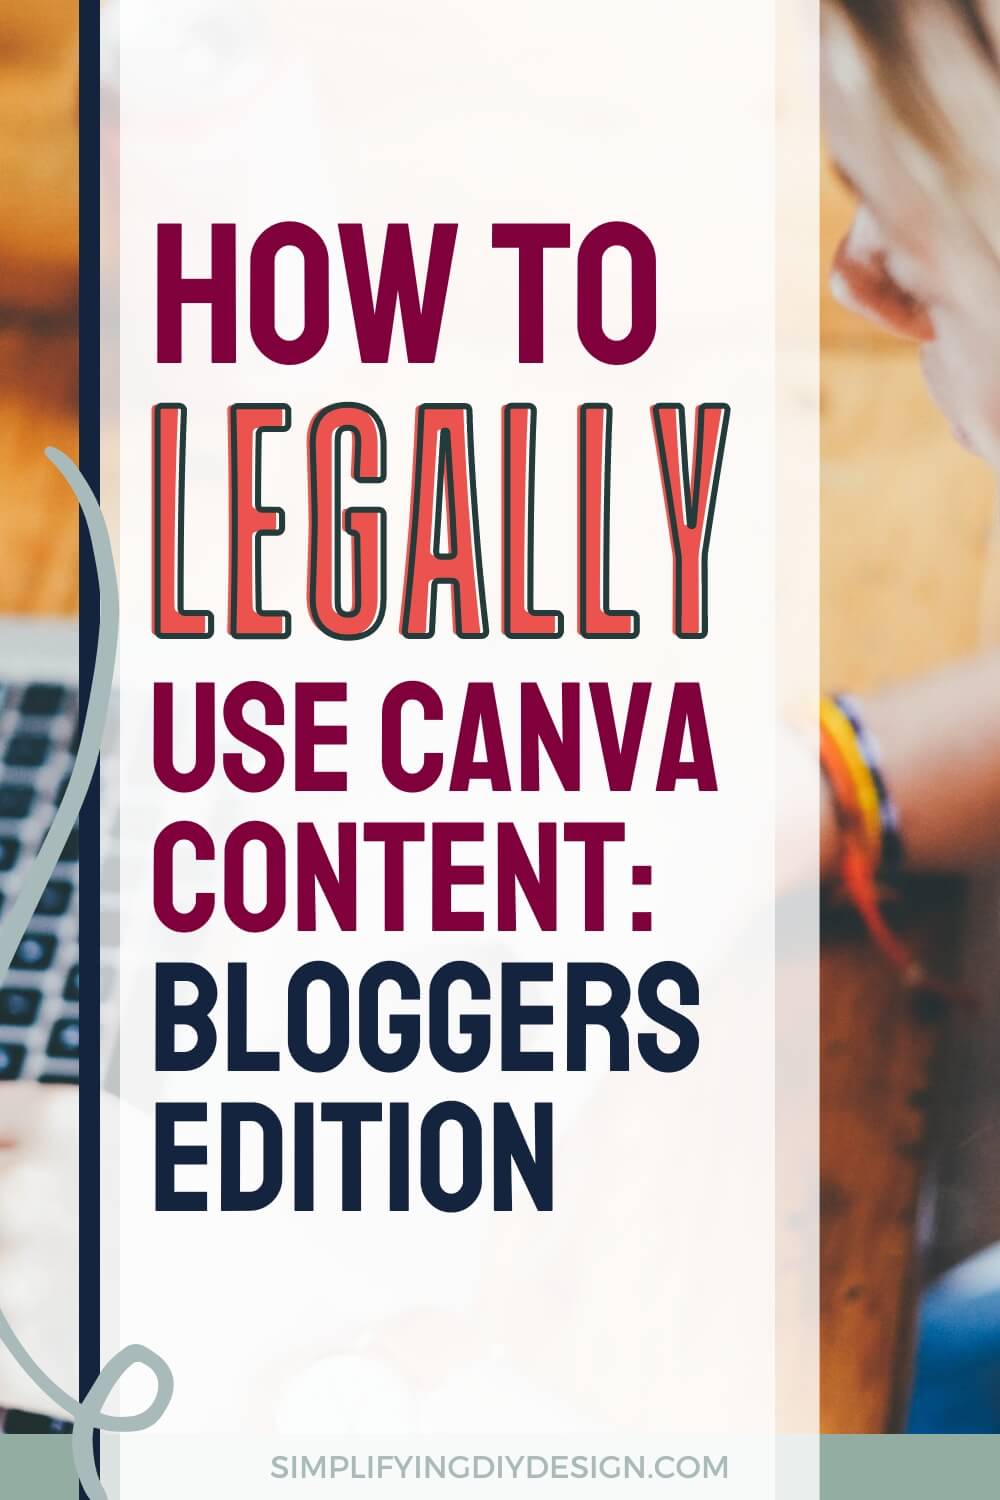
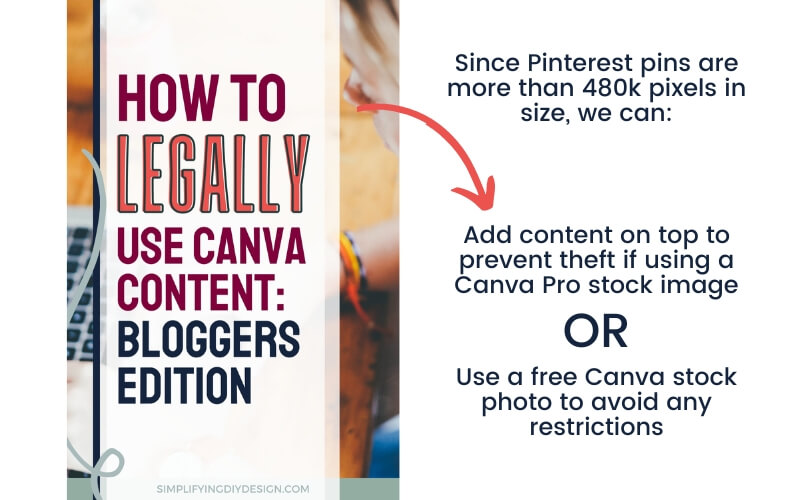
Related Post: How to Legally Use Canva Content (Bloggers Edition)
Regarding stock images, always refer to the TOS before making any customizations. Some stock photo companies (including memberships) prohibit any alterations.
OUR TAKE ON CANVA’S MAGIC GRAB
We think all bloggers will love this tool because of its versatility, especially for YouTube thumbnails and product mockups.
Keep in mind that this works really well if there’s a strong contrast between the objects and the background.
Related Post: How to Create a Branded Mockup Template in Canva
We tried this on a product mockup image with a white mug and iPad against a white background with a light-colored cloth, and parts of the cloth came with the grab.
However, a cream sweatshirt against a deep gray background looked absolutely perfect!
If you have multiple subjects within the photo (for example, a pair of shoes, a sweatshirt, and jeans), Canva’s Magic Grab will group them together as one grab.
No big deal; it’ll just require a few extra steps to customize your graphic.
Check out this episode of our DIY Design Lab (in our FREE design community), where we dive into Canva’s Magic Grab and how to use it as a blogger.
MAGIC EXPAND (PRO)
We’ve all tried our very best to fit the perfect horizontal photo into a vertical placement (and vice versa), but to no avail.

That’s now possible (depending on the photo) with Canva’s Magic Expand! Thanks to AI, we can magically expand both horizontal and vertical photos to go beyond the border.
This is a great way to use up those awkwardly sized images you couldn’t find much use for.
Always refer to the TOS before making any customizations to stock images. Some stock photo companies (including memberships) prohibit alterations.
OUR TAKE ON CANVA’S MAGIC EXPAND
We’re going to be honest. Canva’s Magic Expand can be very hit or miss, depending on the photo you’re trying to expand.
If you’re trying to expand scenery-style photos, it’s actually quite impressive. Even a photo of a laptop in a kitchen didn’t look half bad.
However, we can’t say the same about flatlays.
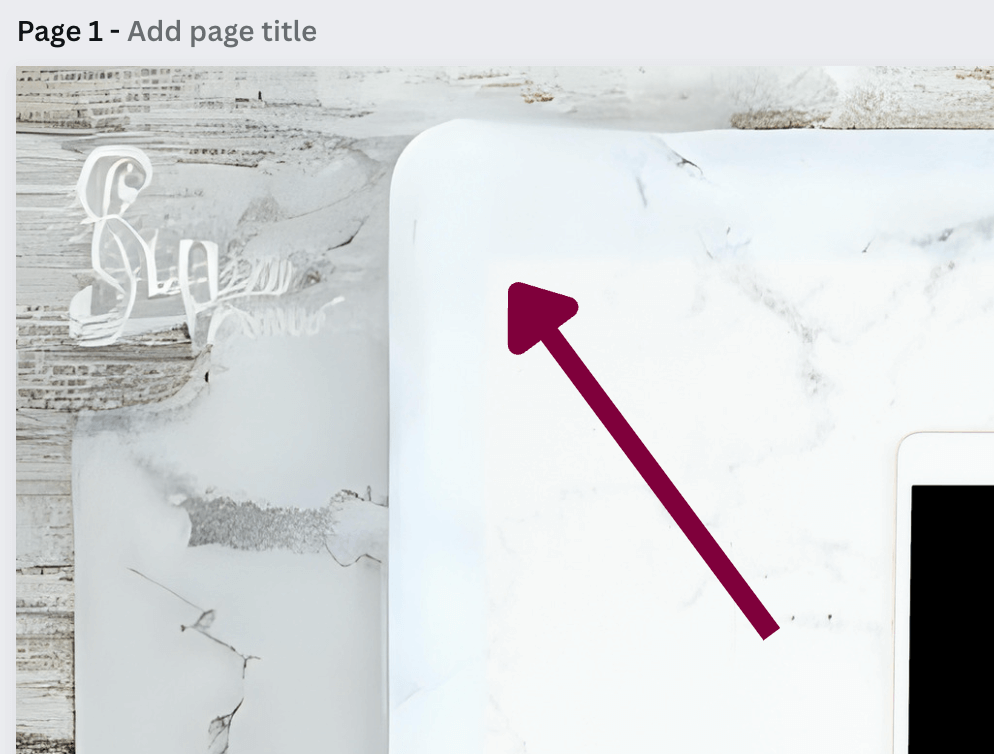
We tried extending our flatlay mockup images with wood, bright white marble, and an off-white background. Let’s just say we won’t be using those expanded photos any time soon.
The arrow above indicates the original photo. As you see, the expanded space is quite significant, rendering this photo useless.
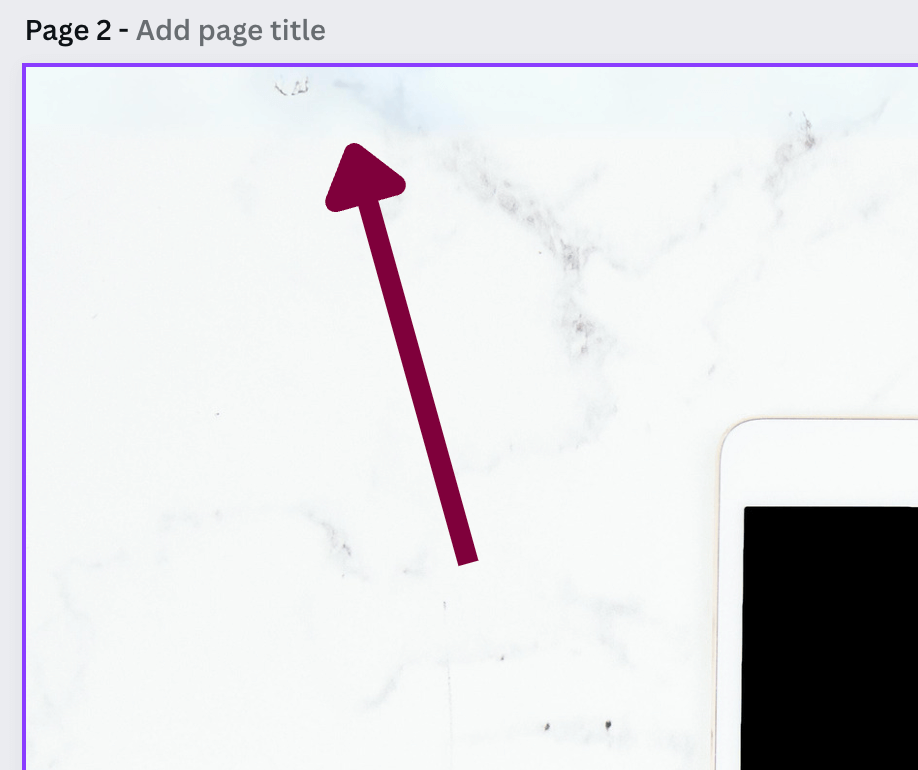
The only way to create usable flatlay images is to keep the expanded space minimal. In the photo above, you can see a slight color change from white to blue, showing what was generated by AI.
Much better than the other photo, wouldn’t you say?
MAGIC MORPH (PRO)
Magic Morph is an expansion on Canva’s text effects but on a wider scale.
Create jump-off-the-screen letters and even Canva elements using 3D design effects or other (very) unique styles.
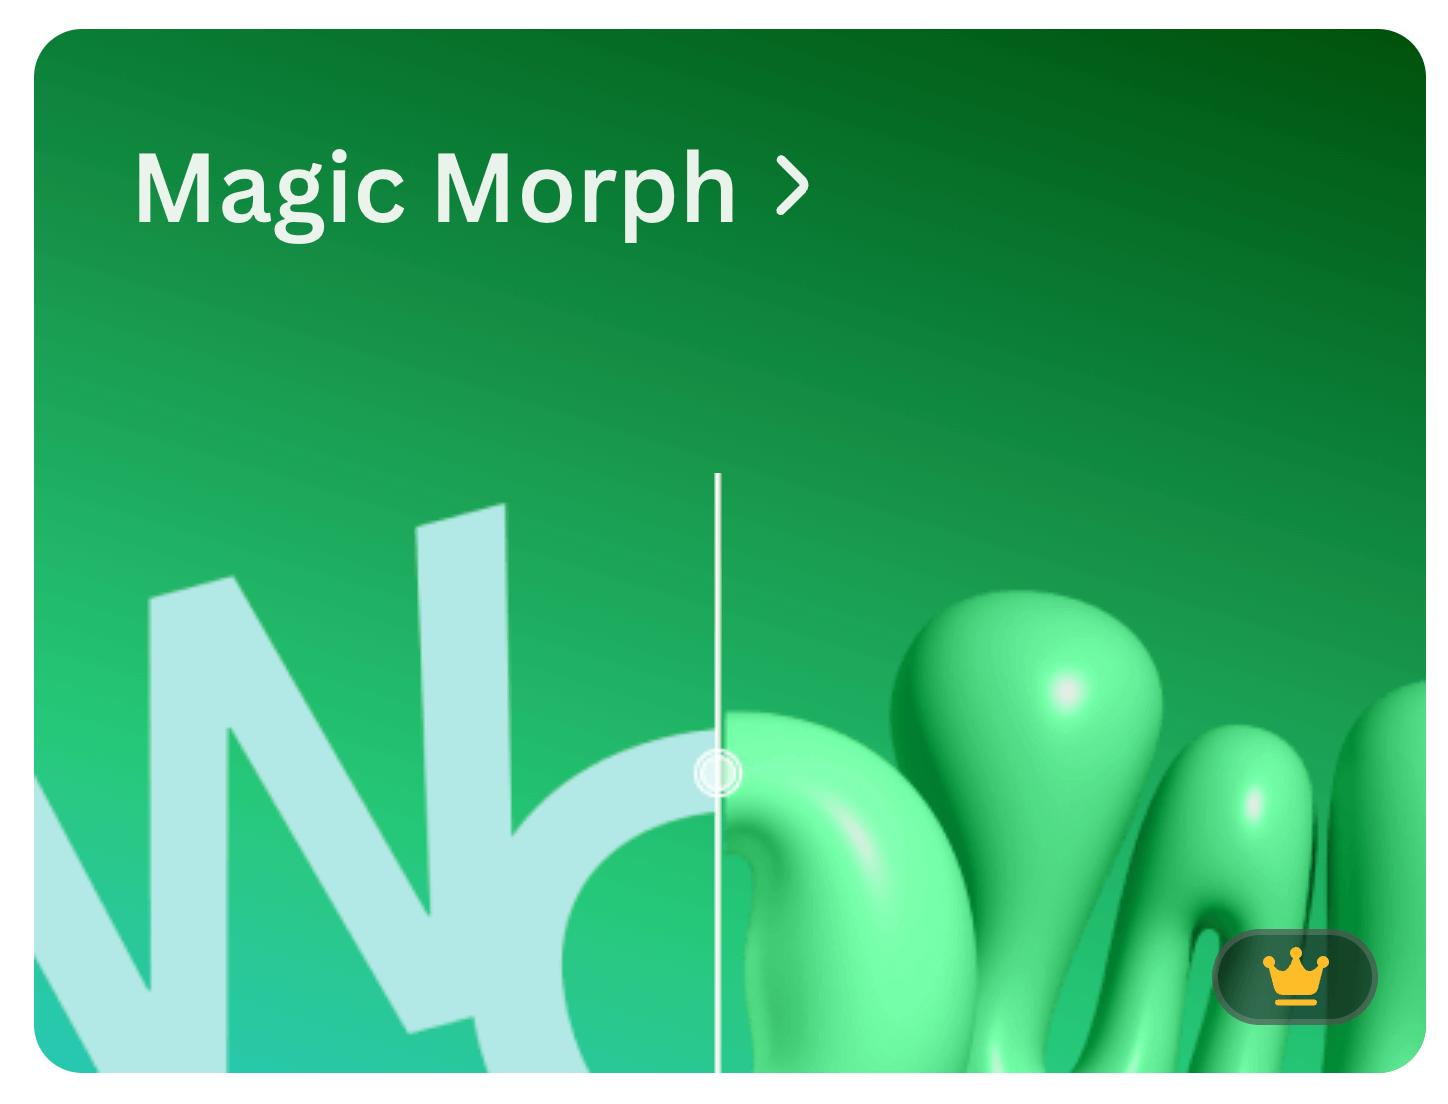
You need only select the letter or design element and add a written prompt describing the effect you’d like to create.
Unlike the other Canva Magic Studio tools we just shared, Magic Morph can only be enabled from the ‘Apps’ section of your left-hand menu.
OUR TAKE ON CANVA’S MAGIC MORPH
First, we just want to state that Canva has flagged this new Magic tool as “new and improving.”
With that said, we feel this may have been released a little prematurely. It’s a fantastic concept, and we’d love to incorporate it into our monthly Canva template subscription.
Related Post: How to Create Textured Fonts for Free
However, we tried over 10 different effects on a handful of letters and font styles with very poor results.
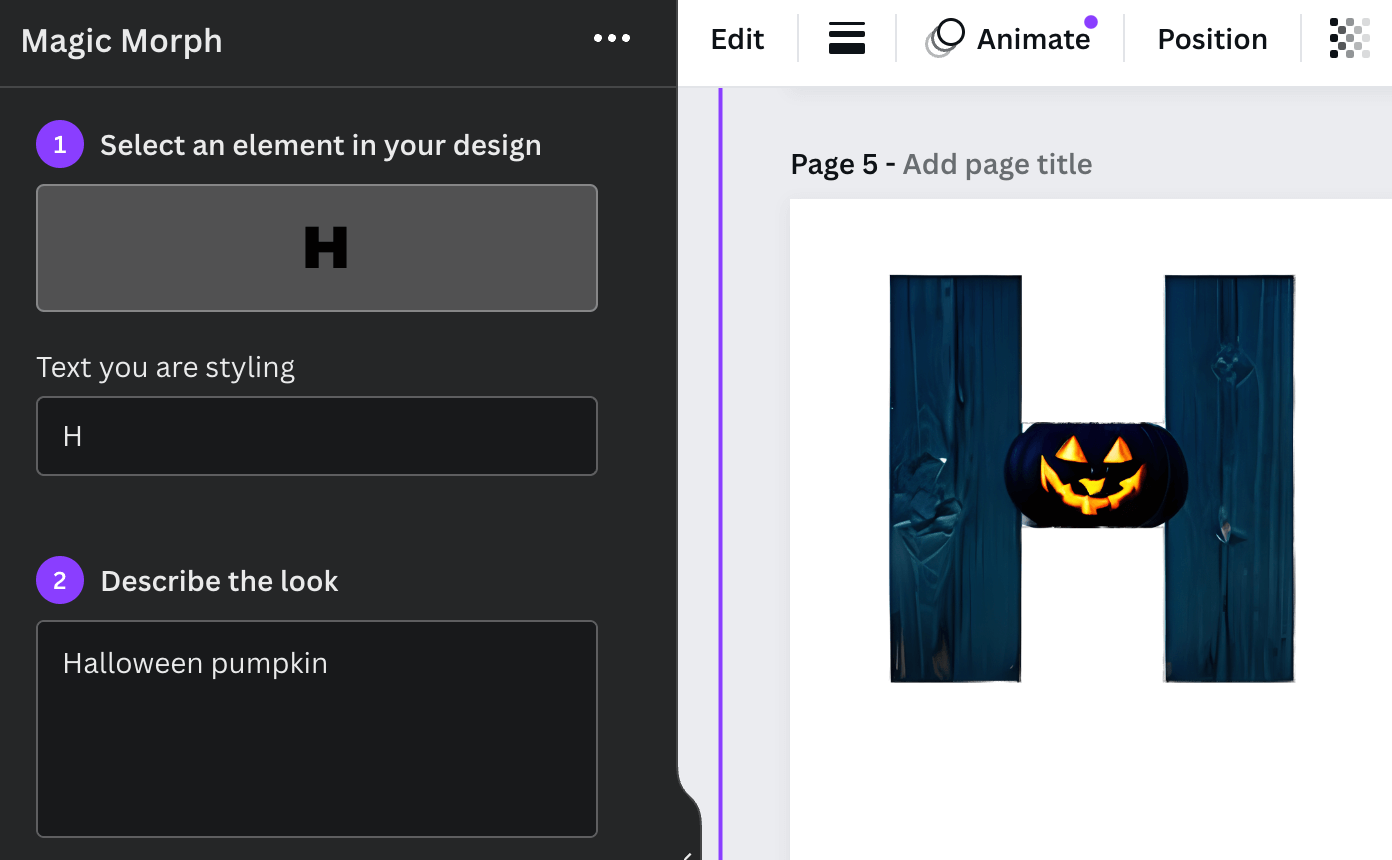
The few Canva elements we did try generated much cleaner results but still left room for improvement.
They’re most likely monitoring the requests (e.g., ‘inflatable graffiti balloon’) as more Canva users try it out to improve its technology.
MAGIC EDIT (FREE)
What used to require quite a bit of skill in a complex editing tool like Photoshop now simply requires minutes using Canva’s Magic Edit.
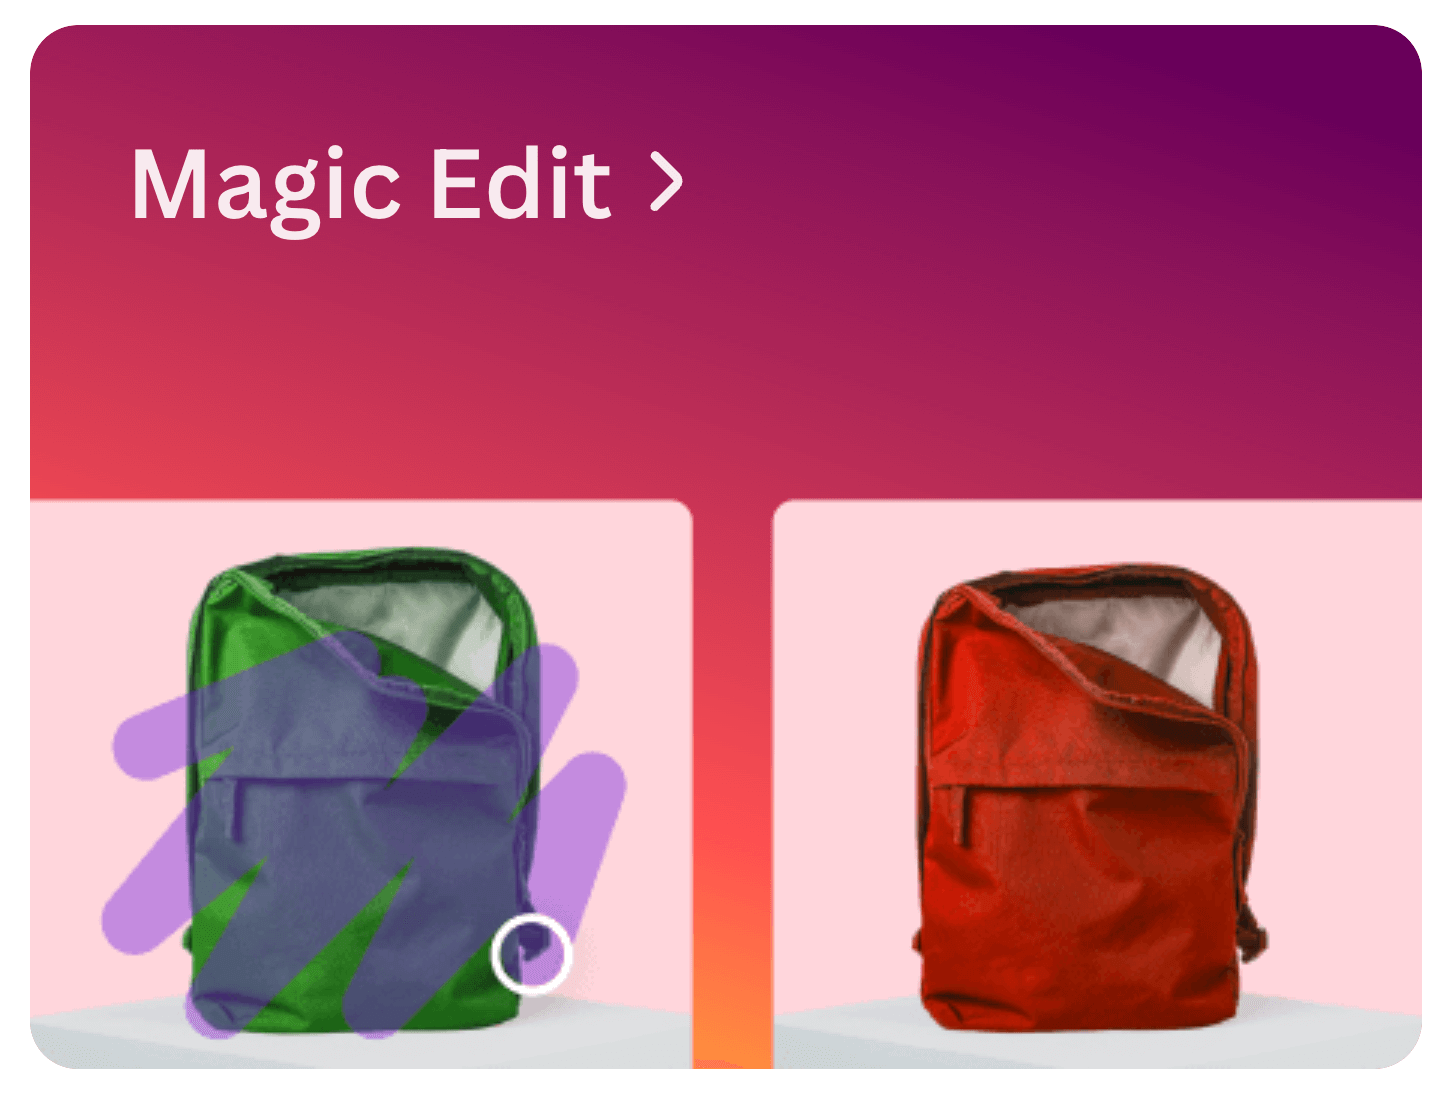
If you have dozens of stock photos saved in a folder that you’d love if you could change the color of an object, Canva’s Magic Edit is just what you need.
Not only can you change the color, but you can actually add texture, swap out backgrounds and objects (e.g., swap a bouquet of daises for roses), and more!
OUR TAKE ON CANVA’S MAGIC EDIT
This is our second favorite feature in our Canva Magic Studio toolbox.
With Canva’s Magic Edit, we can edit the photo by changing the color of almost anything to fit our specific needs.
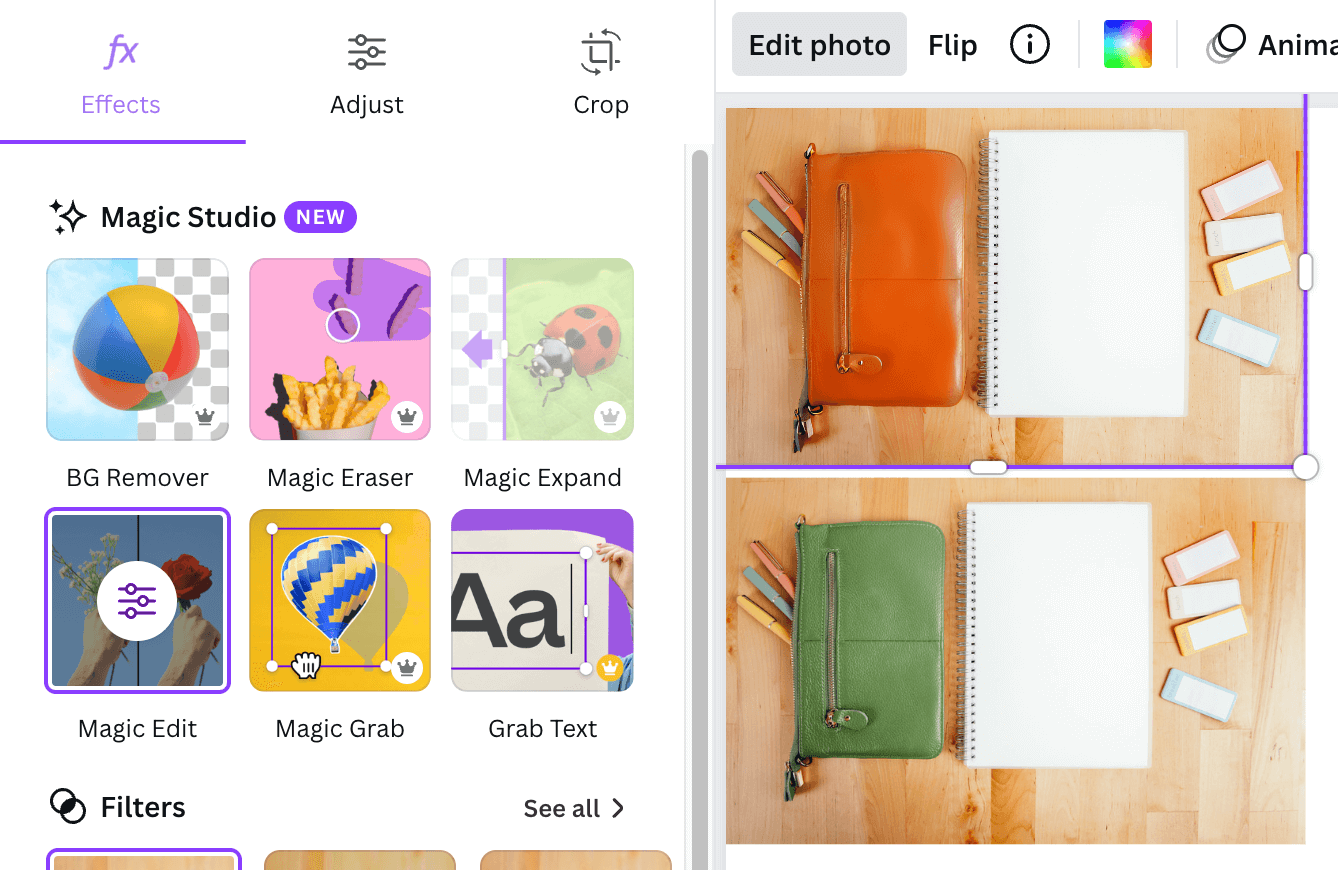
We changed the green leather wristlet to orange using a simple text description, ‘orange leather.’ While it didn’t completely change the bottom-left zipper portion to orange, it’s hardly noticeable.
Even though this was a more complex request than changing the color of a tote or t-shirt, we’re very happy with the results.
Keep in mind this doesn’t work in every situation. If what you’re trying to change involves a significant shadow or texture, you may be unable to use this tool effectively.
Related Post: Easy Canva Smartmockups for Bloggers
Canva’s Magic Edit is especially helpful for mockup photos if you sell, for example, a t-shirt design in multiple colors.
Check out this episode of our DIY Design Lab (in our FREE design community), where we dive into Canva’s Magic Edit and how to use it as a blogger.
MAGIC MEDIA (FREE)
Just like Magic Morph, Magic Media can only be enabled from the ‘Apps’ section of your left-hand menu.
Canva gave their Text to Image tool a serious upgrade, resulting in Magic Media.
Canva’s Magic Media can now create (incredible!) short videos from a small bit of text or an existing image in Canva.
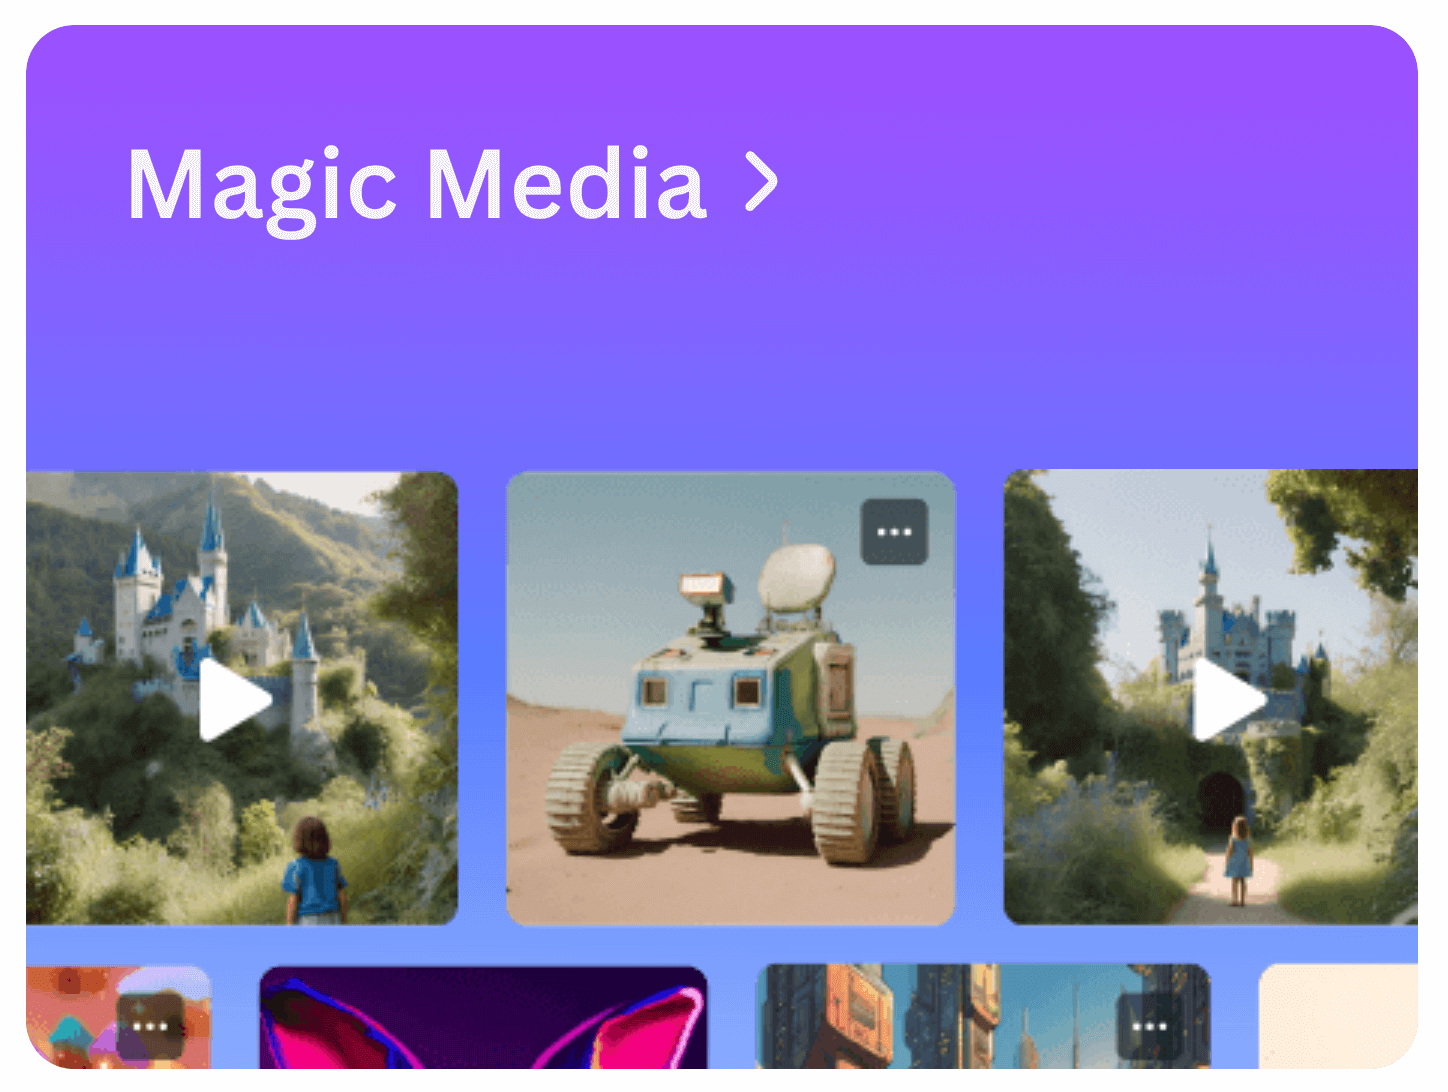
This is by far the easiest way to create video content that’s unique to your blog without the hefty price tag of an Animator.
Use a simple written prompt to bring your ideas to life and instantly create artwork, photos, 3D images, and even videos!
OUR TAKE ON CANVA’S MAGIC MEDIA
If you’re looking for realistic-looking AI-generated media, you’ll be disappointed in Canva’s Magic Media.
Personally, we don’t mind that it looks animated because what we’ve generated so far is like nothing we’ve ever seen.
Creating animated content like what’s available in Magic Media is way above our level. Having the opportunity to create a graphic or video based solely on a simple text prompt is so stinking cool!
We’ve seen bloggers use Canva’s Magic Media to create visuals for Instagram reels, stories, Pinterest pins, and more.
MAGIC ANIMATE (FREE)
If you’re familiar with Canva, you may have already tried your hand at text and page animations.
While this is a great feature for one or two animations per design, it can take quite a bit of time to add transitions to your entire project.
Instead of selecting each Canva design element and text box to apply animations, Canva’s Magic Animate combines everything in just one click.
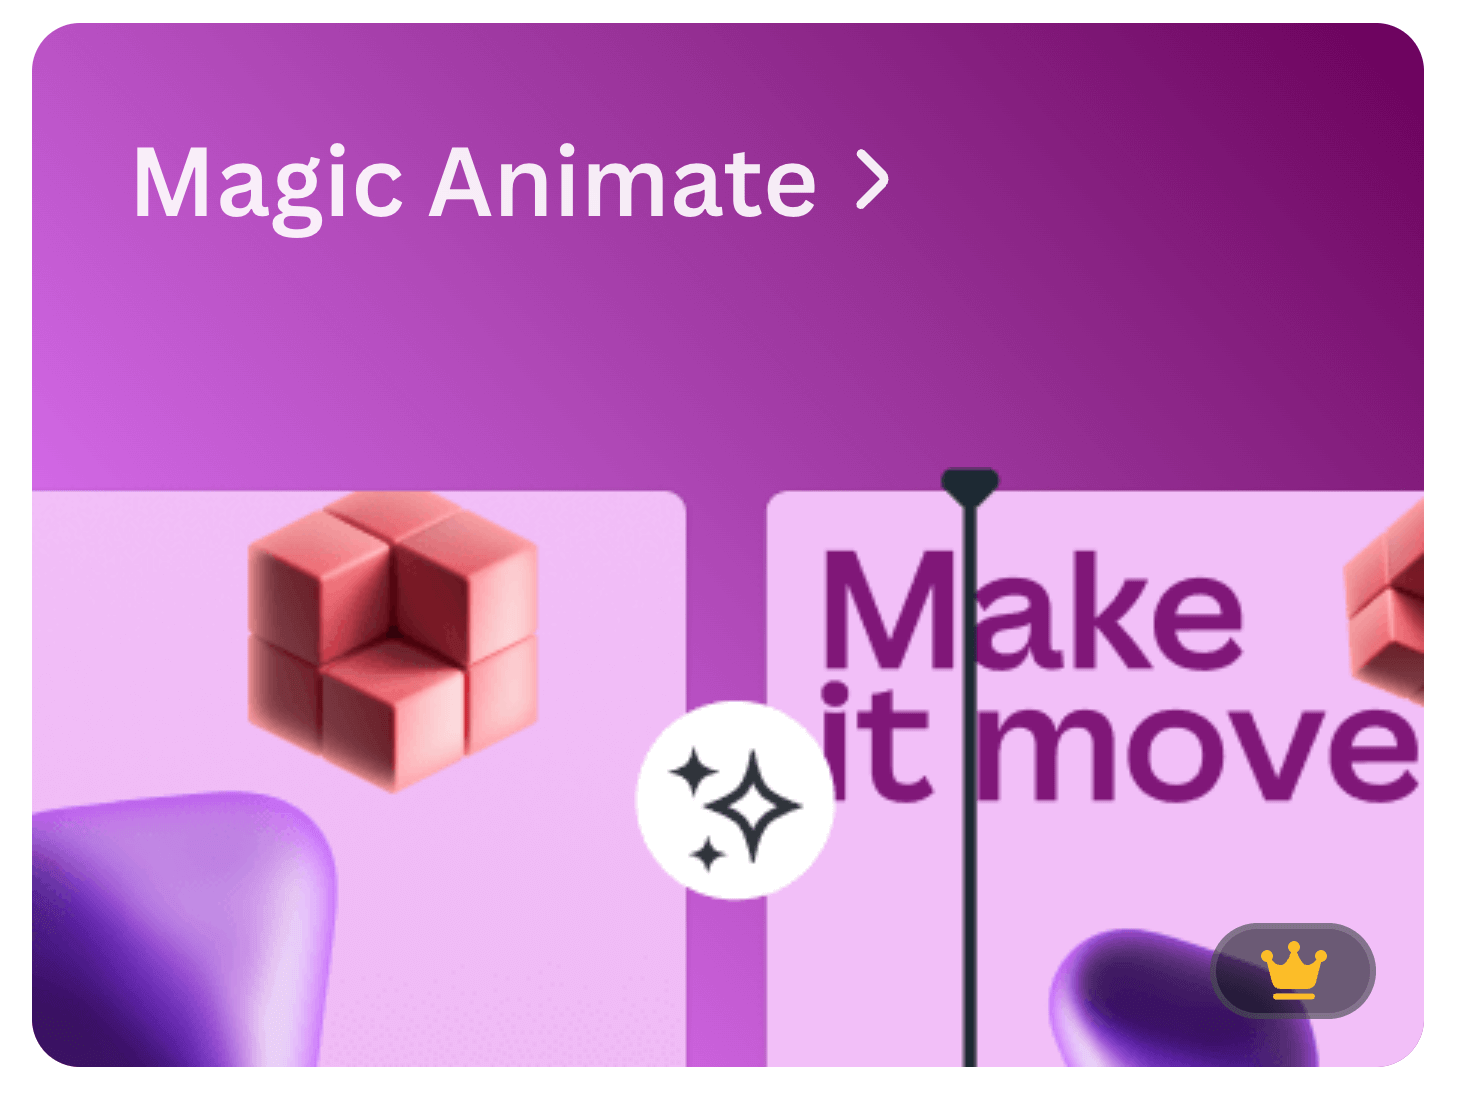
It works by determining the best-animated styles for your particular product using AI.
Now, you can animate your entire design with eye-catching motions. It also aligns the timings for you to ensure a smooth transition every time!
OUR TAKE ON CANVA’S MAGIC ANIMATE
With the demand for video content on the rise, Canva’s Magic Animate lets us check all the boxes without spending any extra time filming videos or using stock content.
We love creating animated Pinterest pins to change our content and provide variety to our audience. It also adds a little pop of fun to our Instagram story graphics, helping to keep our readers engaged.
Another great option for bloggers is to download their animated designs as GIFs and use them in their emails and sales pages!
We’ve noticed our emails that contain a call-to-action (CTA) with a GIF have a higher click-through rate (CTR) than those without. Just something to think about!
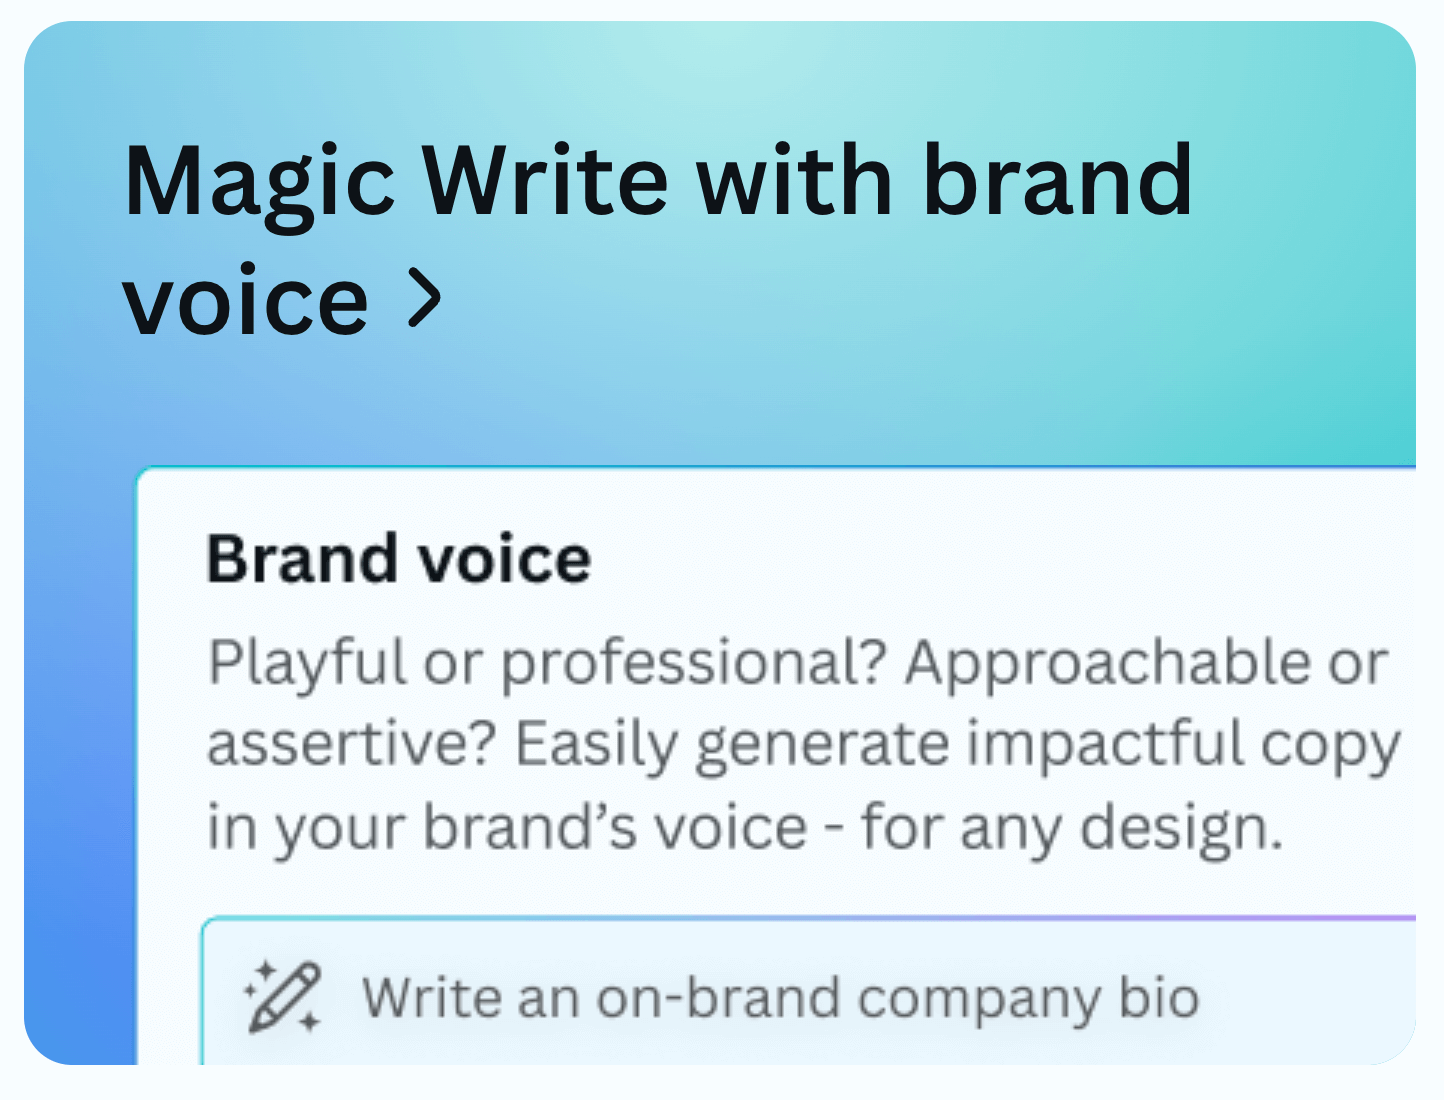
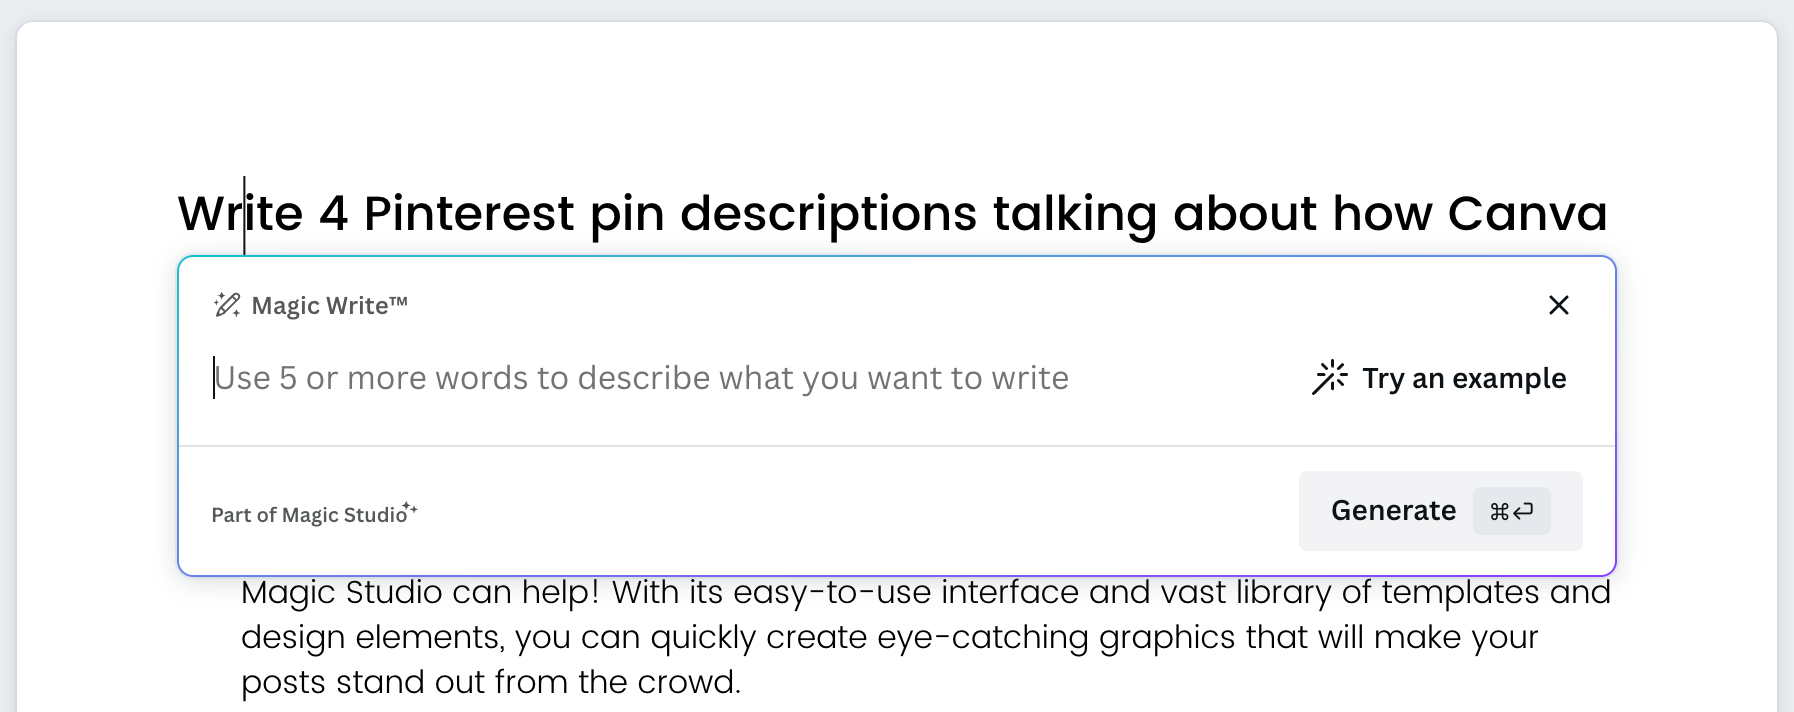
MAGIC WRITE (FREE)
Magic Write is Canva’s AI-powered copywriting assistant.
Similar to ChatGPT, Magic Write can help bloggers expand on their thoughts by starting with a simple written prompt.
Use Magic Write to draft an outline for a blog post, summarize text for the perfect Pinterest pin description, craft promotional copy for an email, and more!
The best part?
Magic Write will keep to your brand’s voice, so you never have to worry about attracting the wrong audience.
OUR TAKE ON CANVA’S MAGIC WRITE
As a blogger, Magic Write is hands down the best resource in the Canva Magic Studio lineup. Bloggers write… a lot.
It’s totally normal to get writer’s block or just want an easier (and faster!) way to do the one thing that consumes most of our time.
We especially love it for outlining topics, summarizing key pieces of text for meta descriptions, and generating blog post titles.
However, don’t let Canva’s Magic Write (or any AI-powered copywriting tool, for that matter) be the single source of content for your blog.
Use Magic Write for inspiration, or customize the results to make them your own. For more information, refer to Canva’s AI Product Terms.
MAGIC ERASER (PRO)
While this tool isn’t part of Canva Magic Studio, it still deserves a proper mention.
Canva’s Magic Eraser easily removes unwanted objects, markings, or even people from a photo with just a few swipes of a brush.
Use this tool to create space for text, remove distractions, or just clean up a photo!
And yes, you can use Magic Eraser to remove shadows, too.
OUR TAKE ON CANVA’S MAGIC ERASER
As bloggers, we know you can relate to having a handful of stock photos you’d love to use throughout your blog but have a pesky object or hand in all the wrong spots.
Most of our product mockup images have been edited using Canva’s Magic Eraser so we can keep the focus on our digital products and not the donut or cup of coffee that always seems to take center stage in the photo.
We’ve even used it to remove product logos (e.g., Apple or notebook logo) so we can keep the focus of the images on our products.
CANVA MAGIC STUDIO FOR BLOGGERS
No matter your blog’s niche, Canva’s suite of AI-powered Magic Studio tools will take your visuals to a whole new level.
This past year, we rarely found ourselves opening up complex design tools like Photoshop and Illustrator to create the visuals we needed for our blog.
But now that we can (at the very least!) remove, change colors, and reposition with just a few mouse clicks, we’re more pumped about using Canva than ever!
Related Post: 7 Canva Tricks Every Blogger Should Know
Plus, you simply can’t beat the price of what Canva Pro offers.
Although some of the Canva Magic Studio tools we talked about are available to free Canva users, the $14.99/mo payment (or $119/year) for Canva Pro is OH so worth it.
You can create truly unique, one-of-a-kind graphics and videos, not to mention the awesome copywriting assistant to help save loads of time!
And with a completely FREE 30-day trial of Canva Pro, what do you have to lose?
RESOURCES MENTIONED IN THIS POST:
Remember to enroll in our FREE self-paced Canva 2.0 Quick Start course! It’s perfect for learning what makes Canva the best design platform for bloggers!
TRY CANVA PRO FREE FOR 30 DAYS
Start your FREE Canva Pro trial today and unlock ALL of their incredible time-saving features that’ll cut your design time down to just minutes.
To be honest? It’s the best $14.99/mo OR $119/yr we spend on our business because that time we save with every single design is put back into making MORE money in our business!