This article will show you how to create a mockup in Canva. Canva mockup creation has never been easier now that we have tools like done-for-you templates and scene creators. Check out the visual tutorial below for step-by-step instructions!
Want to level up your Pinterest content with video pins? Grab our pack of FREE Canva video pin templates NOW and start designing!
Did you know it’s 100% possible to create a high-converting flat-lay mockup image using a simple design tool like Canva?
You’re guaranteed to increase conversions on both email signups AND product sales if you can create an eye-catching mockup image of your product.
Our conversions skyrocketed when we started adding mockups and flat-lays to our blog posts and sales pages.
Related Post: The Secret to Boosting Sales with Almost No Effort
It doesn’t have to be hard or complicated.
And, it definitely doesn’t require anything fancy or intimidating like Photoshop.
An easy Canva mockup (yep, we said easy!) provides your audience with something tangible. It shows them what your product looks like – what they’ll get when they hand over an email or credit card.
It doesn’t leave it up to their imagination to envision what they might get. Think back to the last time you bought something online.
We’re willing to bet you looked at ALL the photos to ensure it’s what you wanted, right?
Thought so! And your audience does the same.
REMEMBER THIS POST LATER! PIN IT TO YOUR FAVORITE PINTEREST BOARD!⬇
This post, though, is going to be a little different.
Instead of showing you how to create a Canva mockup using stock photos, we will dive a bit deeper.
You’ll learn how to create a Canva mockup that can be customized to match your brand (the easy way).
Related Post: How to Brand Your Blog and Easily Achieve Brand Consistency
Your audience can recognize you a mile away when you achieve brand consistency. When they instantly recognize your brand without seeing a logo or name, it builds trust.
Trust not only makes the sale but has them coming back to buy again and again and again.
Okay, enough chit-chat. Let’s dive into how to create a Canva mockup!
First, let’s open a new Canva project.
You can use any size depending on your choice of platform – Facebook, email, sales page, etc.
Table of Contents
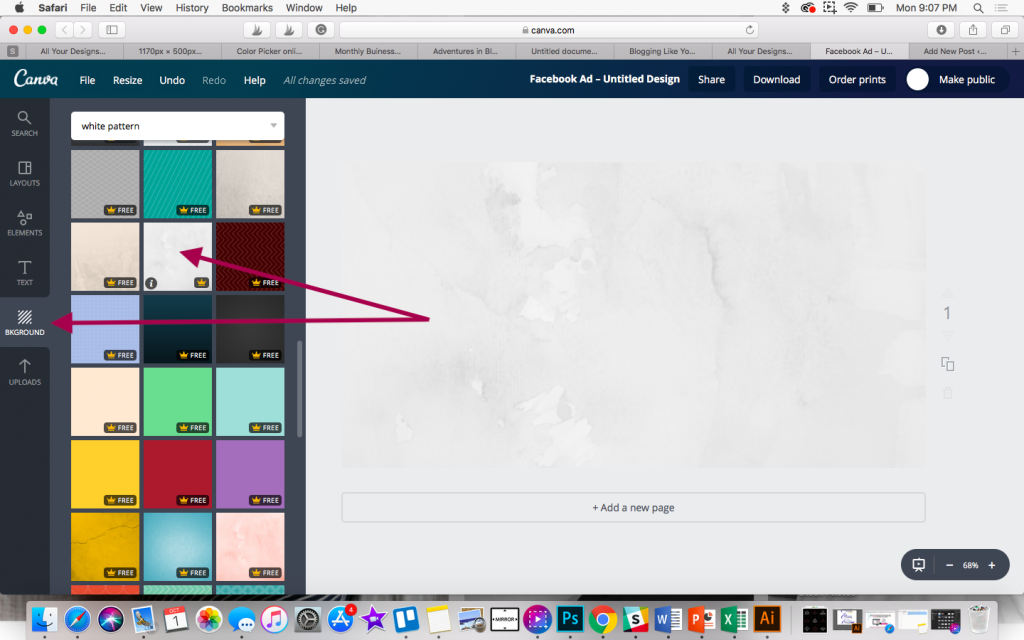
STEP ONE: ADD A BACKGROUND (OPTIONAL)
You can add a surface background like marble or wood to add a little texture. Or, leave it white, so all the attention is on your Canva mockup.
Totally up to you! We use both to then download as a ‘Transparent background.’
This feature is only available to Canva Pro users. Fortunately, you can try Canva Pro FREE for 30 days!
Start your FREE Canva Pro trial today and unlock ALL their incredible design features, including the Transparent background option.
Once you have the background set, start adding some graphics/elements.
Now, there are two different parts to this.
- ONE: product mockup
- TWO: accessories
We recommend starting with the mockup first because it needs to be front and center.
The little details after that are great, but they’re not what your audience is buying.
STEP TWO: ADD THE PRODUCT MOCKUP PLACEHOLDER
You can easily create this using a generator such as myecovermaker.com. We especially love this program because it converts our workbook covers into actual spiral-bound notebooks.
But for this tutorial, we’ll stick with Canva.
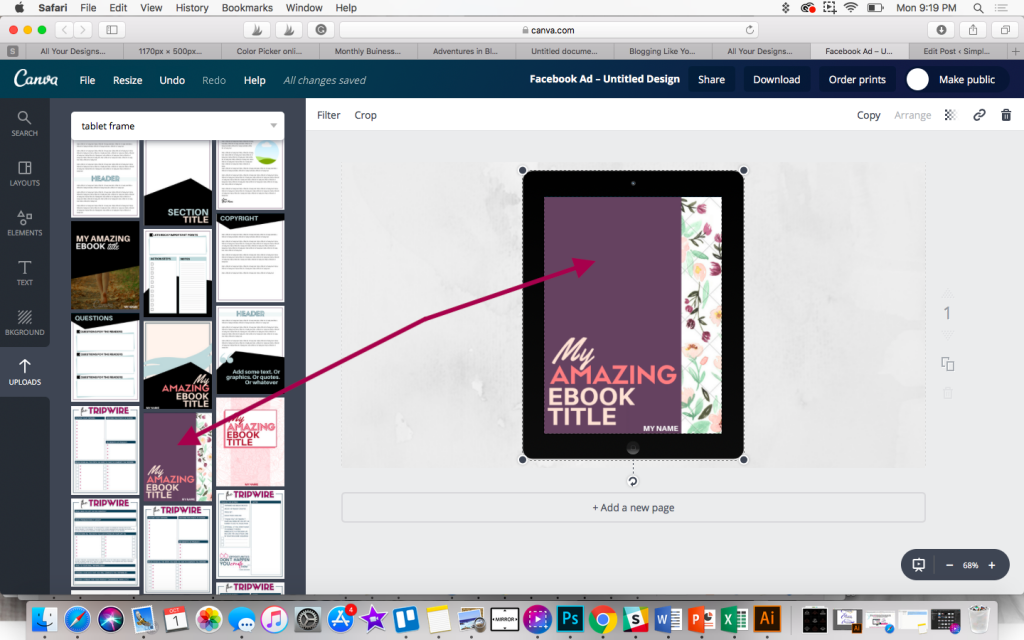
First, we’ll search for “tablet frame” and choose the real-life-looking iPad.
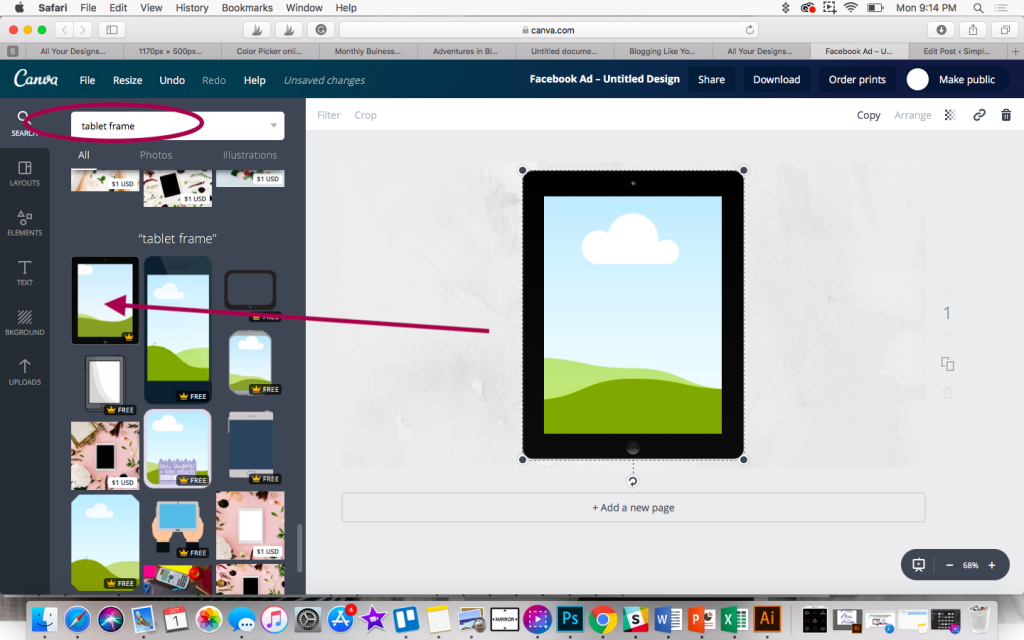
The frame allows you to drag and drop your cover photo to make it appear as if it’s showing up on the tablet.
This is great for flat-lays because the tablet looks like it’s lying flat on the desktop.
STEP 3: ADD THE PRODUCT PHOTO
To do this, you’ll need to have your cover photo saved as a JPG or PNG so that you can upload it to Canva.
You can NOT upload PDFs directly from your project screen. You must import them from your Canva homepage by clicking ‘Create a design’ and ‘Import file.’
Once your cover photo is uploaded, drag it into your frame.
Now that our cover image has been uploaded, it’s time to add accessories.
STEP FOUR: ADD DESK ACCESSORIES
We rarely speak ill of Canva… but they don’t have the greatest selection of desk accessories.
Until this improves, we’ve been using images from an accessory pack we purchased on Creative Market. This pack was super cheap, and we can reuse it for different photos over and over.
SHOPPING TIP: When buying a mockup scene creator, make sure it’s available in PNG format so that you can upload it into Canva. If the scene creator images are only available in vector format, you’ll need Adobe.
We found this one on Creative Market, but you can search for ones that fit your brand (there are SO MANY).
Also, check out Design Bundles. They are always adding really cool bundles, especially fonts.
Once your desk accessories are purchased and uploaded, add each object to your Canva mockup and start designing!
Keep in mind the size of each object needs to be proportional to each other. You don’t want a massive pen and the world’s smallest cup of tea in your Canva mockup.
Well, you can, but…
Position all the elements around the layout. We like to overlap some of the items on the cover so it looks dimensional and natural.
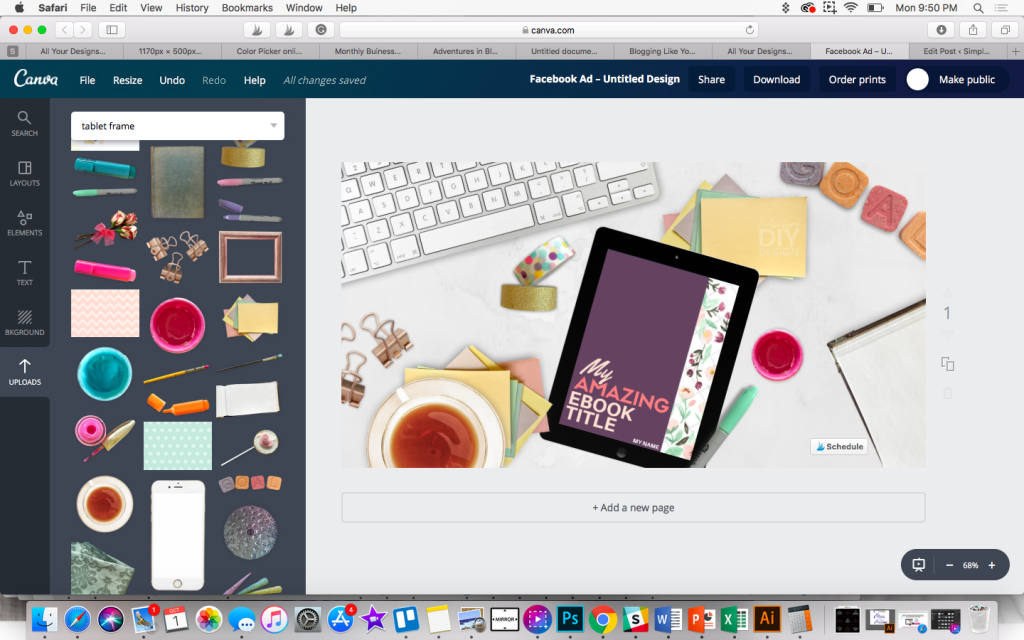
Once you have all the elements laid out perfectly, you’re ready to download and start using your digital product and lead magnet mockups!
Don’t forget to make a copy of your Canva mockup and name it [TEMPLATE] Product Mockup. You can use it over and over again to cut your design time in half!
If you’d rather design a Canva mockup using stock photos, you’re in luck because those are even easier to create.
Related Post: How to Create a Product Mockup Template in Canva Using Stock Photos
Before you go, we’d love to offer you a little challenge. Write down your stats before adding a Canva mockup and then a few weeks after.
Use them in Pinterest pins, landing pages, sales pages, and even social media posts.
Visuals are the first thing people see (and judge), so don’t be afraid to tweak your designs if one performs better.
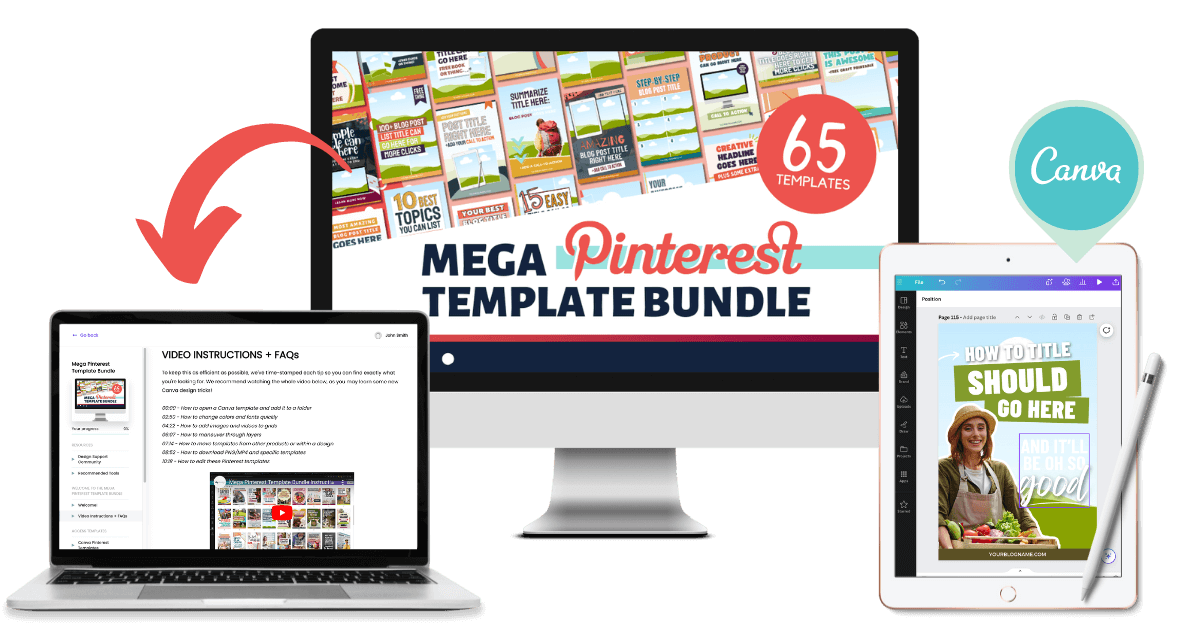
If you want done-for-you Pinterest templates that are designed to convert, check out our MEGA Pinterest Template Bundle with 65+ Canva Pinterest templates NOW for only $27.
When we offered client services, we’d charge $10+ for ONE pin design. You’re getting 65+ Canva templates for $.47 EACH!
This is perfect for bloggers who want grid, collage, and mockup-style pin designs for MEGA variety and MAX conversions! Get it now for only $27!
RESOURCES MENTIONED IN THIS POST:
- FREE Canva video pin templates
- The Secret to Boosting Sales with Almost No Effort
- How to Create a Product Mockup Template in Canva Using Stock Photos
- Mega Pinterest Template Bundle (for $27!)
- How to Brand Your Blog and Easily Achieve Brand Consistency
Don’t forget to grab our pack of FREE Canva video pin templates NOW to level up your Pinterest content and boost traffic to your blog!
TRY CANVA PRO FREE FOR 30 DAYS
Start your FREE Canva Pro trial today, and unlock ALL its incredible time-saving features, which will cut your design time to minutes.
To be honest? It’s the best $14.99/mo OR $119/yr we spend on our business because that time we save with every design is put back into making MORE money in our business!

Tasha says
This is awesome! Thank you for the great info. I love Canva and use it all the time. But flat lays and mockups are a bit of foreign territory for me. This helped a ton. Now, I have an excuse to go play in Canva for a while!!! 🙂
karafidd says
I’m so glad it helped!