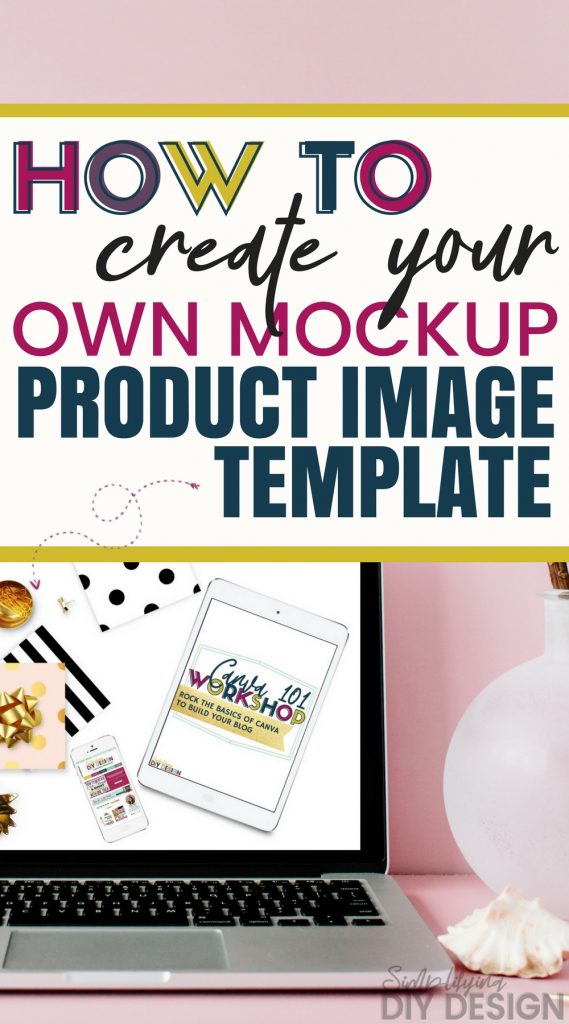
Product mockup templates are essential for any niche because they’ll boost your email sign-ups and increase product sales. We’re sharing our exact design process to create a beautiful product mockup template that you can use over and over again, cutting your design time in half!
Ready to nail your product launch? Get our FREE Product Creators QuickStart Kit today! This kit has a checklist, cheatsheet, and Canva design template so you can create a digital product for your blog!
Designing a product mockup doesn’t have to be complicated, yet it’s one of the most requested template designs we get.
Showcasing your product in a mockup-style format helps keep your designs consistent.
But, it also helps your audience see exactly what they’re getting, and that can make people feel a lot more confident when putting in their information, even if it’s just handing over their email address.
We noticed a significant increase in email signups and product sales as soon as we started adding product mockups to our website.
Truth be told, we use product mockups everywhere.
Blog posts, sales pages, social media graphics, landing pages, and even Pinterest pins!
Product mockups are a MUST.
And, it’s super easy to create your own product mockup template that saves you a ton of design time and keeps your designs consistent.
Related Post: How to Brand Your Blog and Easily Achieve Brand Consistency
The thing about consistency that most people don’t realize is that it builds trust. If you’re consistent with your designs, your audience knows it’s you.
You can spot our pins in the smart feed a mile away. That’s consistency!
REMEMBER THIS POST LATER! PIN IT TO YOUR FAVORITE PINTEREST BOARD!⬇
We make all of our product mockups right inside of Canva, whether it’s for a freebie or paid product (to include bonus offers).
Canva makes it so easy to create mockups for almost (if not) every product type and niche. That’s where your creativity comes into play.
If you’d rather have NEW plug-n-play Canva product mockup templates delivered every month, join our DiyDesign Creators Vault!
Now let’s get to the good stuff. If you have your product image already created and ready to go, let’s jump right in!
Table of Contents
STEP 1: SEARCH FOR A PRODUCT STOCK PHOTO
Once you’re inside Canva, choose your design size. We like to use an Instagram Post, preferably 1080px by 1080px.
We found this to be the most versatile size that looks great wherever you use it. Another popular choice is the Facebook ad size, 1200px by 628px.
Now, the first thing we’re going to do is find a product stock photo.
We love Depositphotos because they’re the best bang for your buck. The quality of stock photos is really great for the price, too.
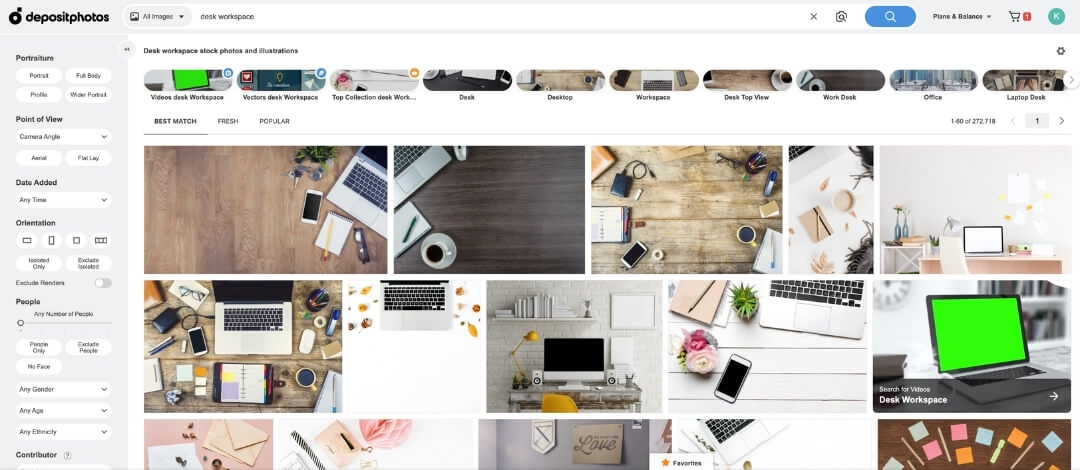
To start, search any kind of workspace – colorful workspace, makeup workspace, tool workspace, whatever your overall blog theme is about.
PHOTO TIP: Choose a photo with a lot of bright, white space. You want the focus on your mockup image and text, not the stock photo itself. Plus, it’s easier to match your brand colors!
When we first started Simplifying DIY Design, we went with flat lay stock photos instead of angled, so we weren’t spending extra money creating 3D cover designs.
If you have a design budget, check out myecovermaker to create a 3D product mockup that really pops!
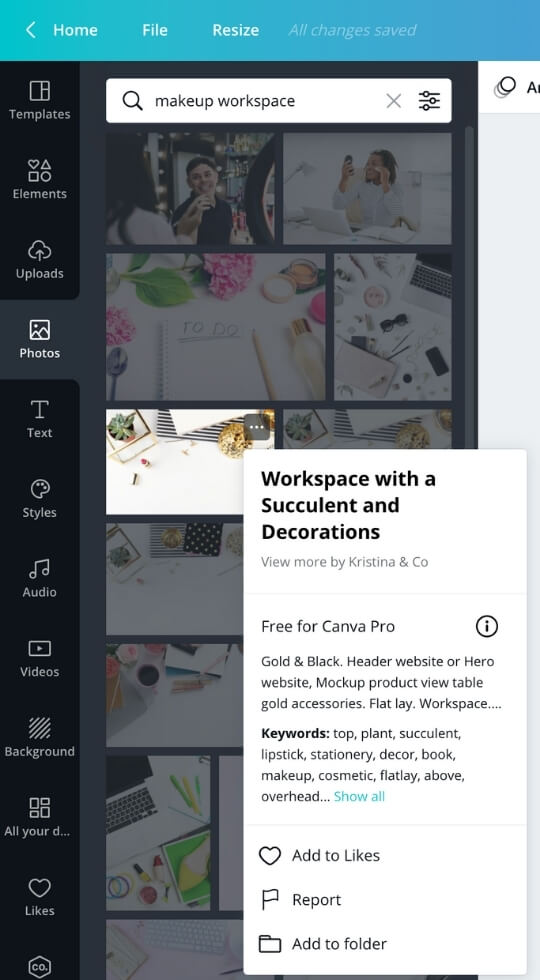
You can also search for a product stock photo right inside Canva. But just know you’ll have a much larger selection if you upgrade to Canva Pro.
WANT TO TRY CANVA PRO FREE FOR 30 DAYS?
Start your FREE Canva Pro trial today and unlock ALL of their incredible design features, including hundreds of top-quality stock photos in almost every niche.
Once you find your stock image, head to Canva and start designing your product mockup template.
STEP 2: DESIGN YOUR PRODUCT MOCKUP TEMPLATE IN CANVA
We’re ready to add the cover of our product to our mockup template.
If your photo has a notebook, iPad, or any other kind of device, you can add a grid right on top of it, which will allow you to drag and drop your cover image right into it.
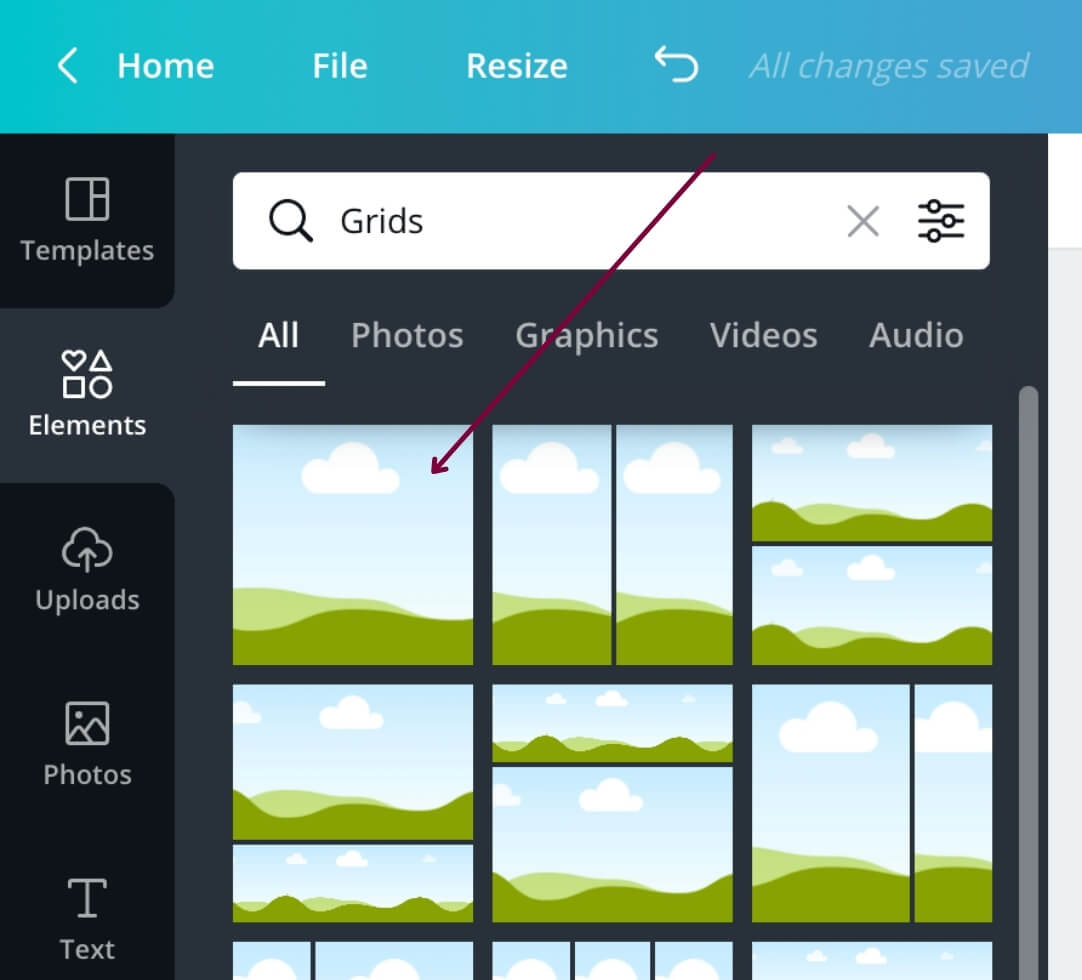
We recommend zooming in as much as possible to make sure you line it up to the notebook edges perfectly.
If your stock photo doesn’t have a device on it already, you can search for design elements like ‘iPad’ to add to the space in your photo (or on top of undesired objects like a notebook).
It all depends on the product and how you want to showcase it.

Love this design? These Canva design templates shown throughout this post are from our DiyDesignCreators Vault!
Like we said earlier, you can get as creative as you want when designing your own product mockup template.
Once the grid is added to your stock image, it’s time for the product. In this case, it’s the cover page of one of our page design templates found in our DiyDesign Creators Vault.
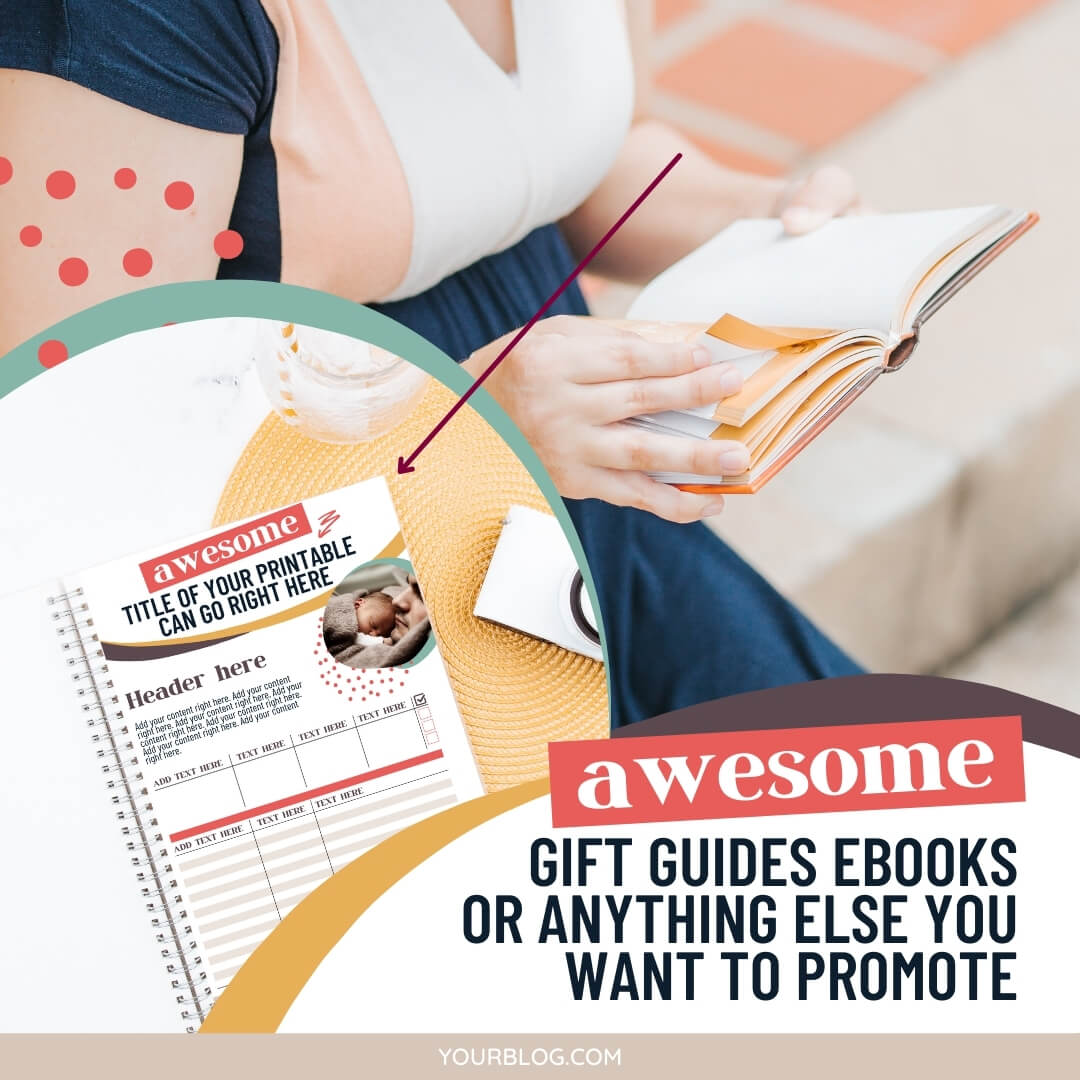
And that’s it!
You now have a product mockup template that can be used over and over again, saving you a TON of design time and helping to keep your brand consistent.
Product mockup templates are also an essential piece to launching your digital products.
Related Post: Digital Product Launch Graphics You Need to Create
We made five figures on our first big product launch, and we have our product mockups to thank for that!
Instead of just reading about it, our audience could SEE the templates, workbooks, Trello boards, and video lessons they were about to buy. Total game-changer for sure.
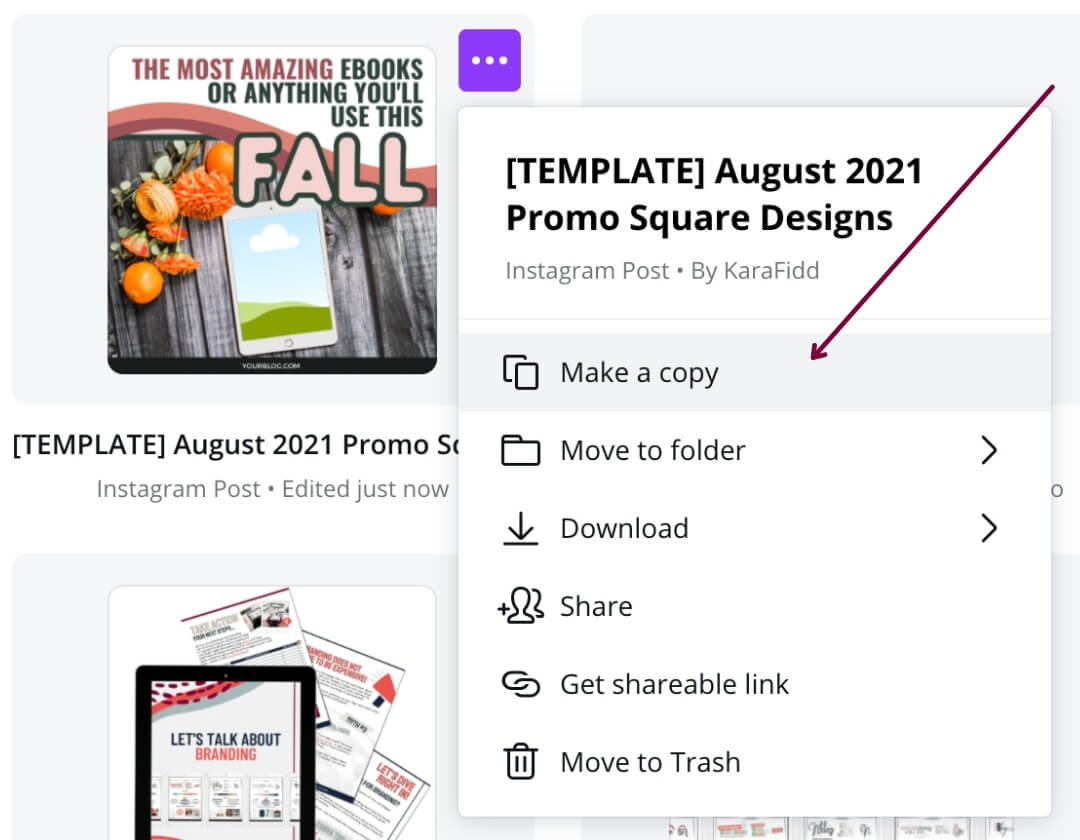
Don’t forget to name this product mockup (to include ‘template’), so all you have to do is click ‘Make a copy’ whenever you want to create a new mockup.
Seriously, it’s that easy! Once you make a new copy, swap out your cover for your new design, and you’re all set.
BRANDING YOUR PRODUCT MOCKUP TEMPLATE
Another thing we like to do for our product mockup templates is to add a phone that has our logo on it.
It’s an easy way to show where this product is coming from without having an awkward logo that never seems to fit.
First, we created a new design using the size 540px by 960px. I found this to be the best size for cell phones.
Then, we added our logo at the top and placed the screenshot of our website in another grid to form one long image.
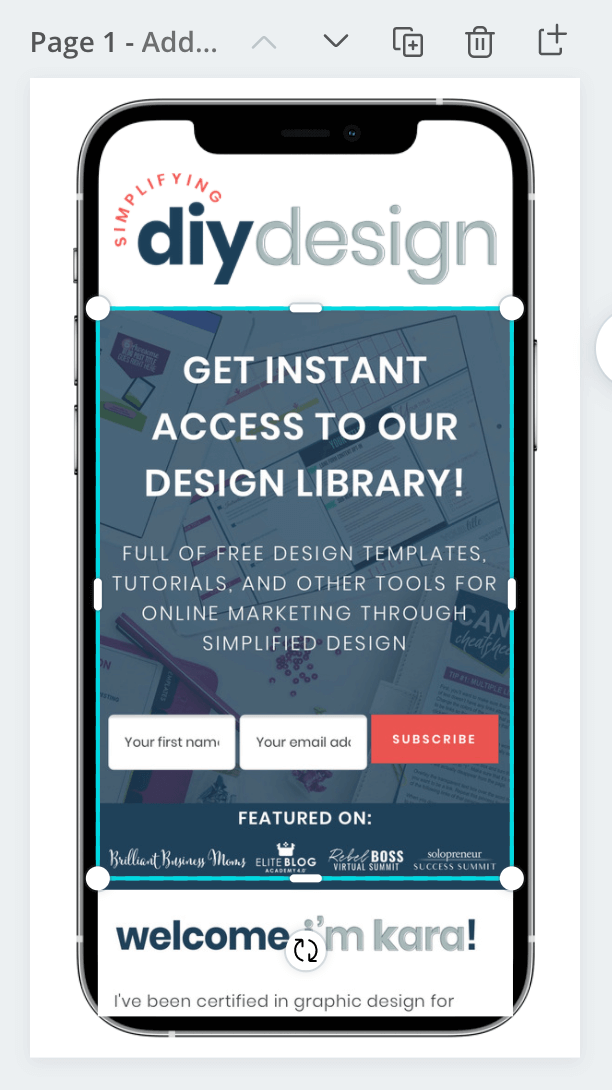
This design definitely requires a few modifications to make it right, but it looks good once it’s done!
This feature is only available with Canva Pro, but you’ll checkmark ‘Transparent background’ before you click ‘Download.’
It’s a great time to upgrade to Canva Pro because you can try it FREE for 30 days!
You can use many different programs to remove the background of a graphic if you don’t have Canva Pro. If you have a Mac, you can use Preview.
Another option we recommend is Pixlr.com, a free option that anyone can use regardless of what type of computer they’re operating.
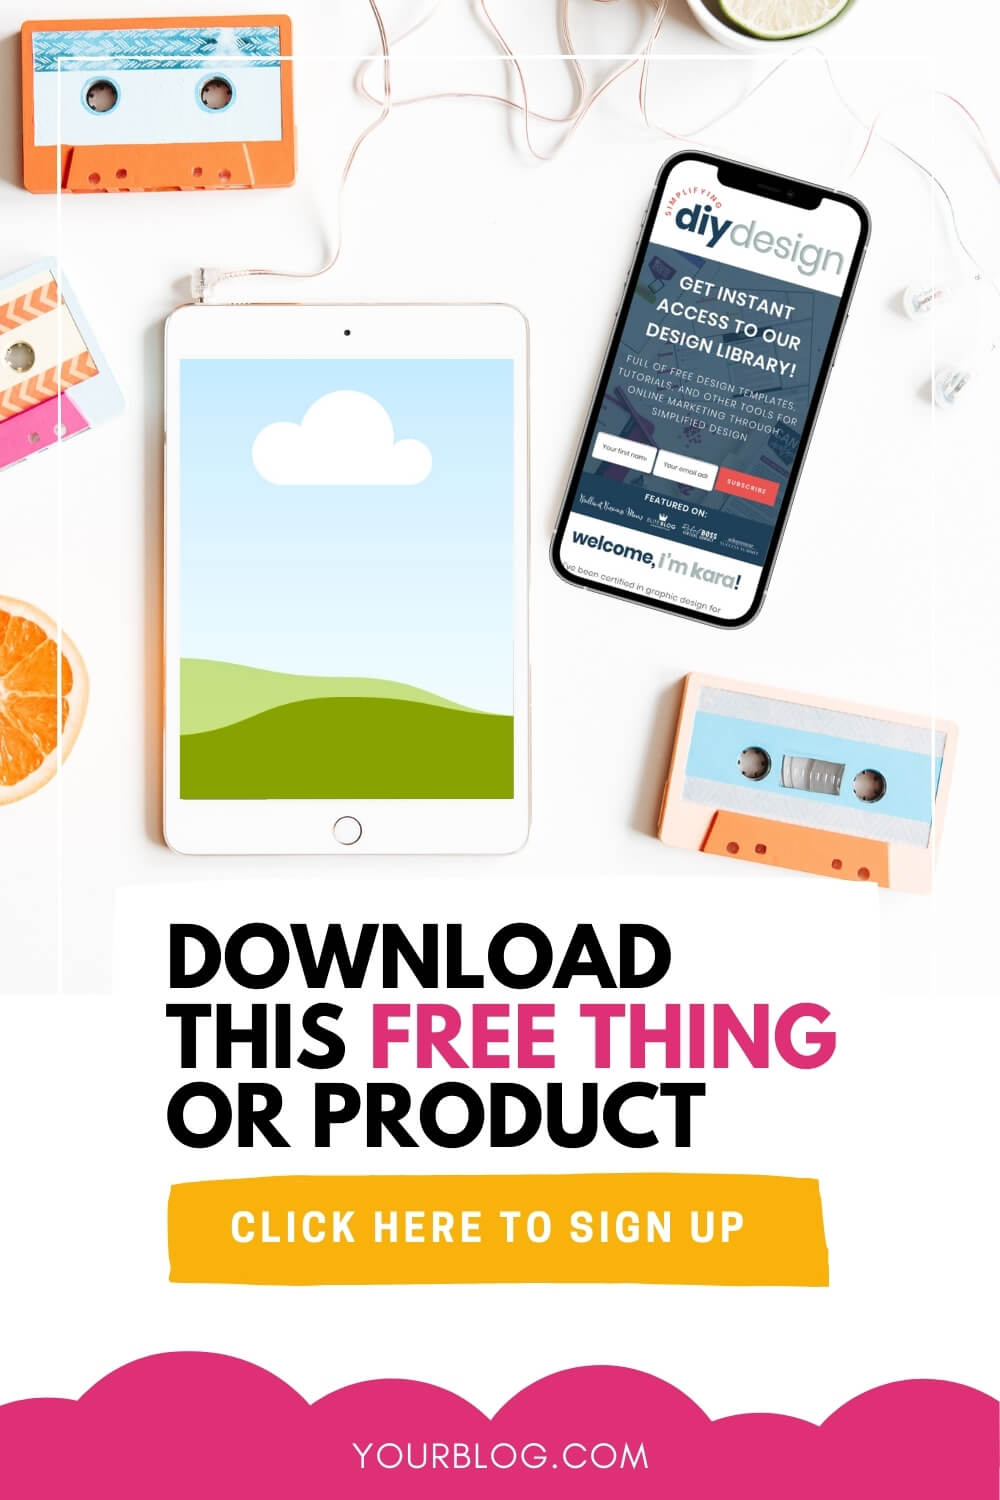
Once that’s finished, you can head back to the product mockup template, upload the iPhone image, and try a few different placement variations to give your website a little shout-out.
Your Canva-designed product mockup template is now ready to go! Maximize your time by creating even more design templates to grow your blog!
Related Post: 3 Ways You Need to be Using Templates to Grow Your Blog
THINGS TO NOTE
If you’re looking to create your own Canva templates to sell, make sure you have the commercial rights to sell your purchased stock photos in your templates.
For example, we can’t use a stock photo from Depositphotos or Creative Market without purchasing the license to resell.
It can be quite a bit extra to purchase the Commercial license, but it’ll protect you against any legal action taken from the original owner/creator.
The same goes for premium fonts and design elements, too.
Despite all of that, creating and selling Canva templates can be very profitable, easy to maintain, and can cost you almost nothing to get started!
RESOURCES MENTIONED IN THIS POST:
- FREE Design Vault
- How to Brand Your Blog and Easily Achieve Brand Consistency
- FREE Product Creators QuickStart Kit
- DiyDesign Creators Vault
- Digital Product Launch Graphics You Need to Create
- 3 Ways You Need to be Using Templates to Grow Your Blog
- Must-Have Tools for Creating and Selling Digital Products
Don’t forget to grab our FREE Launch Template Pack now! These fully editable Canva templates will help you create jump-off-the-page product mockups so you can rock your launch!
TRY CANVA PRO FREE FOR 30 DAYS
Start your FREE Canva Pro trial today and unlock ALL of their incredible time-saving features that cut your design time to just minutes.
To be honest? It’s the best $12.99/mo OR $119/yr we spend on our business because that time we save with every design is put back into making MORE money in your business!
WANT TO SAVE THIS FOR LATER? PIN IT TO YOUR FAVORITE PINTEREST BOARD!⬇

Jacky says
Where do you get the elements from?
karafidd says
Creative Market or Design Bundles 🙂
Kari says
Great tutorial! Simple, straight to the point, and very valuable! You also mentioned a resource that i did not know about, and something I’ve been searching for (myecovermaker.com) Thank you so much!
karafidd says
Thank you! Glad you found it helpful 🙂