Learn exactly how to plan your next product design the easy way! We will go over branding, inspiration, and the exact design process I use when designing a digital product!
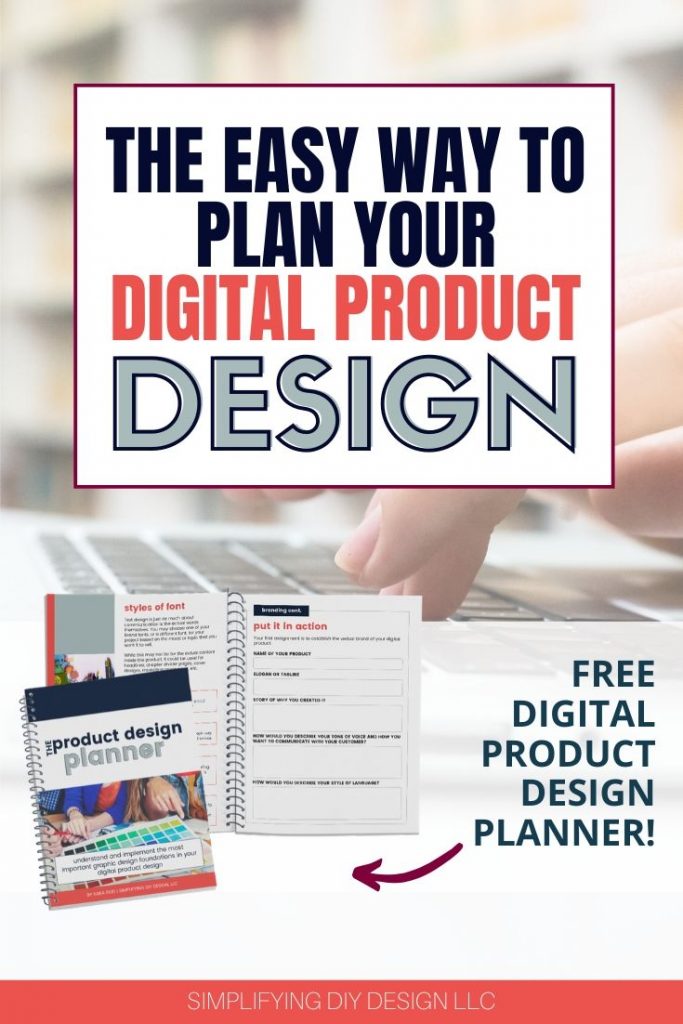
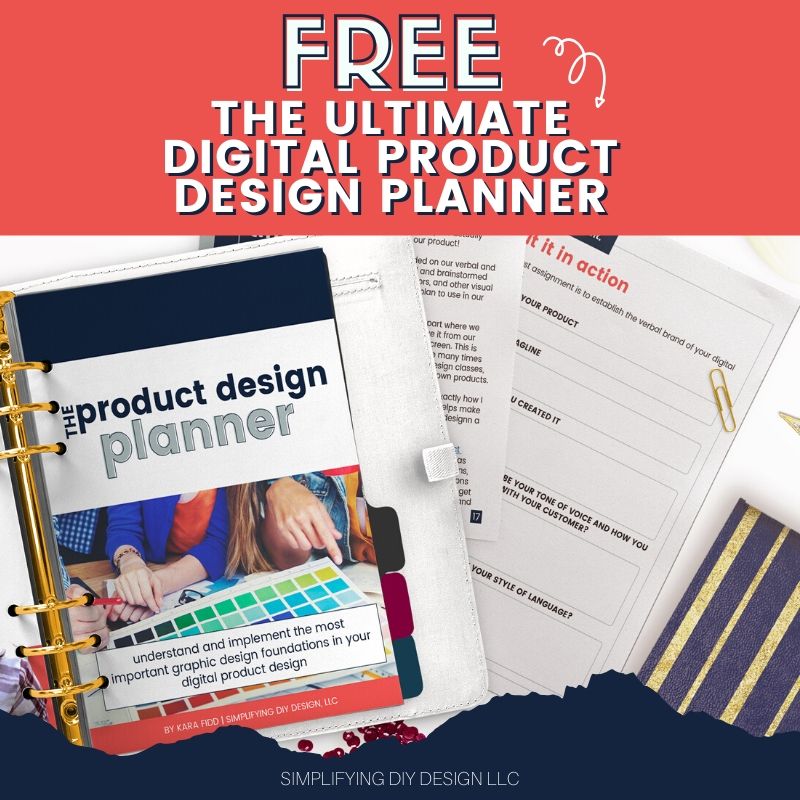
The content in this article is an overview of the step-by-step process detailed in our FREE Product Design Planner. Get your copy now and follow along with us!
We’re a little obsessed with mapping out a digital product because we love anything related to organization and planning.
We document every stage of our product creation journey to see what worked, what didn’t, what could be done better/faster, etc.
Then when it comes time to plan a new digital product, we have your own roadmap to get it done consistently and (almost) effortlessly every single time.
And because we’ve essentially created SOPs along the way, it was a game-changer when we decided to expand our team, too.
REMEMBER THIS POST LATER! PIN IT TO YOUR FAVORITE PINTEREST BOARD! ⬇
Since this is something we’ve perfected with our own business, we get asked a LOT about where to start when making digital products (including lead magnets, printables, etc.) for your blog.
We wanted to break down the digital product design process and actually step it out in an actionable way that you can use each and every time you design your digital product.
Table of Contents
Determining your products brand
Most of the time, you’ll be sticking with your own branding that you’ve already established for your blog.
But if your digital product is seasonal, it’s common to go off-brand with your brand’s holiday color palette.
We did this for all our holiday products by creating a holiday-specific color palette that blends perfectly with our brand personality. (That’ll make more sense in the article above)
In any case, you’ll want to make sure you’ve got a good sense of both the verbal and visual brand for your digital product design.
Verbal Brand
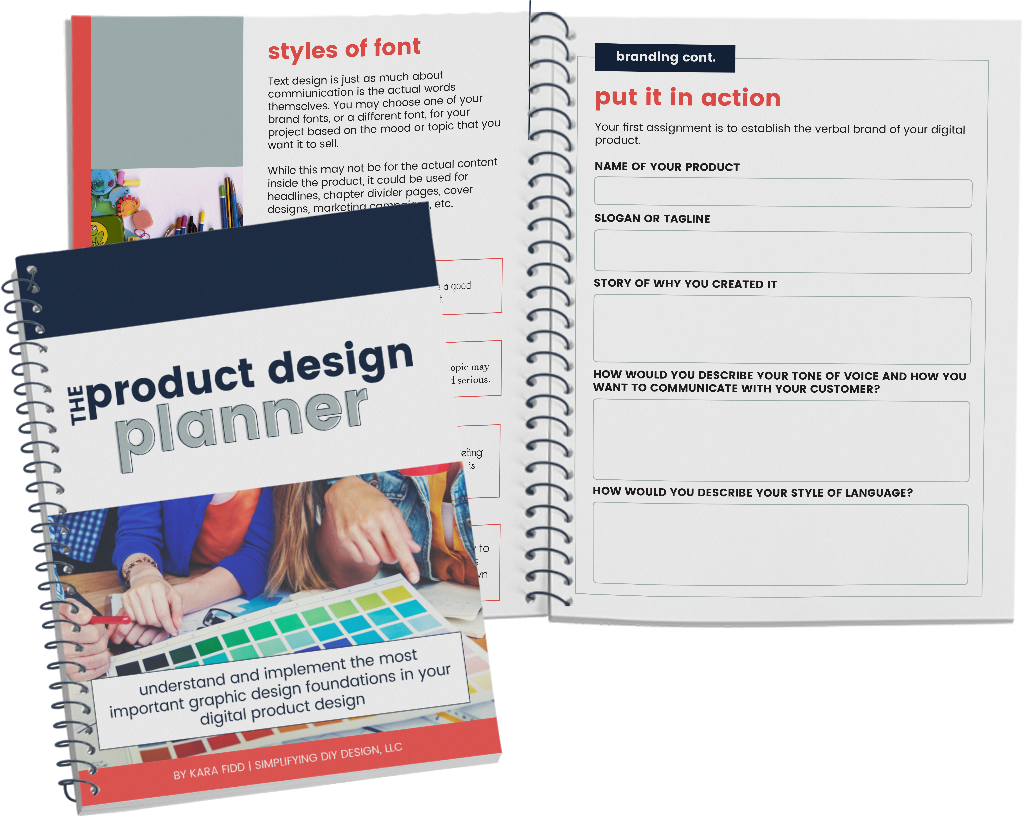
Establishing the VERBAL brand for your product means:
- Name of the product
- Slogan or tagline
- Story of why creating it was important to you
- Tone of voice
- Style of language
Visual Brand
Establishing a VISUAL brand for your product means:
- Product logo
- Fonts
- Color palette
- Imagery and other graphics
- Campaigns (marketing graphics)
You may or may not have all of these different elements depending on the size of the project you’re working on. For example, a lead magnet or tripwire product wouldn’t require its own logo, but a signature course might.
Most of the time, you’ll be using the same fonts and colors as the overall visual brand of your blog. But there may be exceptions, as stated earlier (like seasonal content), that may mean going off-brand.
The imagery used in your digital product should be minimal but complement your content. Remember that most of the time, less is more.
Especially if you intend of promoting your digital product as a printable product. You could also create a printer-friendly version if you wanted to target both audiences!
Attractive visual elements can help your product stand out and improve user experience.
You’ll want to make sure any image or clipart you use in your product can be used in products to sell (unless you’re creating a freebie). Commercial free or extended license clipart can be found on sites like Creative Market, Design Bundles, and Envato Elements.
Inspiration Session
Once you’ve established the visual and verbal brand for your product, you’ll move on to your inspiration session.
During an inspiration session, we like to make a list of all the words associated with our product or topic that we’re working on.
This is also where we’ll get keywords to use throughout our sales page, pin descriptions, etc., to help Google rank and show our product to more of the right people.
KEYWORDS TIP: We love using Pinterest and the Keywords Everywhere Google Chrome extension to search for keywords.
You can also search for other things like “family fun design ideas” or “family fun logo ideas.” With each of these searches, make a note of the design, colors, fonts, and anything else you like AND don’t like about what you see.
Also, be sure to make a note about WHY you do or don’t like it. This will give you a great starting point.
Side note: Never EVER copy a design or a product! This is to give you an idea of what styles you like and to give you a jumping-off point when it comes to your project design.
Start the Design Process for your digital product
Now that you have all the visual elements picked out for your brand, you’ll move on to the actual design process.
Don’t forget to download our FREE Product Design Planner to follow along and establish your verbal and visual brand, things you need to consider, different design elements, and more!
Outline Your Content
Once we’ve established our branding, we start outlining and writing our written content so that everything can be proofread and finalized.
This is MUCH easier than trying to re-align your layout when adding a word or sentence you’ve forgotten and finding out that everything has shifted unexpectedly.
We use and LOVE Grammarly because not only does it check our grammar, spelling, and punctuation, but it also re-writes full sentences for better clarity.
Plan Your Layout
We always start with a piece of paper and a pencil. We create a map and sketch our ideas for the actual layout of the product. This is much easier to visualize once we’re staring at the screen (or our product template) so we can see how everything will fit and flow.
If paper is a tad too small for you, try sketching your layout on cardboard.
Better yet, a window or glass door with Expo markers works great, too. Not to mention it’s really fun, and you’ll instantly feel like a mathematician or scientist! #askushowweknow
Here are some tips for sketching your layout:
- Group information using design
- Keep basic design foundations in mind
- Make notes and boxes where visual elements will go
- Use a pencil for this process
- Keep it simple, and don’t overthink it!
We still sketch our layout when using a design template, but looking at the template first REALLY helps! That way, we can determine on the paper what content we need to include.
Then, we’ll use the template as a jumping-off point of where things will go.
We’ll decide if we need to add any visual elements, color blocks, or sections to the original template to complete the layout in the way that best fits our content.
Finally, Start Designing Your Product!
It’s time to finally move your design from paper to the computer screen! You’ll need to decide on your design platform of choice. We highly recommend:
- Canva (free or paid versions)
- Adobe InDesign
As we mentioned earlier, the Product Creators Ultimate Toolbox has done-for-you designs for not only products but for promotion campaigns as well.
RESOURCES MENTIONED IN THIS POST:
The content in this article is an overview of the step-by-step process detailed in our FREE Product Design Planner. Get your copy now and follow along with us!
TRY CANVA PRO FREE FOR 30 DAYS
Start your FREE Canva Pro trial today and unlock ALL of their incredible time-saving features that cut your design time to just minutes.
To be honest? It’s the best $12.99/mo OR $119/yr we spend on our business because that time we save with every design is put back into making MORE money in our business!

Susan Meier says
Thanks for all your tips Kara and your templates make it so easy to create pins and post headers etc. A great variety on offer. Excellent products which I highly recommend!
karafidd says
Thank you so much Susan!!