Canva templates are great for cutting your design time in half. But they also need to grab your readers’ attention and get them to click. Here’s how to edit Canva templates to match your brand and stand out from your competitors!
Pretty much every aspect of our blog runs on a template, especially now that we’ve expanded into a full-blown team of amazing marketers and designers.
Design templates save time which in turn can save a LOT of money.
Plus, they give bloggers with little to no design skills a fighting chance to get noticed in this increasingly visual world of online marketing.
But there also comes a point where everyone is learning the same techniques and using the same templates.
Ready to nail your product launch? Get our FREE Product Creators QuickStart Kit with a checklist, cheatsheet, and Canva design template so you can create a digital product for your blog!
What do you get when all you have is the same? Same + same = Everyone’s graphics look the same.
There has to be something we can do to stand out in the sea of sameness and still get those clicks! Right?
Yes. A thousand times, yes. (We’re huge Matthew Macfayden Pride & Prejudice fans over here!)
There are a few things you can do as bloggers to help you edit Canva templates so they’re unique to you and your brand.
And if you’ve been making any of these ‘mistakes’ with your current templates, we promise you it’s not the end of the world.
REMEMBER THIS POST LATER! PIN IT TO YOUR FAVORITE PINTEREST BOARD!⬇

You’ll actually be better off because now there’s something you can do to help boost traffic to your site.
We’d oddly be a bit happy if we found something wrong because then that most likely explains the dip (or straight-up lack) in traffic or reduced sign-ups.
No one likes to have made a mistake. But when you know the error, you can fix it and move on. And in the case of bloggers, move UP!
Table of Contents
SWAP FOR YOUR BRAND COLORS
We used to spend an unhealthy amount of time on Pinterest before hiring our Pinterest Manager. Those rabbit holes are so enticing!
Anyway, it would amaze us how many bloggers didn’t edit Canva templates with their brand’s color palette.
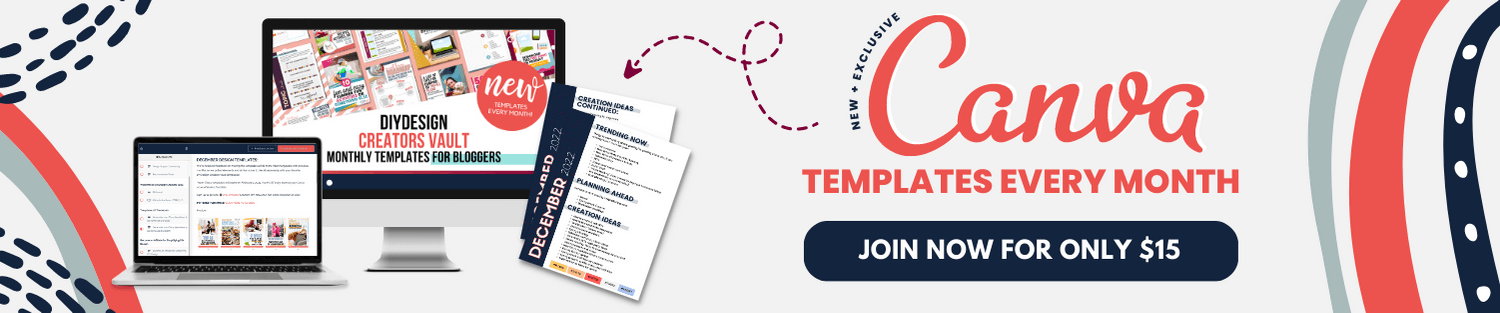
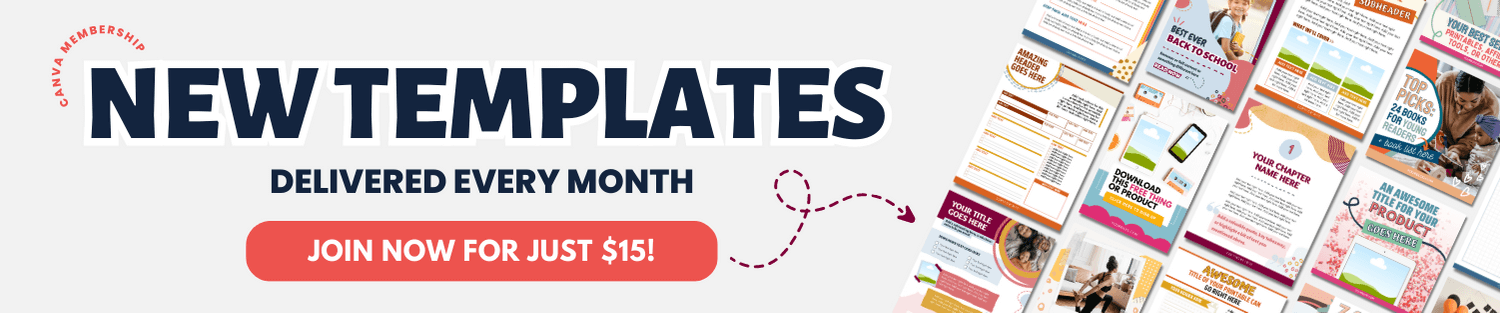
We created a Canva template subscription that delivers 35+ brand-new Canva templates every single month. Each month is a completely different style with new colors, fonts, layout – the works.
We would see some of our subscriber’s pins on Pinterest from multiple months with the exact same color palettes as the original templates.
Why is that bad?
When you don’t change the colors of your Canva templates to match your brand, there’s absolutely ZERO brand recognition for your audience.
Related Post: Easily Achieve Brand Consistency With Your Designs
Meaning your readers will never recognize you, which could definitely reduce your click-through rates.
When we’re looking for recipes on Pinterest, we’ll, without a doubt, click on pins we know to be from our favorite foodie bloggers versus ones we don’t know.
DON’T HAVE A BRAND COLOR PALETTE?
Creating a branded color palette is more than just choosing your favorite colors. There’s actually quite a lot of color psychology involved to ensure you’re attracting your ideal person.
And if you’re using the Canva template’s base colors because you haven’t created a brand color palette yet, make sure to check out this article and download the color guide in our free design library!
CHANGE TO YOUR BRAND FONTS
The fonts used in most templates, including ours, are really just placeholders to show you where your text goes.
We know pairing fonts is just as stressful as designing a color palette for your blog.
Because of that, we use visually appealing font combinations so those that really struggle with choosing their brand fonts can have a jumping-off point.
Related Post: Awesome Typography Tips to Rock Your Designs
Fonts are just as important as color when it comes to branding.
For example, our original brand used a script font and an outline font that was very distinct to the Simplifying DIY Design brand. It actually became our signature look!
We used both fonts in all our Pinterest, blog, and social media graphics, in all our products, designs, and even printables.
Here’s an example using a Canva logo template from our Complete Blogger Template Toolkit. The bottom design is the exact template but with our brand fonts.
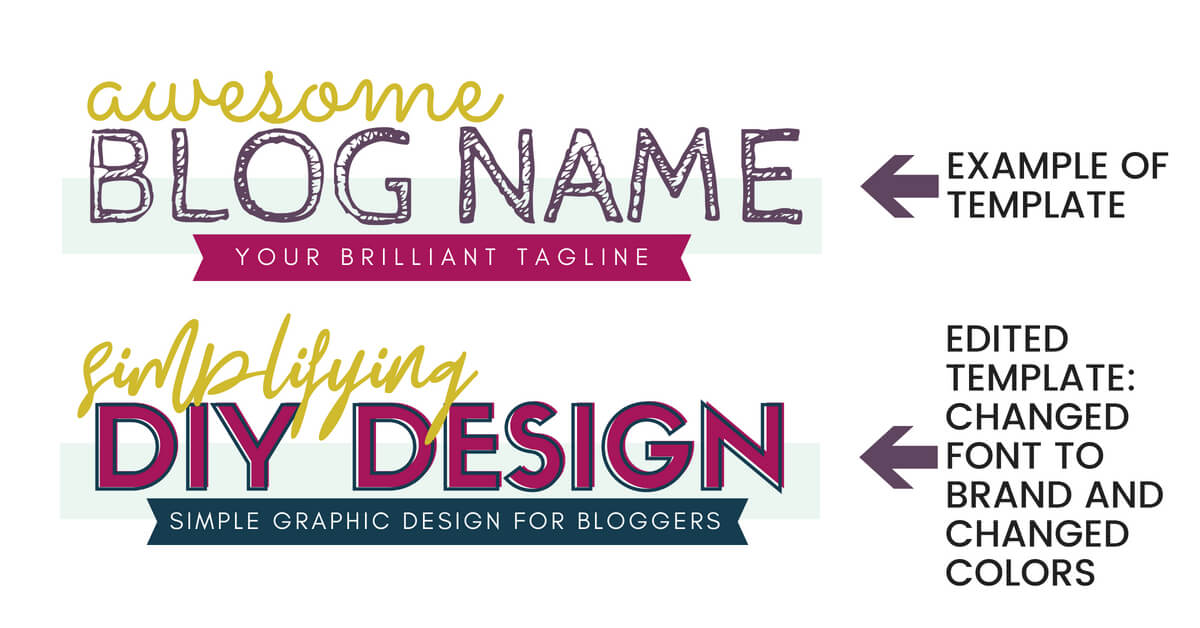
See how the top one is very generic, but the bottom one screams Simplifying DIY Design? That’s why you need to edit Canva templates using your brand fonts!
You wouldn’t even know it was a Canva logo template just by switching out the fonts. That’s how powerful branding can be!
DON’T HAVE BRAND FONTS?
Finding the right font combinations can be just as overwhelming as choosing a color palette for your blog.
We use (and love!) this FREE font generator to help us choose the perfect font pairings for our design projects.
Even though we’re designers, we’ll still happily take advantage of those done-for-you design tools because time is something we’d all love a little more of!
ADD YOUR OWN IMAGES
All photos used in templates are meant as placeholders and should be swapped out to match your content’s topic or blog niche.
Unless you’re getting custom templates made for your specific brand, you need to keep in mind that if everyone downloaded the template as-is, then everyone’s graphics will look the same!
Even if you’re purchasing niche-specific templates, we still recommend changing them out for branded images you chose.
You need to be able to stand out from your competition. If others purchased the same template pack as you (and you all kept the same images), your audience won’t know which way is up!
Additionally, we don’t ever recommend using free stock photo sites like Pixels or Pixabay because of the copyright issues a lot of bloggers had in the past.
Long story short, photographers were adding their photos and removing them a little later so they could then file copyright lawsuits against those who used them on their websites.
Blogging alone is hard enough. No one needs that extra drama!
Instead, we use DepositPhotos and Canva’s Pro media library for all of our stock photos.
If your brand is more feminine, we cannot recommend Haute Stock, Social Squares, or IvoryMix enough! They have some of the most beautiful, high-resolution stock photos we’ve ever seen.
Be sure to check out their free images first to make sure they’re right for your brand!
MAKE IT YOUR OWN
While this isn’t a template edit must, it’s something we think you should consider.
If you have a signature look or certain design elements that you absolutely love to use, see how you can fit them into your Canva templates. This can be things like:
- Abstract patterns
- Scribbles, swirls, or hand-drawn lines
- Dotted or playful arrows
What we mean is, if your Canva template has a plain arrow and you prefer to use swirly, fun arrows, make the switch and see how it looks.
Remember that monthly Canva template subscription we talked about earlier? The template on the left is from our June collection.
The template on the right is the same but edited using our brand’s color palette, fonts, and fun design elements we use throughout our blog’s graphics.
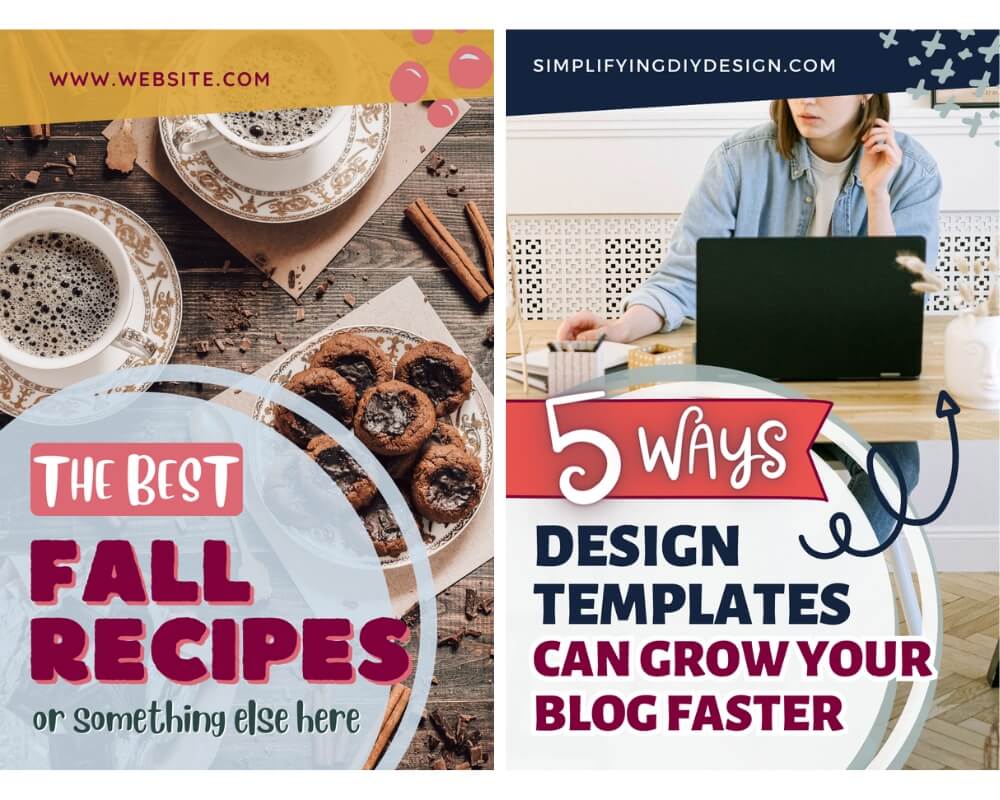
Even though it’s a template that other bloggers will use, it’s so unique to our brand that you wouldn’t know it’s from our own template membership!
Starting from the top, we:
- Swapped out the bubbles for an abstract X design
- Added a second layer under the text for dimension
- Used a fun banner to emphasize the text, ‘5 Ways’
- Added our favorite swirly arrow for a bit of fun
If a template doesn’t have space for your website URL (as shown at the top of the template in the example above), try adding your logo to the bottom corner!
SIDE NOTE: You CAN create a logo for your blog using Canva’s logo templates – you just can’t trademark it because it’s impossible to claim exclusive rights to something other people can use.
Related Post: Read This Before You Make Your Logo in Canva
This is easily forgotten because logos aren’t generally included on a Canva template. Your logo is like your signature on a piece of art; it’s important!
It helps establish a connection with your branded style and also your website. Another added benefit is that it deters copyright infringement and helps people get familiar with your blog name.
If you’re making any of these Canva template editing “mistakes” and your traffic just isn’t where it should be, it’s okay!
You’re actually in a really good place because you now know where to start ‘troubleshooting’ through experimentation.
Start by checking the Pinterest pins for your ‘low-hanging fruit’ blog posts. These are the posts that require very minimal effort in tweaks but will make a big impact on SEO.
You can also join us in our 3-Day Design Your Blog Growth Challenge to learn more about optimizing other areas of your blog with these simple (but impactful) design updates!
RESOURCES MENTIONED IN THIS POST:
- Easily Achieve Brand Consistency With Your Designs
- How to Choose the Perfect Colors for Your Brand
- Awesome Typography Tips to Rock Your Designs
- FREE Design Generators to Brand Your Blog
- Read This Before You Make Your Logo in Canva
Don’t forget to grab our FREE Product Creators QuickStart Kit! Use the checklist, cheatsheet, and Canva design template to create a digital product for your blog!
TRY CANVA PRO FREE FOR 30 DAYS
Start your FREE Canva Pro trial today and unlock ALL of their incredible time-saving features that cut your design time to just minutes.
To be honest? It’s the best $12.99/mo OR $119/yr we spend on our business because that time we save with every design is put back into making MORE money in our business!

Melissa Hickok says
Thank you for such a great article on templates and how to use them. I will be changing my templates out more with my brand.
karafidd says
I’m glad it was helpful!