Finding the right brand colors that attract your ideal audience can be quite a challenge. Here’s how to apply color psychology when choosing brand colors for your blog!
Color can easily be as overwhelming as fonts, especially if you don’t know where to start. First, there are SO many colors to choose from!
What if it looks good to you but not to everyone else? What if you give off the wrong vibe or send the wrong message?
Believe it or not, color actually has the power to evoke a physiological response from the viewer.
This means you can literally cause people to feel things just by using color.
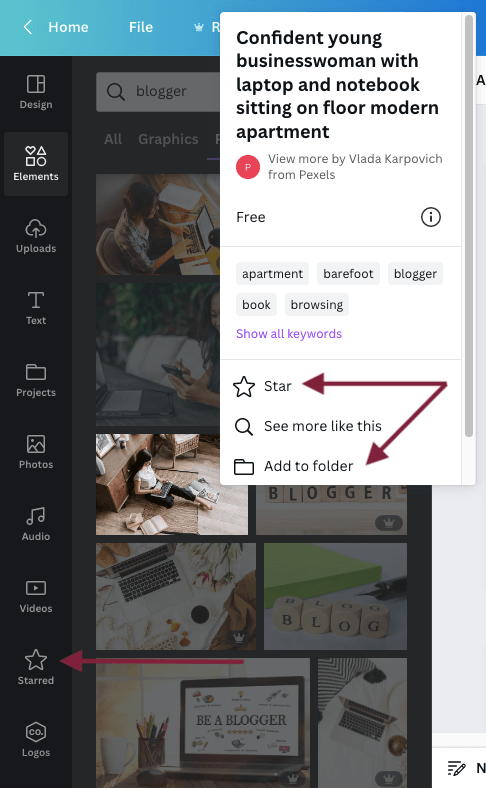
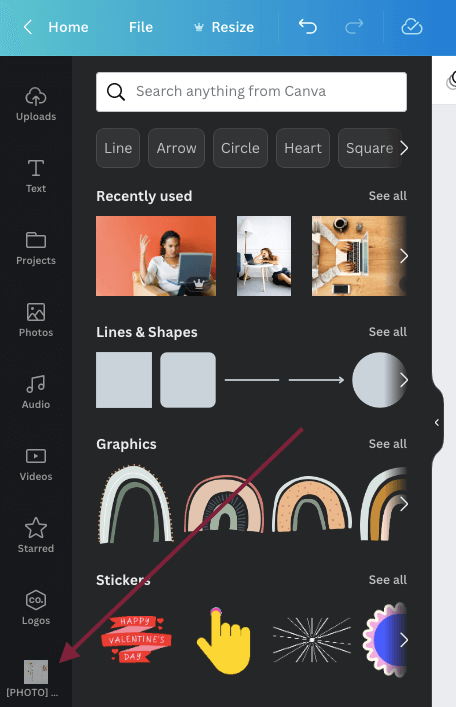
Working on your brand’s color palette? Use our FREE Color Guide + Palette Cheatsheet to help brainstorm the perfect brand colors for your blog!
You can make their heart beat a little faster. You can get them excited, even cause them to feel warm.
Some colors even cause a temporary increase in blood pressure.
We’re not saying all of that to overwhelm you even more. We just want to emphasize the seriousness of a well-thought-out color palette in relation to your unique brand.
Because between the terminology, psychology, and “deeper meanings,” or even just what looks good, it can cause a lot of bloggers to feel stunted. And we definitely don’t want that!
We’ll never forget a client telling us, “I suck at graphics. I don’t know what looks good. I wear polka dots and stripes together and don’t realize there’s anything wrong with it.”
So, if you’re a polka-dots-and-stripes kind of blogger, we’ve got you covered.
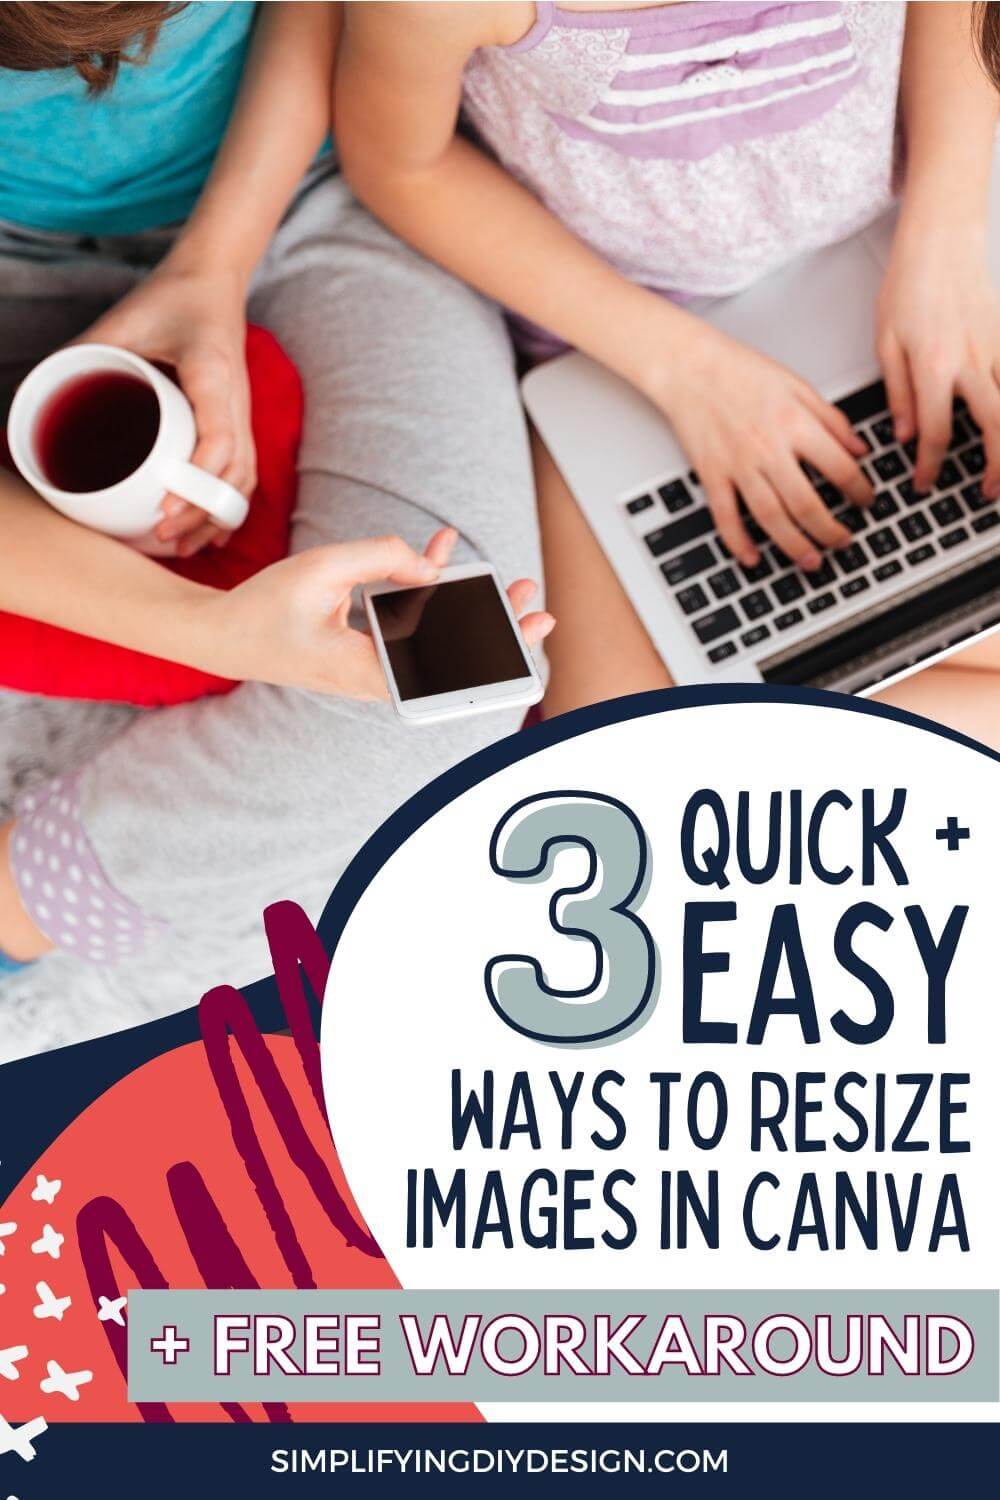
WANT TO REMEMBER THIS LATER? SAVE IT TO YOUR FAVORITE PINTEREST BOARD! ⬇
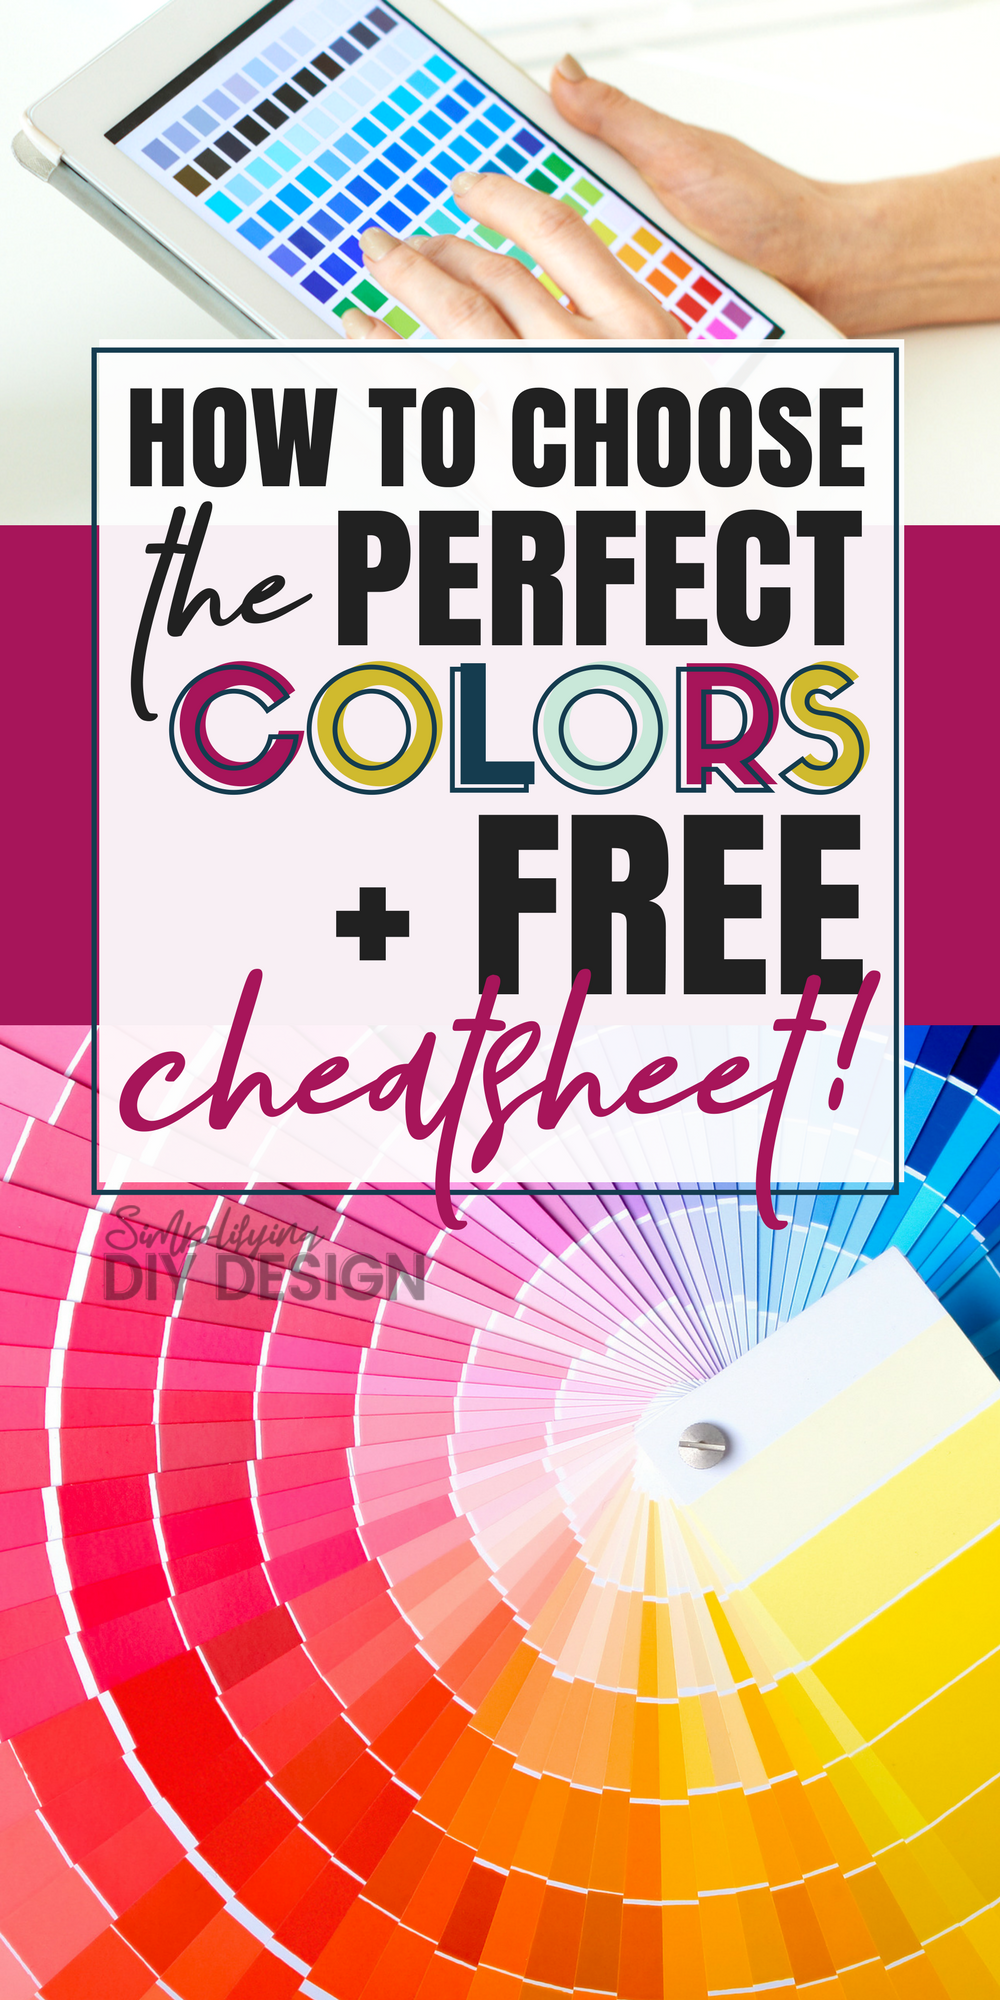
Table of Contents
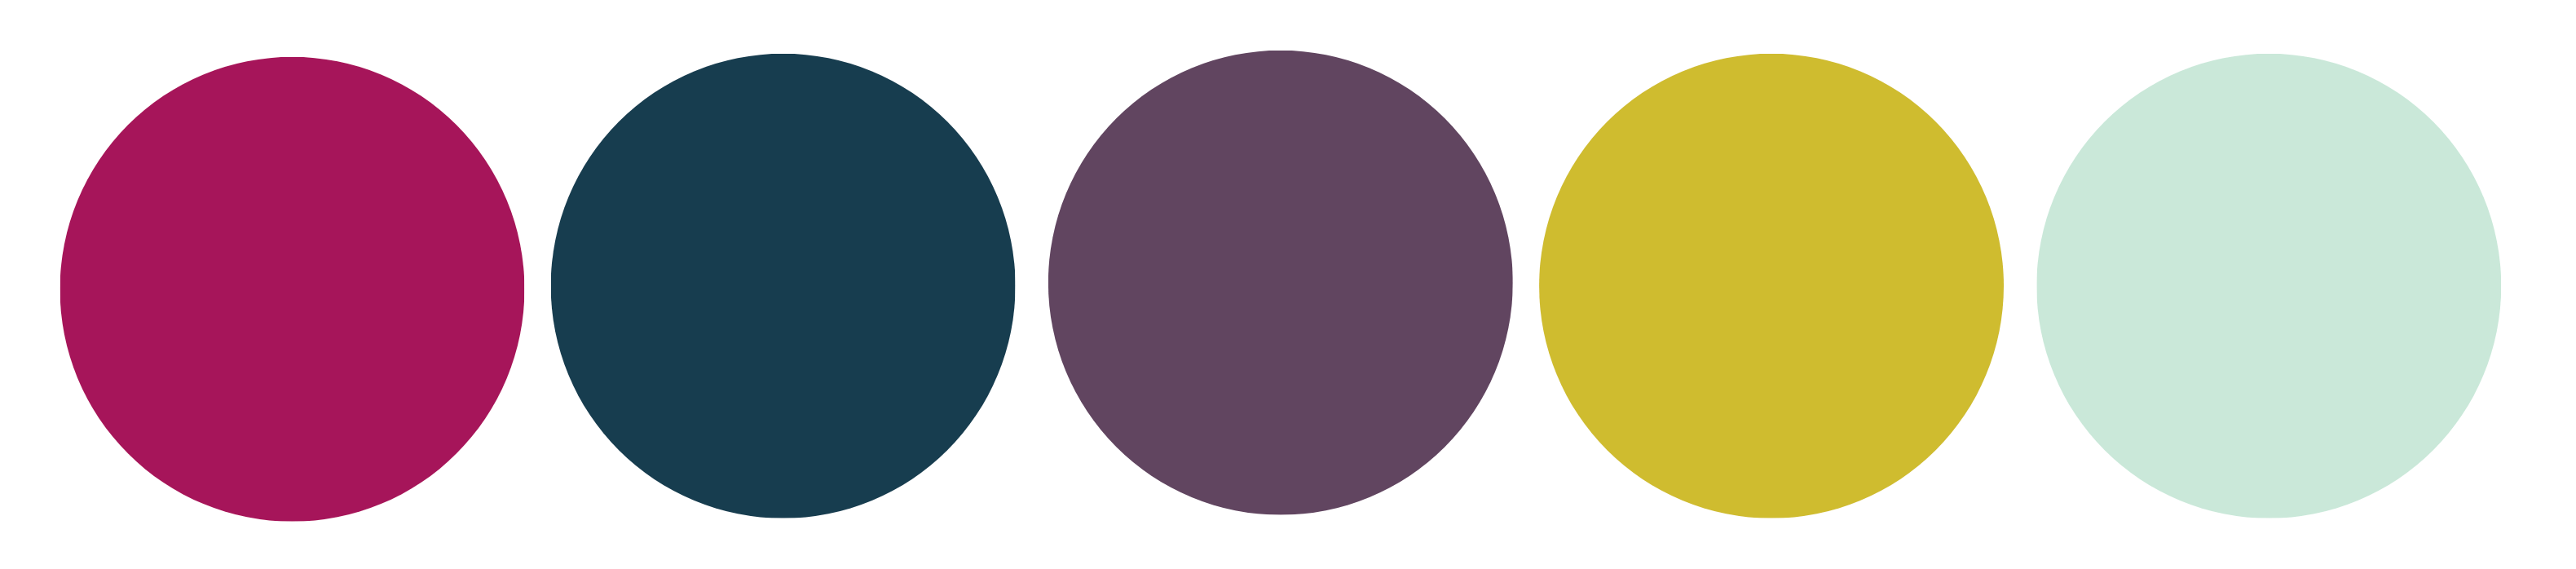
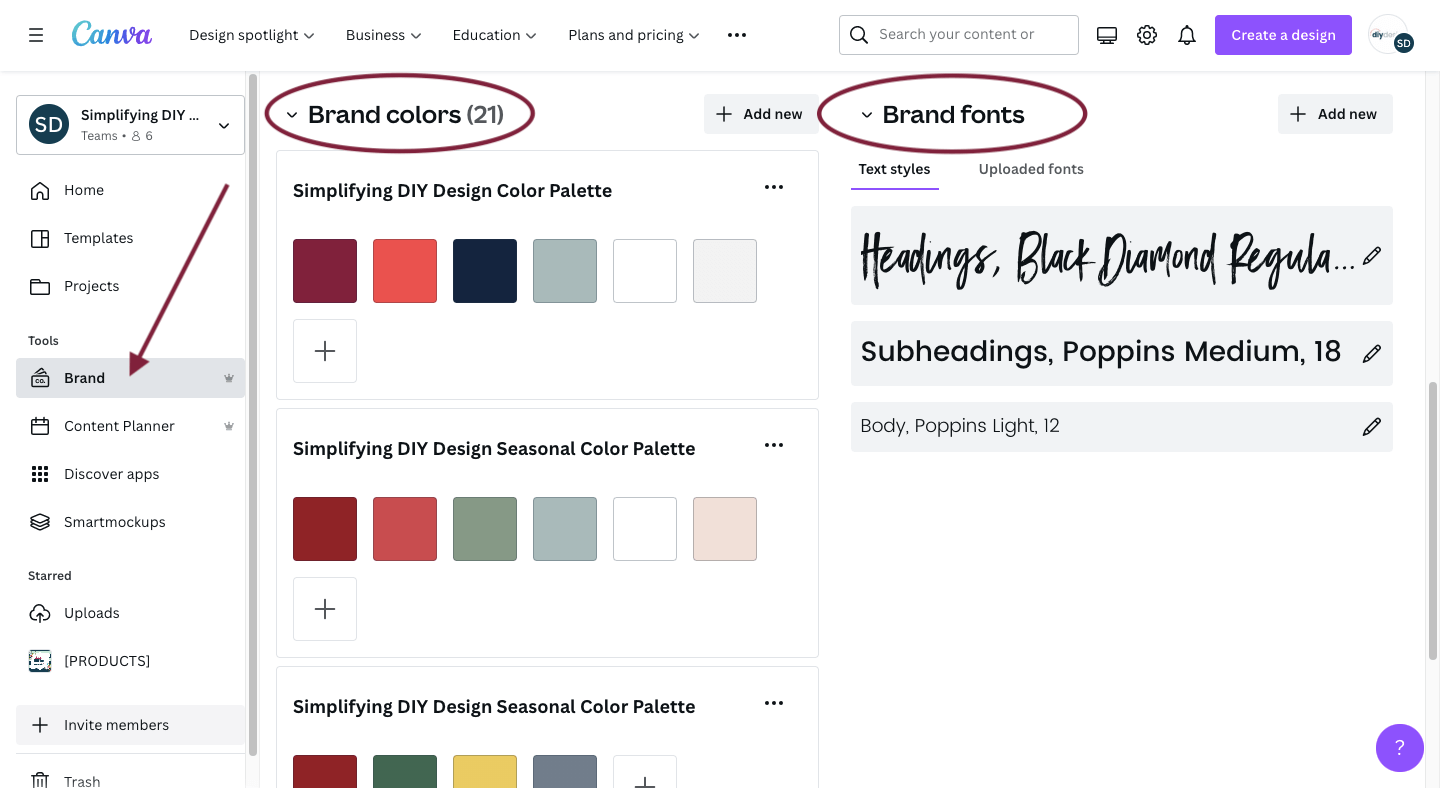
WHAT IS A COLOR PALETTE?
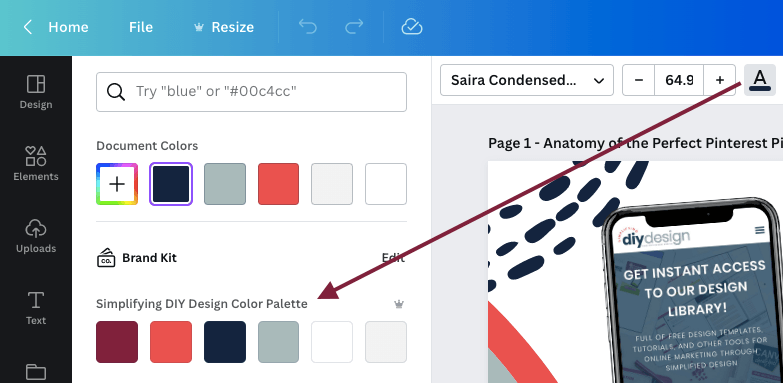
You’d find brand colors in a brand’s color palette that’s used consistently to represent a business.
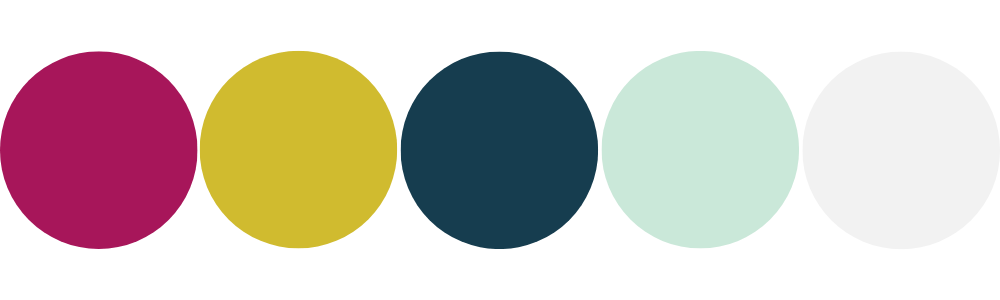
Most color palettes range from 4-6 individual colors. But, some brands will go as far as to include 8-10 in a variety of different shades, which we’ll touch on later in this post.
Related Post: How to Create a Holiday Color Palette for Your Blog
Your brand colors need to be more than just a handful of your favorite colors… or a random color palette you found on Pinterest.
For the sake of transparency, that’s how we found our first set of brand colors for Simplifying DIY Design!

A well-designed color palette can attract the right audience and communicate the right emotions, making selling a whole lot easier.
Before we can dive into finding your brand colors, we first need to understand the psychological (or deeper) meaning behind colors.
UNDERSTANDING THE DEEPER MEANING BEHIND COLORS
As we said earlier, color has the power to evoke a physiological response, such as an increase in heart rate and physical warmth.
Color also has the ability to change a person’s emotions, such as sadness or anger.
On a more basic level, color can also attract (or deter!) people based on personalities.
For example, soft brand colors consisting of pastels wouldn’t accompany a brand personality of tough love but that of compassion. See what we mean?
PRIMARY COLORS
Now, let’s take a look at primary colors and why they’re so important.
Primary colors cannot be made from other colors. They’re the source of every other color on the color wheel. Pretty cool, huh?
YELLOW: Funny story: a couple painted their nursery bright yellow and couldn’t figure out why their baby wasn’t sleeping. Since yellow emphasizes warmth, joy, playfulness, and optimism, it was no wonder they couldn’t get their baby to sleep!
BLUE: Being one of the most popular brand colors, blue can represent intelligence, coolness, trust, serenity, efficiency, and logic.
RED: Most commonly associated with danger, passion, determination, and excitement. It’s also a well-known color in the food industry, as it’s linked to hunger. Red also represents energy, power, warmth, courage, love, and empowerment.
SECONDARY COLORS
Knowing that primary colors are the source of all other colors, can you guess what secondary colors are?
Secondary colors are made by mixing two primary colors that are adjacent to each other on the color wheel.
ORANGE: When you see the color orange, what comes to mind? You’re right if you guessed happiness, having fun, energy, determination, security, and creativity. It’s a popular color amongst kid-related brands, too.
GREEN: Green is a very versatile brand color, representing many things like freshness, money, tranquility, balance, health, wisdom, and harmony.
It’s commonly used in the finance, health, and nature industry. This is where terms like tint, shade, and saturation come into play, which we’ll dive into more in just a moment.
VIOLET/PURPLE: Purple is most notably associated with royalty and luxury, as it was incredibly difficult to produce and, therefore, only purchased by elites. Purple is also seen to represent spirituality, wisdom, ambition, magic, and mystery.
DESIGNING IN ABSOLUTES
Now, let’s say you have a food blog with a brand personality that’s fun and healthy. Does that mean you NEED to have red (hunger), orange (fun), and green (health) in your color palette?
Absolutely not!
- Starbucks doesn’t serve the healthiest drinks in the world, but its brand colors are shades of green
- For most, using/paying with credit isn’t fun, but MasterCard’s primary color is orange
- The thought of Toyota doesn’t generally exhibit passion or anger, much less hunger, yet their logo is entirely red
But it does provide a great jumping-off point if you’re stumped with choosing the right brand colors.
Related Post: Easily Achieve Brand Consistency with Your Blog
Remember when we said that a color palette needs to be more than just your favorite colors or a random palette you found on Pinterest?
Our first color palette for Simplifying DIY Design came from Pinterest!
While we fell in love with the colors, we also used our knowledge about color to ensure it would attract our intended audience.
We’re trying to say that going against the grain is okay. Not everything has to be in absolutes.
Your blog is 100% yours and yours alone. Have fun with it!
COLOR TERMINOLOGY
Speaking of absolutes, let’s chat about a few basic color terms that, even as bloggers, you should know.
These will help you better understand color programs like Coolors.co and Color Hunt and communicate effectively with brand designers if you choose that route.
Related Post: Top 3 FREE Design Generators for Bloggers
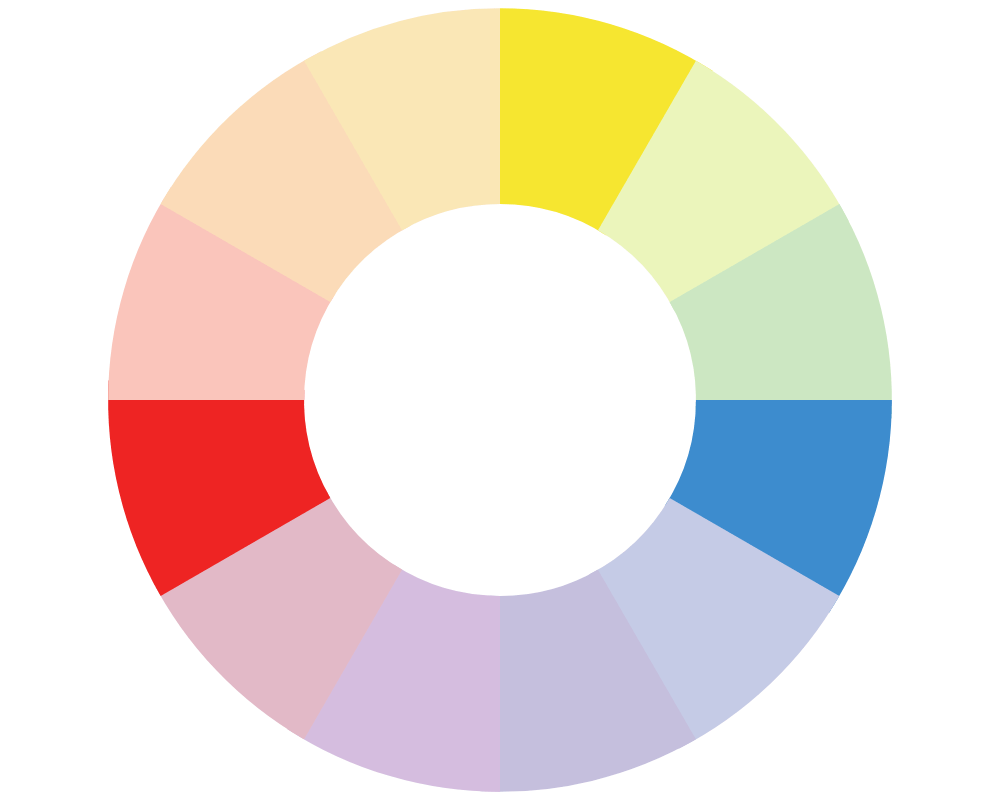
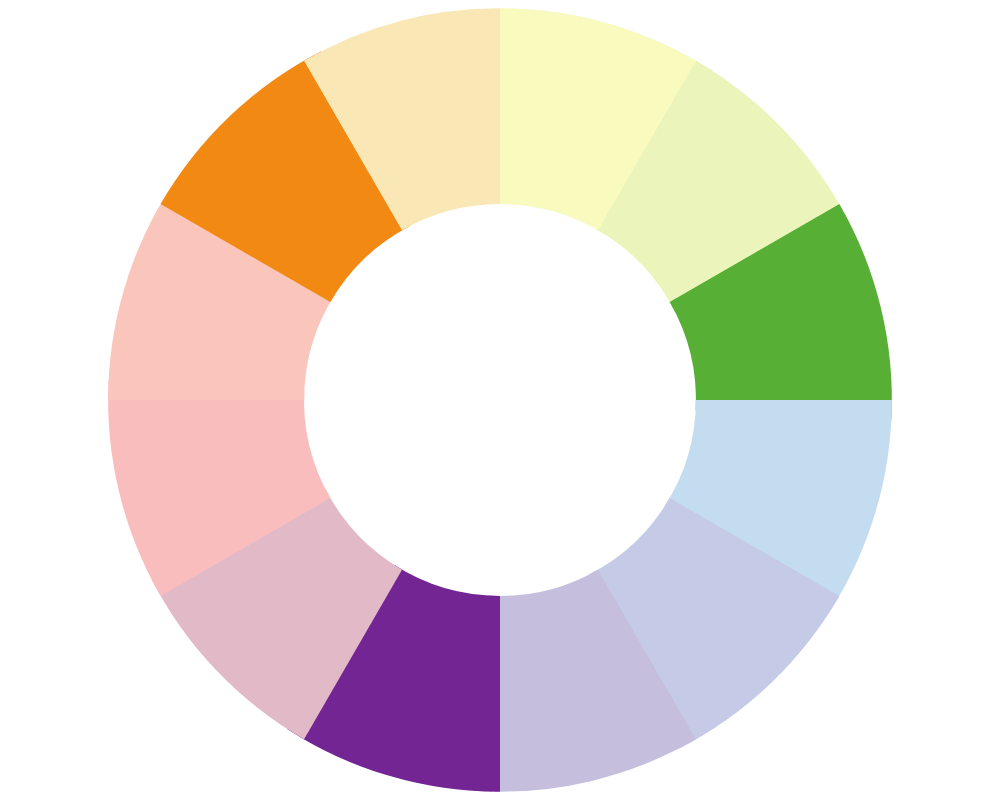
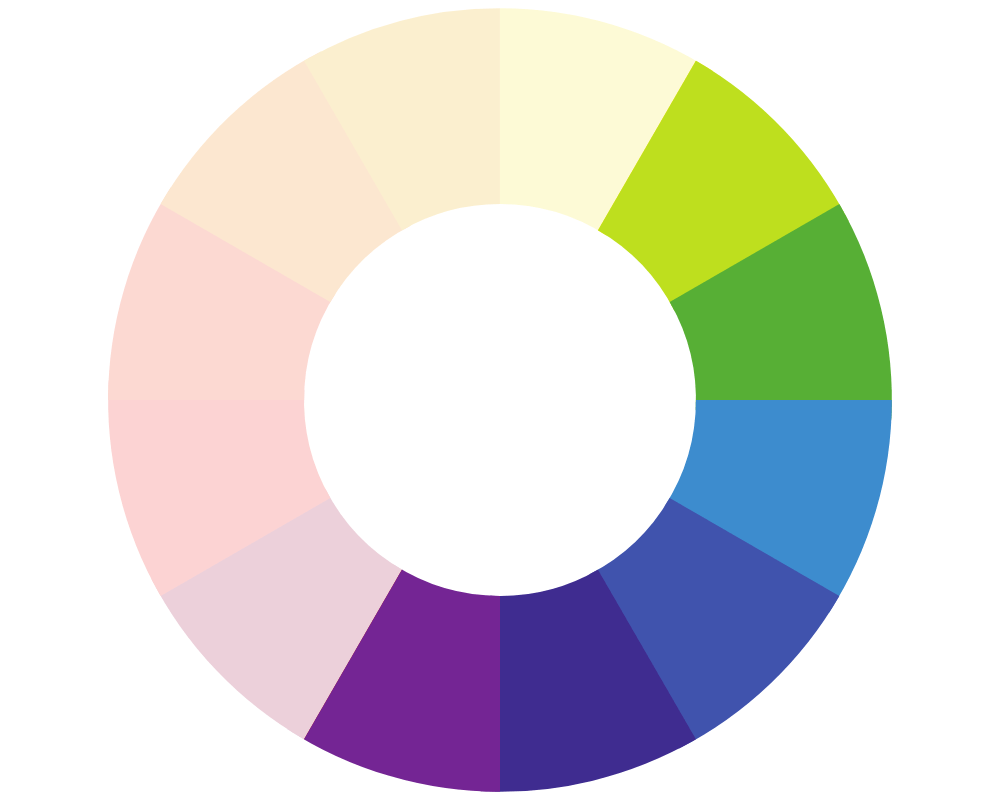
COLOR WHEEL: A visual illustration (usually a circle) representing the relationship between colors.
HUE: Refers to a color (synonym for color)
WARM COLORS: Think fire: red, yellow, orange, and pink/magenta.
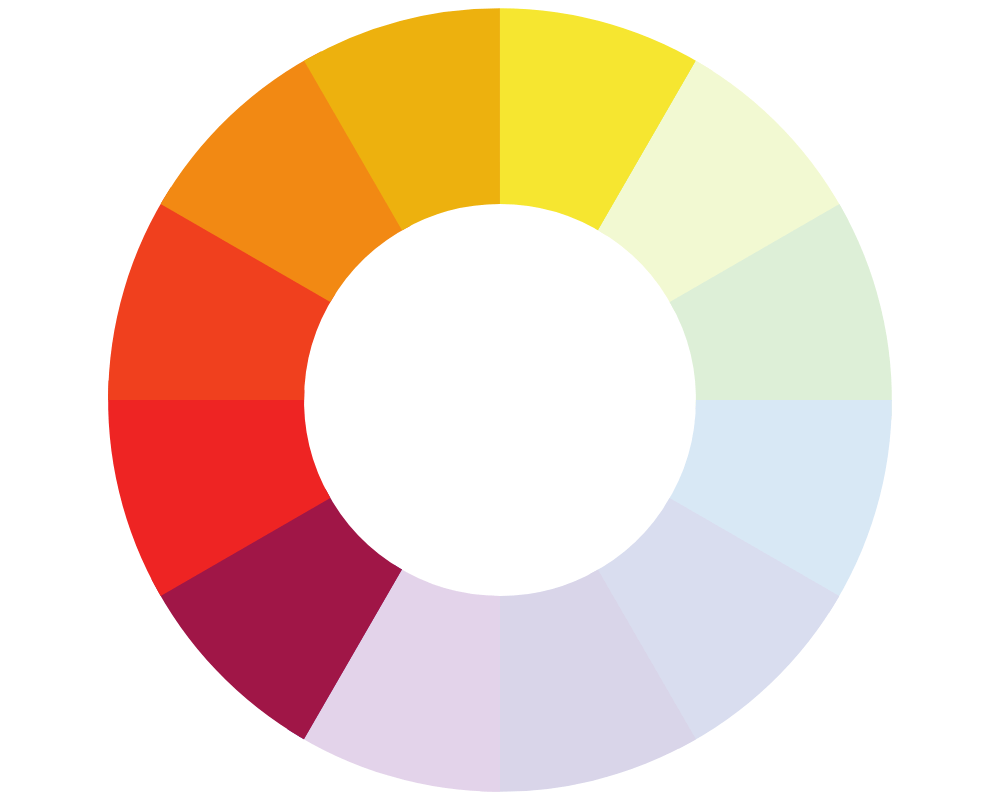
Warm colors give an overall inviting feel. They generally get more clicks and convert well on Pinterest, specifically.
Keep note that it’s important to be thoughtful about your warm colors.
COOL COLORS: Think ice: blue, green, and purple.
While many cool colors are popular, they don’t convert well on Pinterest. They don’t stand out as well or shock the eye.
Cool colors are most often portrayed as pastels that blend well and provide a calm feeling.
‘Calm’ is a nice vibe for a blog, but ‘exciting’ is what gets the clicks.
If you’re set on having a color palette of mostly cool colors, there are ways to incorporate at least one warm color while keeping it complementary.
COMPLEMENTARY COLORS: Complementary colors are opposite on the color wheel.
Why is this important? It’s basically a quick way to find colors that go perfectly together.
A great example is the infamous red and green Christmas colors. These colors are directly across from each other on the color wheel, meaning they’re a perfect match and 100% complementary.
TINT: Lighter variation of a certain color (by adding white).
SHADE: Darker variation of a certain color (by adding black).
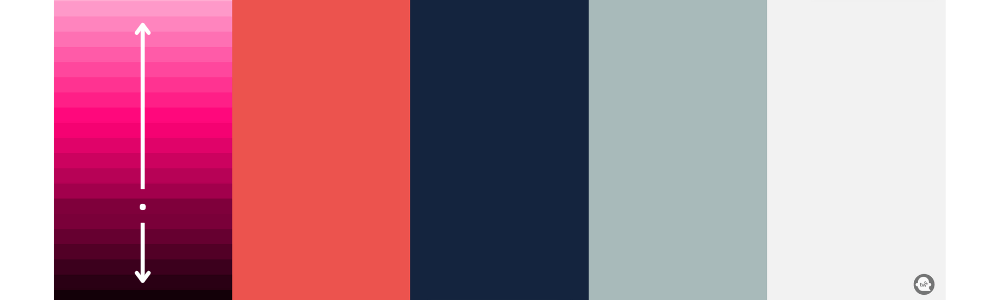
Tint + shade example made with Coolors.co
VALUE: Refers to the lightness or darkness of a color.
SATURATION: Used to describe the intensity of a color.
WHERE TO FIND COLOR INSPIRATION
We’ve seen bloggers use anything and everything as inspiration for their brand’s color palette. Things like a book cover, wallpaper, garden, fruits, sunset, fabric swatch, and even their favorite bird.
When we were designing complete brand kits for our Five-Minute Brand, we started with mood boards. This helped us develop a personality for each unique brand we created, making designing a color palette much easier.
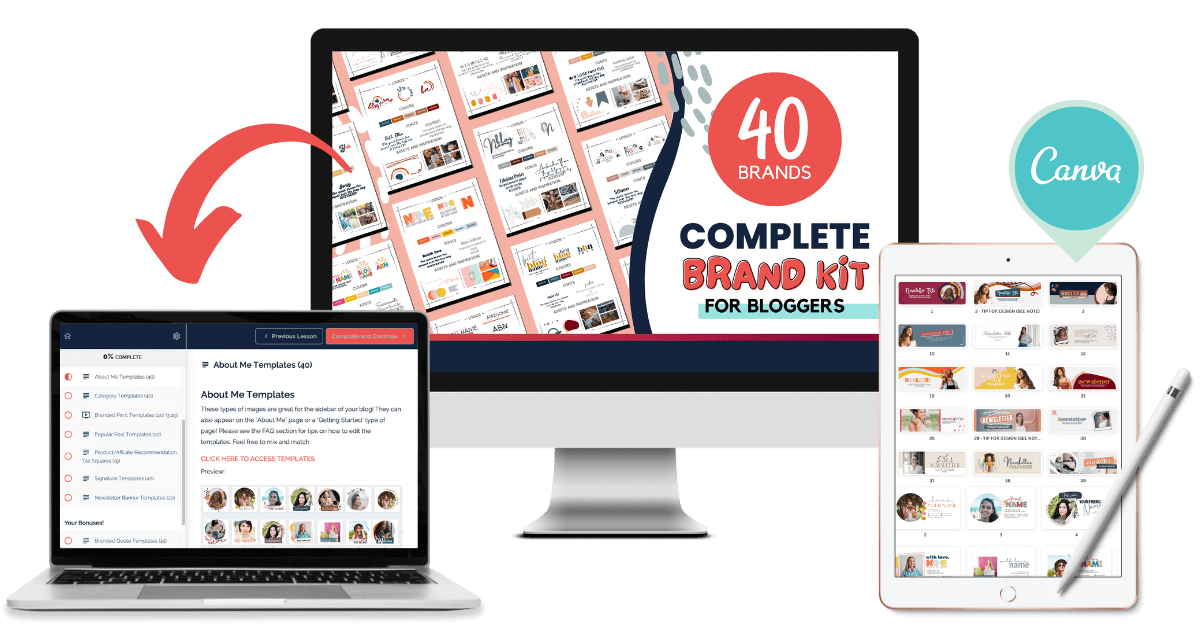
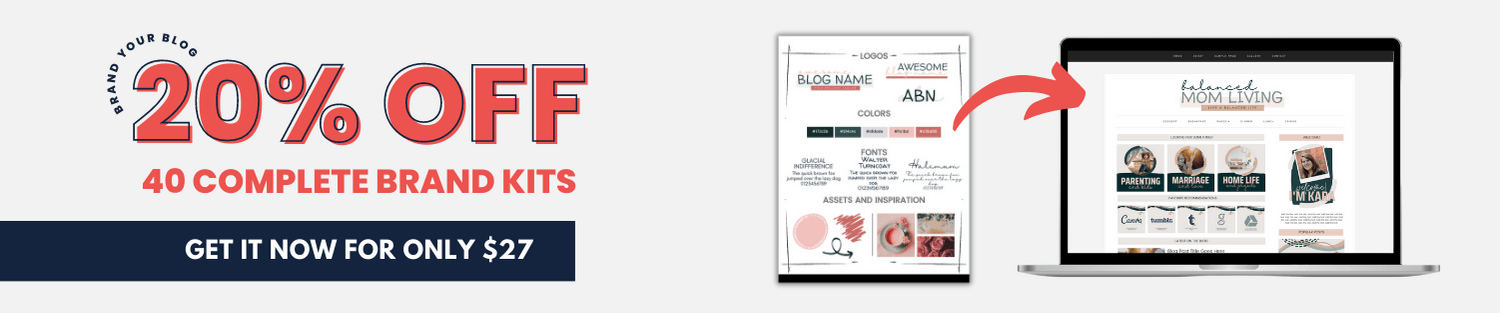
With our Five-Minute Brand, you’ll get instant access to 40 complete (editable!) brand kits PLUS matching Canva templates to brand your blog. Get it now for just $27!
Pinterest is a great place to search for both mood boards and color palettes. Use our Color Palette board on Pinterest or palette cheatsheet in our FREE Color Guide if you’re still unsure where to start!
We also recommend using color-specific tools such as:
- Coolors.co (our fave!)
- Design Seeds (more soft than bold)
- Color Hunt (categorized by style)
- Color Picker (used to find hex codes from an image)
HOW TO CHOOSE YOUR BRAND COLORS
We truly believe that personality plays a big part in choosing a color palette.
Our personalities are very bold! We love creating fun, bold, and colorful designs for our brand and NEW Pinterest designs for our Mega Pinterest Template Bundle!
If we had to describe our personalities, we’d go with: Tell it like it is, honest, bold, and creative.
Related Post: Create a Brand Personality That Just Screams YOU
We wanted our brand to reflect just that because that’s who we are in our writing, designs, and teaching style. We don’t have pastels or neutral tones in anything we create online.
Likewise, a feminine brand usually has more of a delicate personality and would be best suited for colors such as soft pinks and creams.
If you struggle with determining your brand’s personality, open a document and title it “Brand Personality.”
Set a timer (five minutes will work) and brain-dump all the words that come to mind when you think of you and YOUR personality.
Refer to the list anytime you need to choose colors for your brand/blog.
If your brand reflects your personality, it’ll also attract other like-minded people. That’s how you’ll find your audience!
RESOURCES MENTIONED IN THIS POST:
Don’t forget to grab our FREE Color Guide + Palette Cheatsheet to help brainstorm the perfect brand colors for your blog or design project!
TRY CANVA PRO FREE FOR 30 DAYS
Start your FREE Canva Pro trial today and unlock ALL of their incredible time-saving features that’ll cut your design time down to just minutes.
To be honest? It’s the best $14.99/mo OR $119/yr we spend on our business because that time we save with every single design is put back into making MORE money in our business!
WANT TO SAVE THIS FOR LATER? PIN IT TO YOUR FAVORITE PINTEREST BOARD!⬇