Save yourself loads of time by growing your list using content you already have. Here’s how you can repurpose blog content to create value-packed lead magnets that your audience will love!
Have you ever fallen in love with something you once hated? For the sake of transparency, that’s how we felt about growing an email list when we first started blogging.
We had no idea what an email list really was, what to write about, or how to get people to actually sign up, let alone make any money with it!
After a little research, we did what most beginner bloggers do; we created a random lead magnet that we *thought* people would like but didn’t really relate to any of our blog’s content.
Ready to nail your product launch? Get our FREE Product Creators QuickStart Kit with a checklist, cheatsheet, and Canva design template so you can create a digital product for your blog!
Then, we started doing the classic follow-for-follow. You know, I comment on your blog post if you comment on mine type of thing.
We were SO excited about our first few subscribers, even though they were totally random people that were NOT at all our avatar and would eventually unsubscribe. Should’ve seen that coming…
Without a strategy, none of the things we were doing to build our email list was working.
We were fighting for every subscriber and knew there had to be a better way… we just didn’t know what that was.
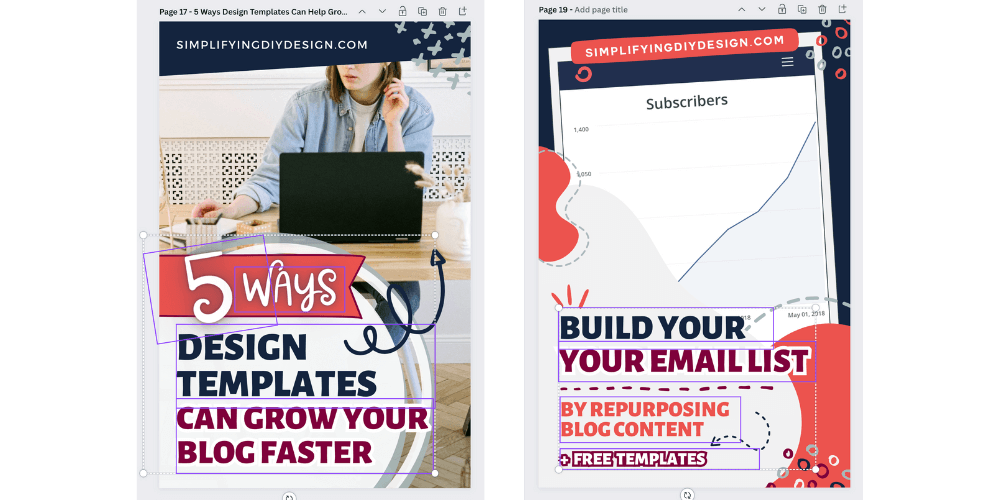
REMEMBER THIS POST LATER! PIN IT TO YOUR FAVORITE PINTEREST BOARD!⬇
Three blog attempts later, we were determined to get this blogging thing right.
So when we launched Simplifying DIY Design in the fall of 2017, we made a pact to focus on our email list from day one.
We signed up for an email course created by a blogger friend who was getting about 150 sign-ups a day.
We poured over every lesson, learning as much as we could. By the end, we filled an entire notebook with a step-by-step strategy for OUR avatar that we were itching to implement.
And that’s when our luck started to turn!
Three months after launching, we had 456 amazing new subscribers. By month seven, we grew our email list by OVER 1000 subscribers in just ONE MONTH.
The perfect lead magnet doesn’t have to be complicated. In fact, we made it a lot harder than it had to be. The strategy we learned was completely different from what we had ever known.
It was a facepalm moment while we were going through the course, to be honest…
Designing doesn’t have to be hard, either! We’ve got TONS of templates in our free design library to help you out.
Here are some super easy ways you can repurpose blog content to make that perfect opt-in.
- Know your avatar
- List out your top 10 blog posts
- List out all your related content
- List out your top queries (keywords) using Google Console
- Get access to the templates in our library
If you don’t have a lot of history to work off of, that’s okay too!
As we said, we focused on growing our email list right from the get-go, so the only data we knew was our avatar and boy, did we KNOW her!
Because our blog posts were written for our avatar, we knew exactly what they struggled with, which made creating lead magnets that much easier.
We were able to repurpose blog content into emails, workbooks, and even a design challenge that brought in 31 new subscribers in 10 days from just one blog post!
Table of Contents
CREATE A CHALLENGE
Looking at your related content and/or your top 10 blog posts, consider…
What is your avatar most excited about? What are they trying to learn more about? What can you teach them?
Then, create a challenge (usually 5-7 days) based on that topic. You can deliver the daily challenge via email (most popular) or set it up as an online course through something like Teachable.
You can even start a Facebook group or some sort of connection point dedicated to that challenge.
Another fantastic option is to design a companion workbook that helps your readers through the challenge.
Related Post: Design a Workbook in Canva the Easy Way
This can also be excellent pre-launch content if it’s related to a paid offer that you can promote at the end.
People joining the challenge will already be interested in that topic. And by the end, if they complete all the assignments, they’ll be excited to buy from you!
WHAT WE DID
It’s no secret our avatar wants to learn more about design, whether it’s how to make their own designs to grow their blog or by using design templates.
So, we took that knowledge and created a free 3-day design challenge that we hosted on Teachable.

Then, we decided to repurpose blog content to create a 48-page companion workbook as an upsell (or tripwire product) that we offered immediately after they signed up for our free challenge.
They were also tagged and added to an email sequence using ConvertKit, where we automated:
- Re-offering the workbook a couple of days later
- Asking for feedback via Google Forms survey
- An evergreen flash sale for a related higher-priced product
This was such a simple yet incredibly effective way to boost sales with minimal effort on our part. In fact, we were selling more workbooks on the re-offer than as a tripwire!
Regarding the higher-priced product, we were getting emails almost daily saying it was the exact thing they were looking for.
Once they purchased, they were removed from that email sequence (so they’re not getting promotional emails for a product they just bought) to then enter another sequence that was jam-packed with value (and freebies!) to build even more trust.
DESIGN A WORKSHEET
The easiest place to start with creating a worksheet is figuring out your most popular blog post. From there, brainstorm ways to make that post more actionable.
We recommend making actionable worksheets for at least your top 10 blog posts.
You can always have more than one lead magnet in each post, just like we do in this one!
Related Post: How Worksheets Can Grow Your Email List
Worksheets work so well because the reader most likely found your article by searching for a solution to their problem.
Worksheets provide a great step-by-step solution. If they take action using your worksheet, they’ll find value. And what happens when a reader finds value?
They build trust with you, which helps make selling that much easier. We cannot stress it enough – value, value, value!
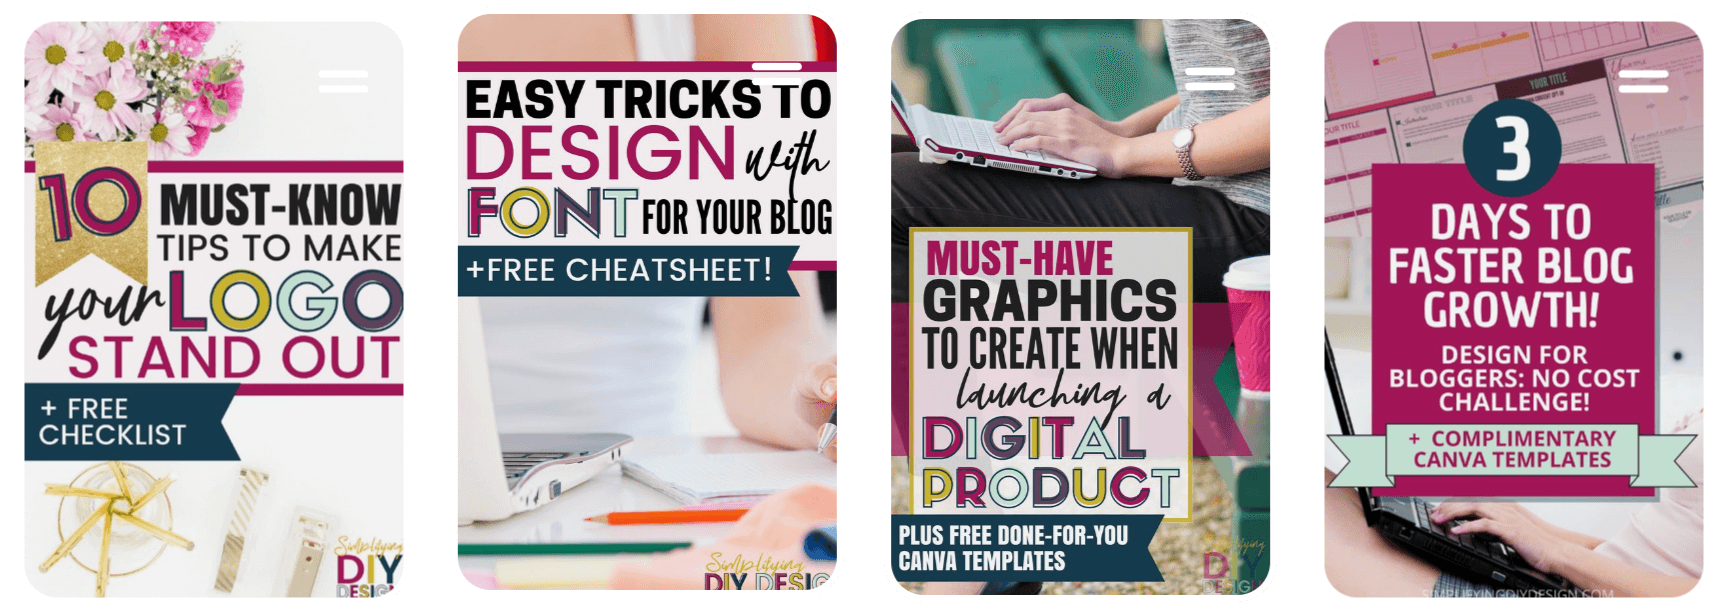
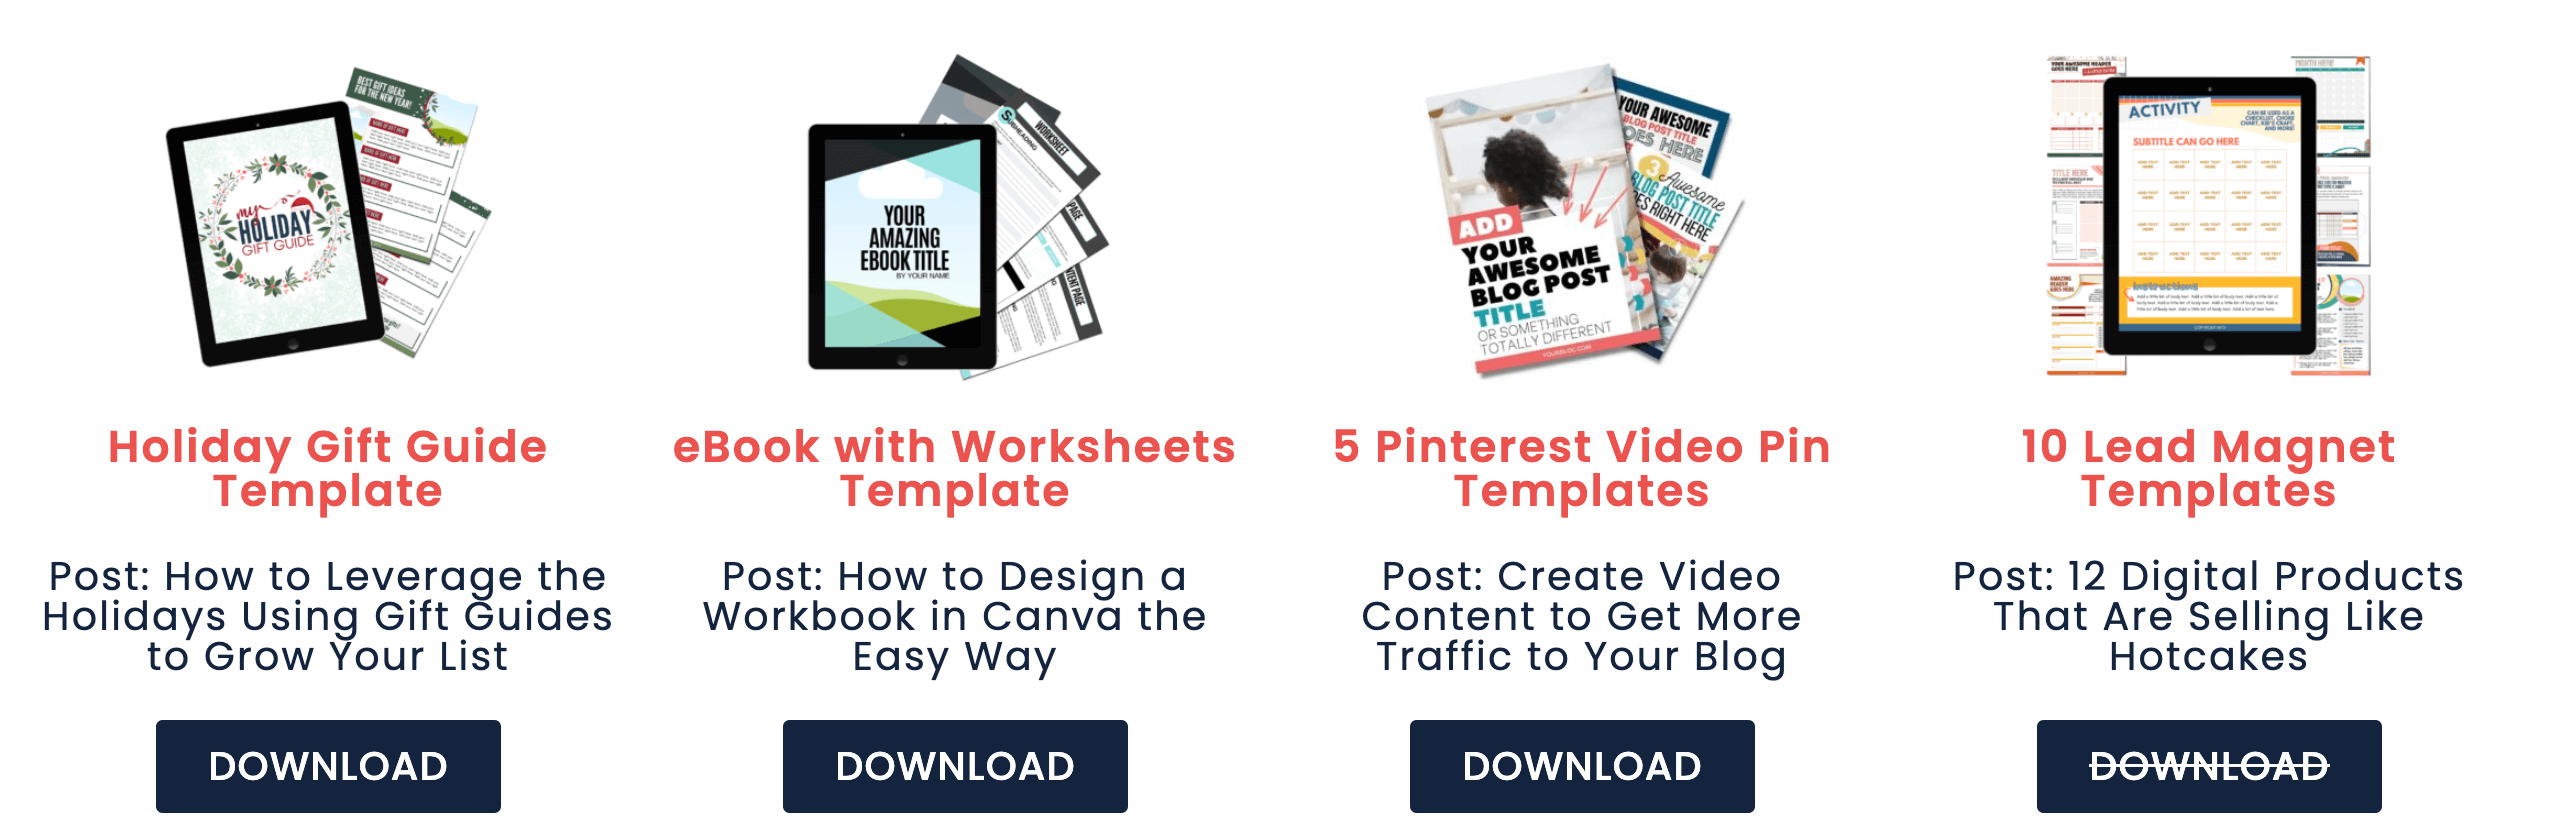
Grab our FREE Canva lead magnet template pack to get started!
WHAT WE DID
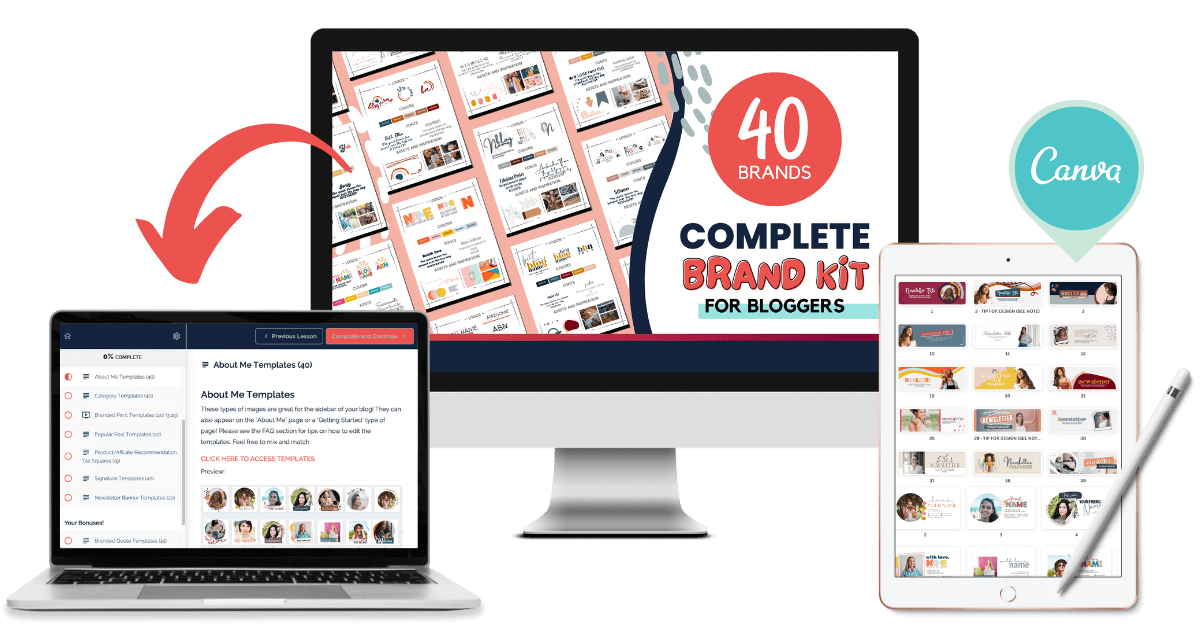
Without a doubt, our most popular blog posts (according to Google Console) are learning more about Canva – design shortcuts and tricks, how to resize images, set up your Brand Kit, etc.
With worksheets in mind, we could easily repurpose blog content to create a Canva Shortcuts Cheatsheet as our lead magnet.
We took all the Canva shortcuts we mentioned in our blog post (plus a ton more!) and added them to a PDF for easy access. That way, our readers can have the PDF close by instead of forgetting about the blog post, which could save them time!
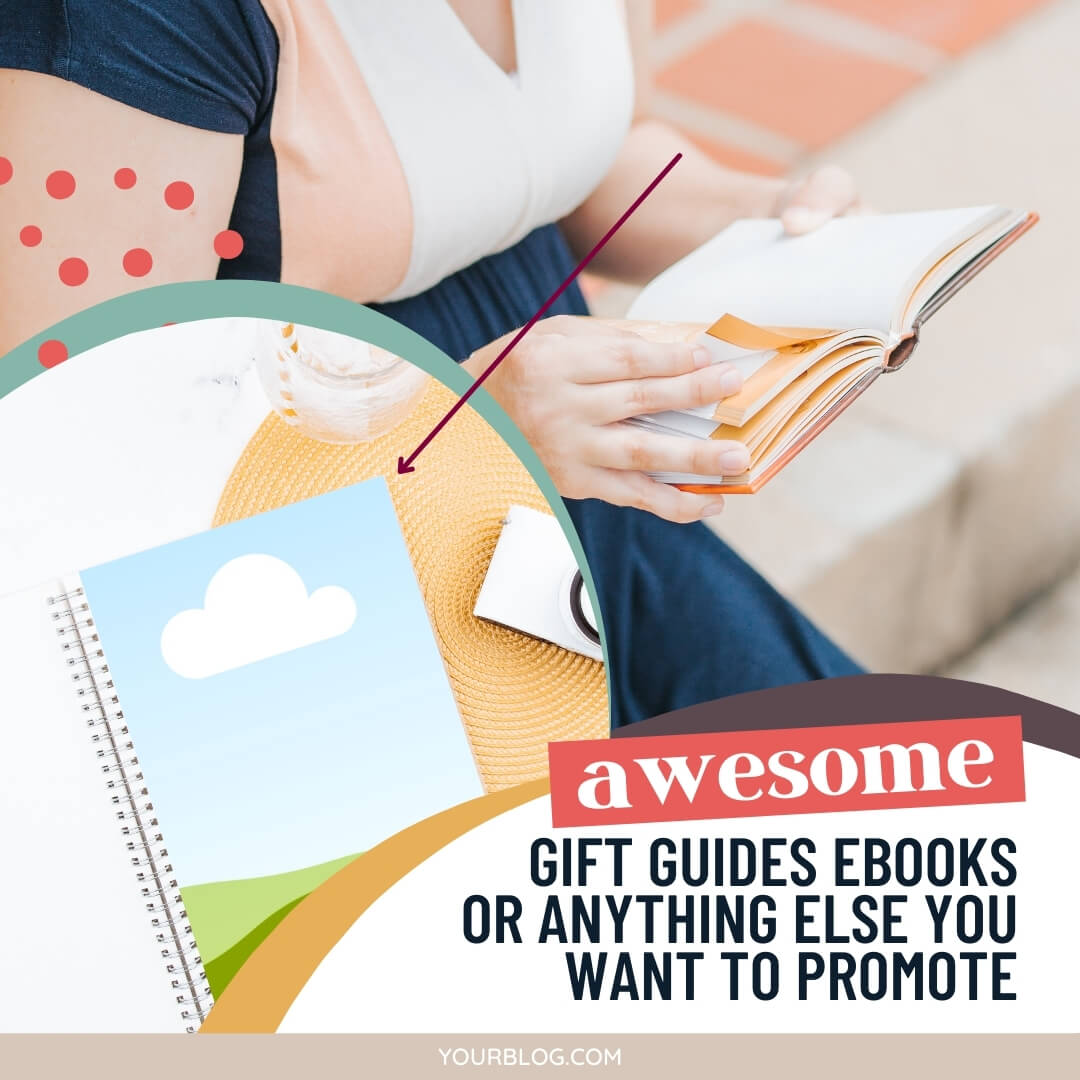
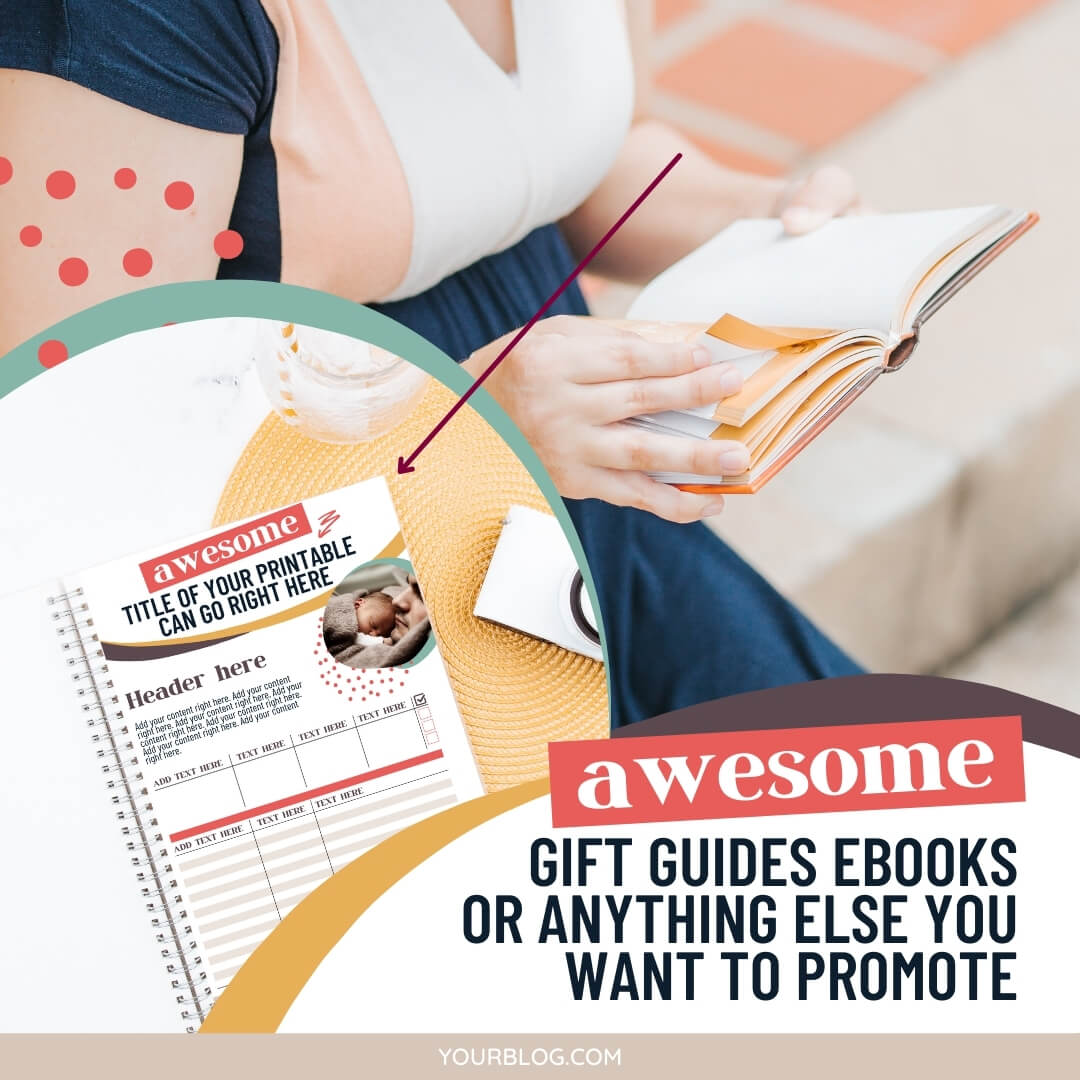
WRITE AN EBOOK
This is the fastest and easiest way to repurpose blog content because it’s essentially a direct copy and paste.
Looking at your related content, is there a way to piece it together to form a valuable eBook or workbook?
Related Post: How to Create an Editable PDF for Your Readers
You may have to add a little more content to beef it up and make it flow, but you can easily repurpose what you’ve already written into a PDF.
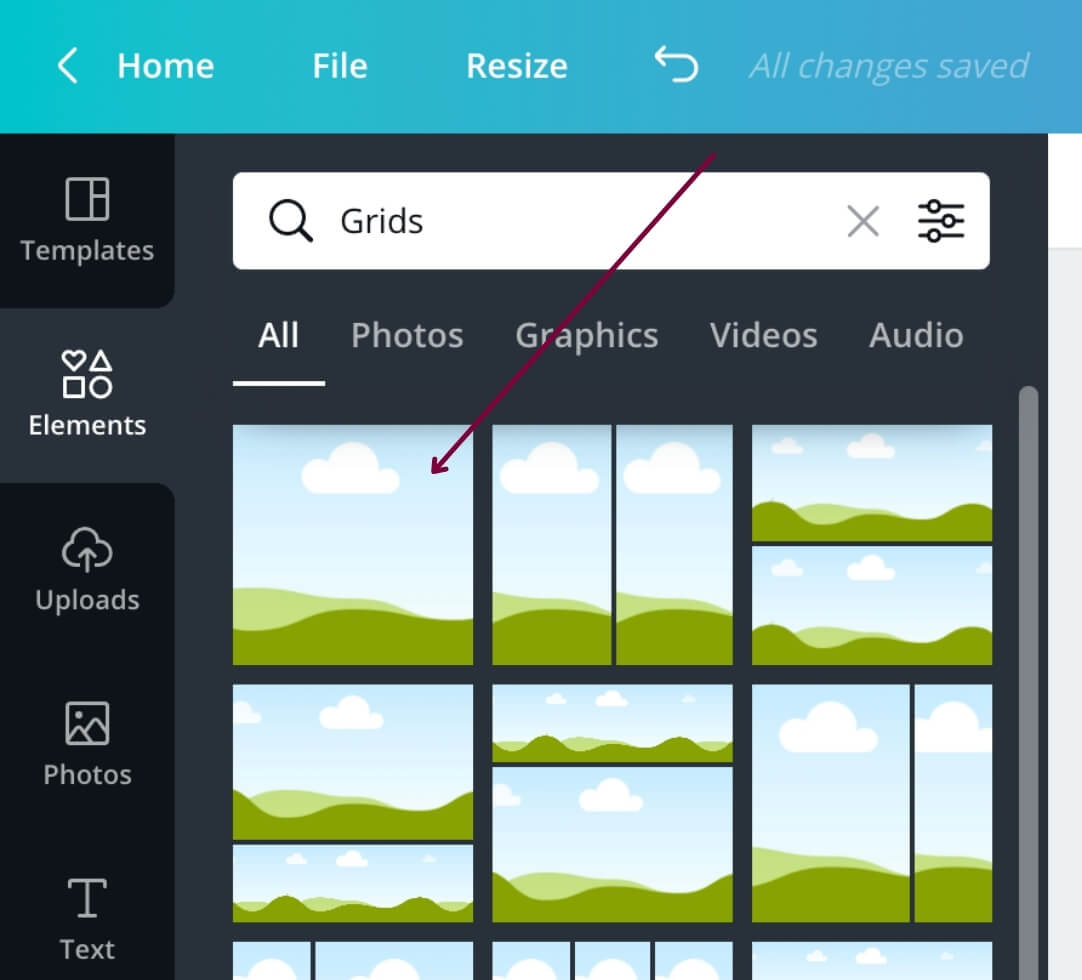
You can create your eBook in Word if you’re short on time. But we recommend using Canva to give it that professionally-designed look that’ll really impress your readers!
Plus, you can use our Canva eBook template to speed up the process even more.
While Canva is 100% free to use, they also have a Pro plan that is the best design investment we’ve made in our business. You can get a free 30-day trial of Canva Pro here!
WHAT WE DID
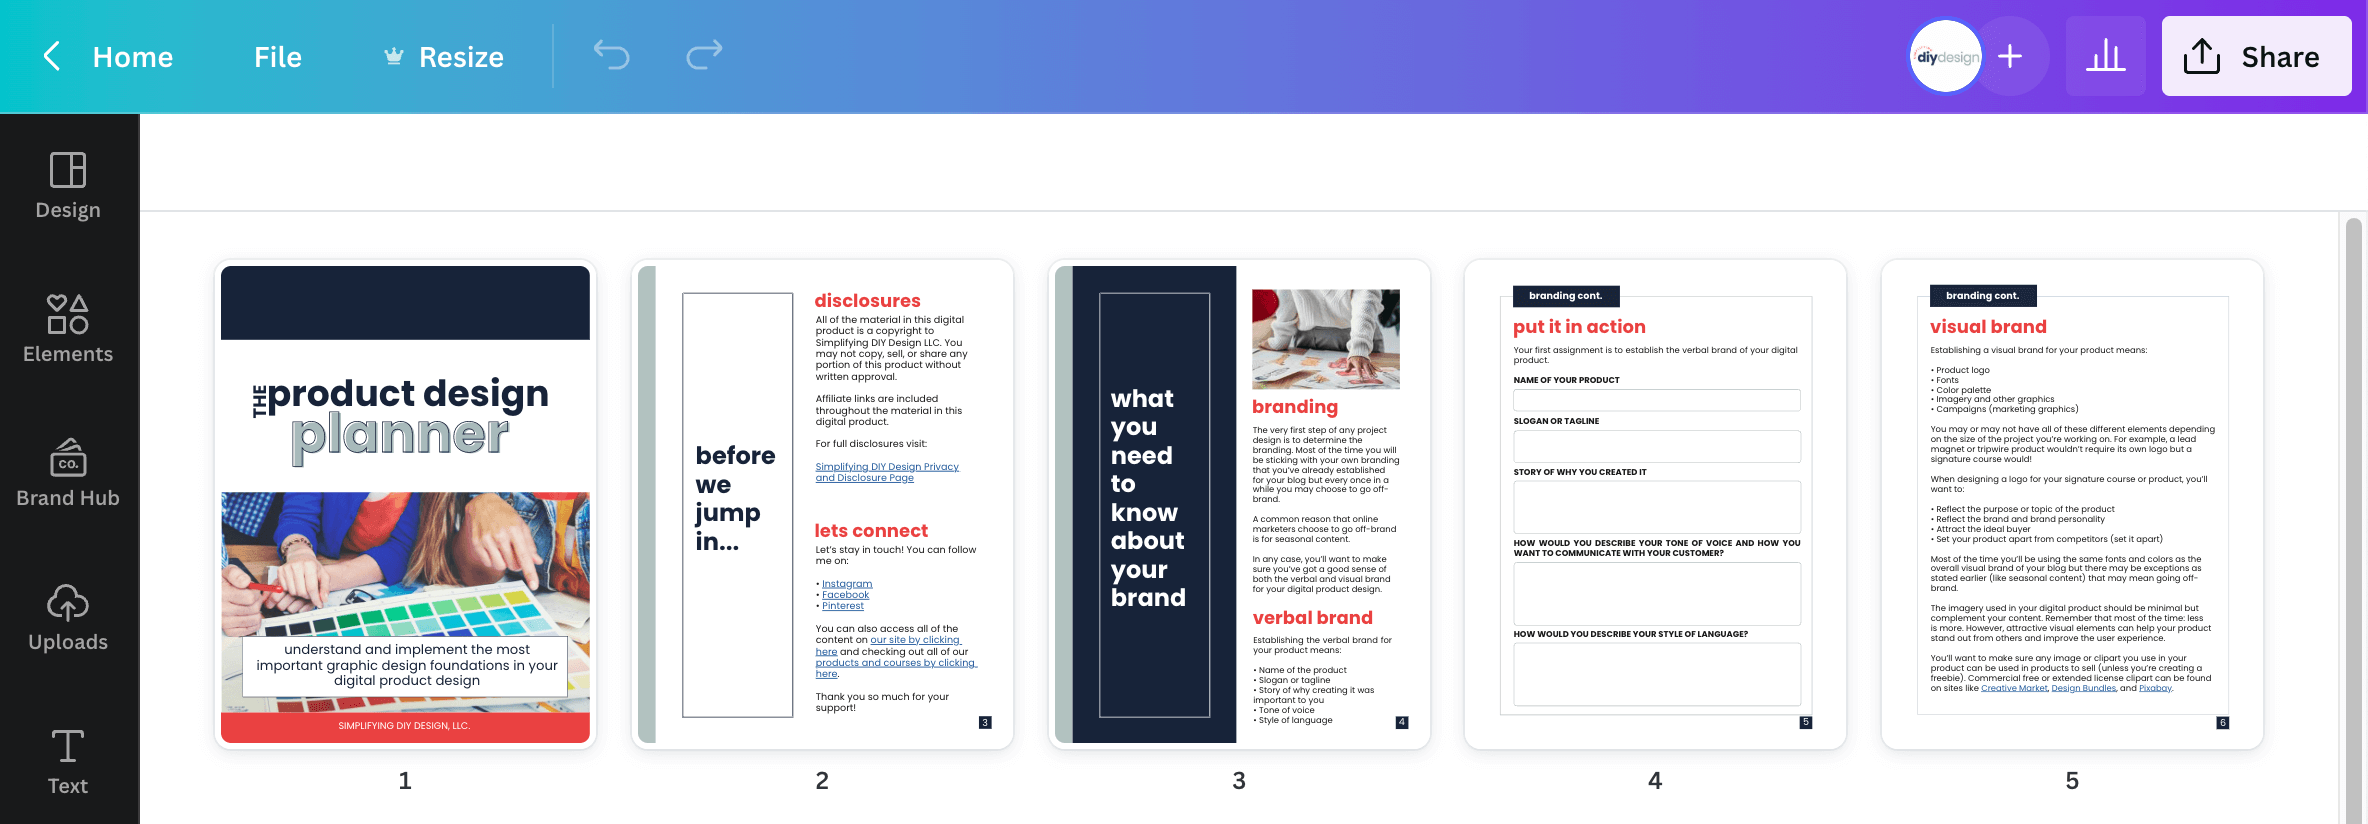
That’s how we were able to create a 48-page workbook so fast!
We took bits and pieces from our blog posts to create the first draft. From there, we could edit the flow and see what needed more detail or explanation.
Then, we added images, notes, and design elements to really make it pop. And yes, we used Canva to create it all!
PUT TOGETHER AN E-COURSE
Creating an eCourse is very similar to a challenge in how you would repurpose blog content. Instead of delivering the repurposed content via email, you can set it up using a course platform like Teachable.
We went with Teachable for both our challenge and free eCourse because we didn’t want to take a chance on any failed deliveries/accidental spams due to the level of content we were providing.
We were delivering linked video lessons (set to private on YouTube) and Canva templates. Unfortunately, the more links an email has, the more opportunities it gets marked as spam.
Also, we got a few replies saying our emails were too long, and they found it overwhelming. But when put into a course, a mindset shifts to where the level of detail is expected.
If you want to add that extra value to your free course, try making a worksheet or mini-workbook to supplement your content.
You can add it as a resource in Teachable to download or deliver it automatically through your email service provider like ConvertKit.
You can also put together a side deck (just a fancy blogger word for PowerPoint) and record your screen in QuickTime, Loom, or even Canva using their Presentation tool.
Set your emails to be delivered each day using ConvertKit’s automation tool, or again, add your content to a course platform like Teachable.
CREATE A RESOURCE LIBRARY
If you have a few lead magnets, you need to consider a resource library to house them all.
You can add other things, too, like your paid offers and even affiliate products!
There are two ways to repurpose blog content for a resource library that will entirely depend on the goals of your blog.
You can either link to your library but have your subscriber opt-in individually or have it password-protected and offer instant access to each freebie.
If your lead magnets vary in topics, for example, marriage and parenting, we recommend individual opt-ins on your resource library. That way, you can appropriately tag your subscribers and only email them content they’re interested in.
SIDE NOTE: Link to the accompanying blog post so they know exactly how to use your freebie AND boost your blog’s traffic simultaneously!
But if your categories are centered around one main topic, for example, crochet, we recommend the latter – offering instant access to each freebie on a password-protected page.
However, you still could offer individual opt-ins instead if you wanted to tag based on, let’s say, the level of experience.
If you decide down the road you want to create a beginner, intermediate, or advanced crochet course; you already know who to market to.
WHAT WE DID
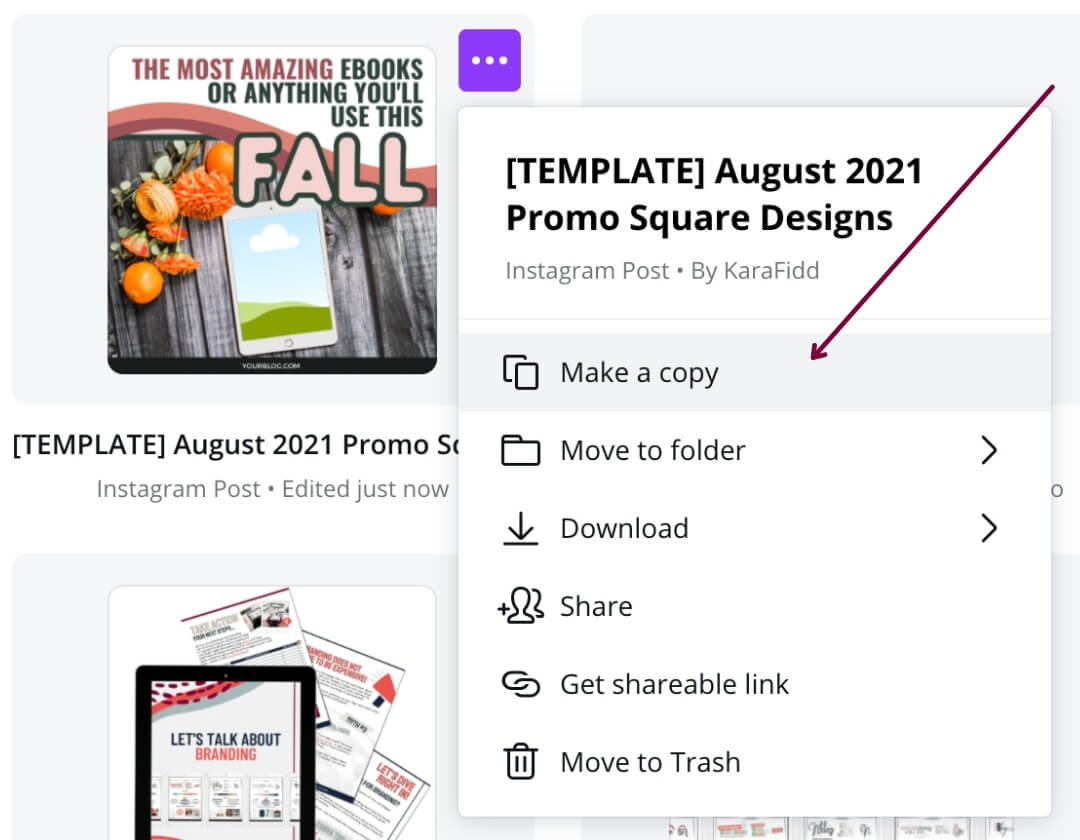
Once we had a handful of lead magnets, we created our resource library using Elementor.
It’s a free WordPress plugin that’s SO simple to use, and by the end of the day, we were ready to hit publish. We recently updated it to include video tutorials, paid offers, and our favorite affiliate products.
We initially created a password-protected page because, at that point, we already had individual landing pages for each of our lead magnets.
That’s how we knew what our audience was most interested in, which helped us create our very first paid product that generated OVER $10k in seven days!
Related Post: What You Need to Know Before You Start a Blog
If we had to do it all over again, we’d still go the same route. It’s what worked for us, and we never found the process overwhelming.
Plus, we created SO many Pinterest pins to promote specific lead magnets, leading to their own unique landing page versus just one resource library landing page.
While overwhelm is a real thing for bloggers, it’s also a VERY real thing for consumers. Too much of something is definitely overwhelming, just like having too little can be underwhelming. You have to find the sweet spot!
REPURPOSE BLOG CONTENT FOR FASTER LIST GROWTH
A lot of these list growth ideas can be designed in Canva! We have templates for most of them in our free design library here.
Your email list will make all the difference. Build it from day ONE. Nurture it from the very beginning. You do NOT need to wait ’til you have a ton of people on your list to start emailing.
We know it might seem like extra work. Honestly, we would write our emails first and our blog posts second – sometimes repurposing pieces of our newsletter for our blog post!
Even if you have two subscribers, they don’t know they’re the only ones on your list. For all they know, you have thousands of fantastic email subscribers!
Related Post: Profitable Tripwire Product Ideas for Your Blog
And if you promoted a $27 product to those two people, and they both bought it because you put in the time and effort right from the get-go to make them feel heard and cared for? Well, that’s $54 you didn’t have before.
Building your email list should be a top priority, no matter what. But it doesn’t have to be hard! Start with repurposing your content and go from there. Progress is progress, no matter the speed or size!
RESOURCES MENTIONED IN THIS POST:
- Design a Workbook in Canva the Easy Way
- FREE Canva lead magnet template pack
- FREE 30-day trial of ConvertKit
- FREE Canva eBook template
- FREE 30-day trial of Canva Pro
- Teachable
Don’t forget to grab our FREE Product Creators QuickStart Kit! Use the checklist, cheatsheet, and Canva design template to create a digital product for your blog!
TRY CANVA PRO FREE FOR 30 DAYS
Start your FREE Canva Pro trial today and unlock ALL of their incredible time-saving features that cut your design time to just minutes.
To be honest? It’s the best $12.99/mo OR $119/yr we spend on our business because that time we save with every design is put back into making MORE money in our business!
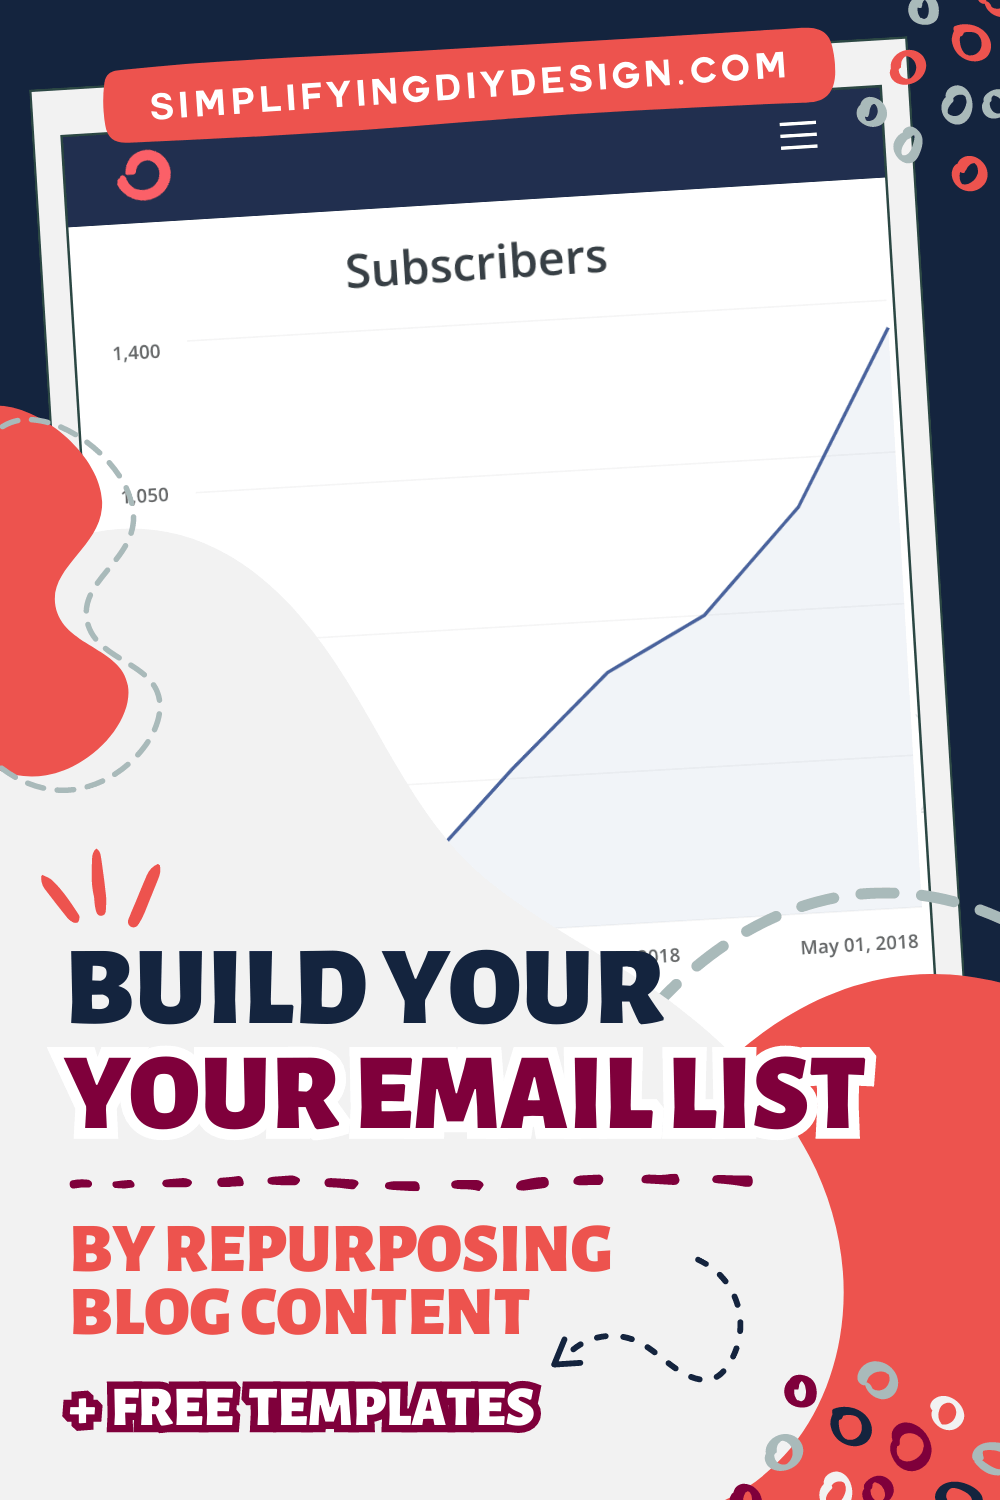
WANT TO SAVE THIS FOR LATER? PIN IT TO YOUR FAVORITE PINTEREST BOARD!⬇