Planning your social media content is now easier than ever with the Canva Content Planner! Save even more of your valuable time when making your social media graphics by never having to leave the Canva platform!
Need help with social media graphics? Grab our FREE Social Media Template Pack in our ever-growing Design Vault! Get instant access along with design templates, tutorials, and more today!
We’re ALL about saving time when it comes to design. But social media? Totally different ballgame.
Social media can be such a time-suck when you’re switching between so many different windows.
Open a window, find the image. Open another window, grab the copy. Oh, and open yet another window to double-check your Canva content planner.
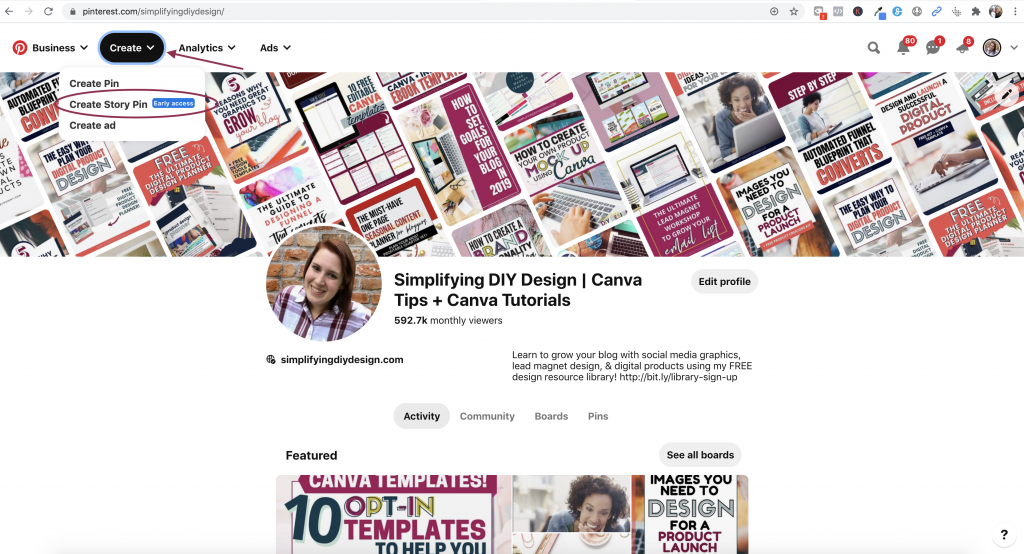
So, when a little pop-up alerted us of a new feature inside of Canva, we were all over it.
REMEMBER THIS POST LATER! PIN IT TO YOUR FAVORITE PINTEREST BOARD!⬇
Turns out, the Canva Content Planner actually lets you post your designs directly to the social media platform of your choice.
Between using a design template and then scheduling directly inside Canva, the time-saving potentials are endless!
WHAT PLATFORMS CAN YOU SCHEDULE FROM CANVA?
Don’t you hate when you sign up for a social media scheduler thinking you’ll have access to ALL the platforms but instead have to pay for each one? Yeah, you’re not alone.
When the Canva Content Planner first launched, you had access to almost all of them for no additional fee. The only one missing was Instagram.
But, as of April 2022, we can schedule to ALL the major social media platforms (and more):
- Facebook Page
- Facebook Group
- Instagram (Business Account)
- Tumblr
- Slack
Before we jump into this incredible Canva feature, we need to add a little disclaimer.
The Canva Content Planner is available for CANVA PRO users ONLY. Fortunately, you can try Canva Pro FREE for 30 days!
Start your FREE Canva Pro trial today and unlock ALL of their incredible time-saving features, including the Canva Content Planner.
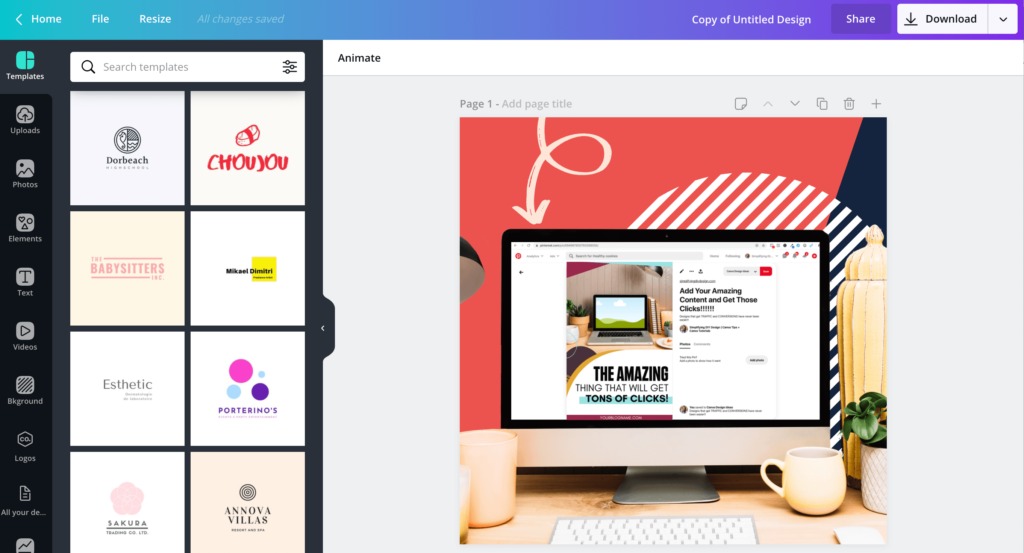
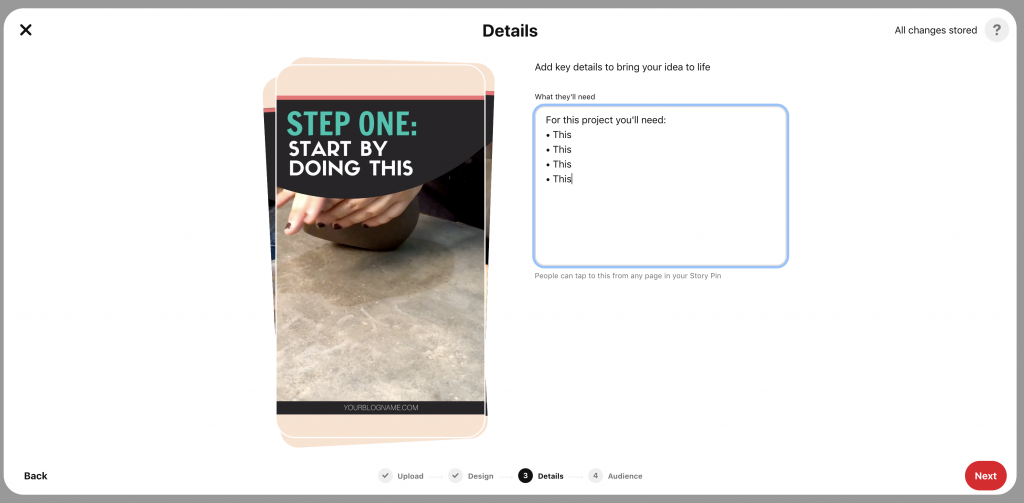
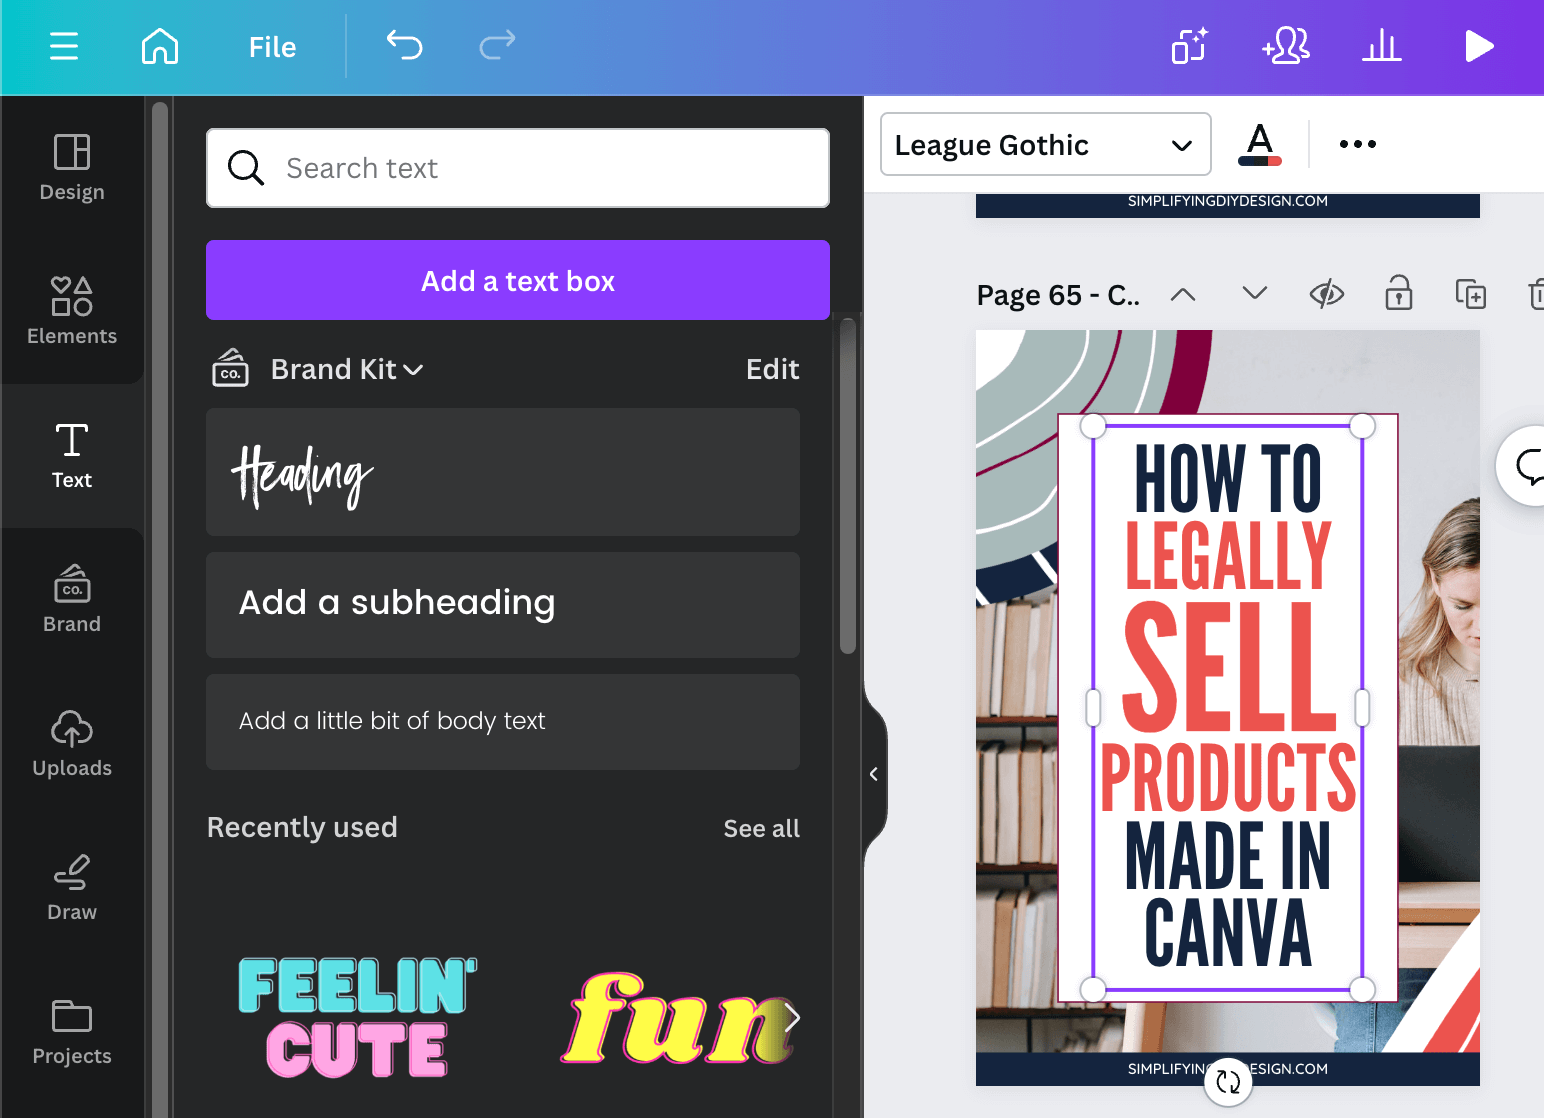
STEP ONE: COMPLETE YOUR DESIGN
Step one is kind of obvious because you don’t want to post your design before it’s complete!
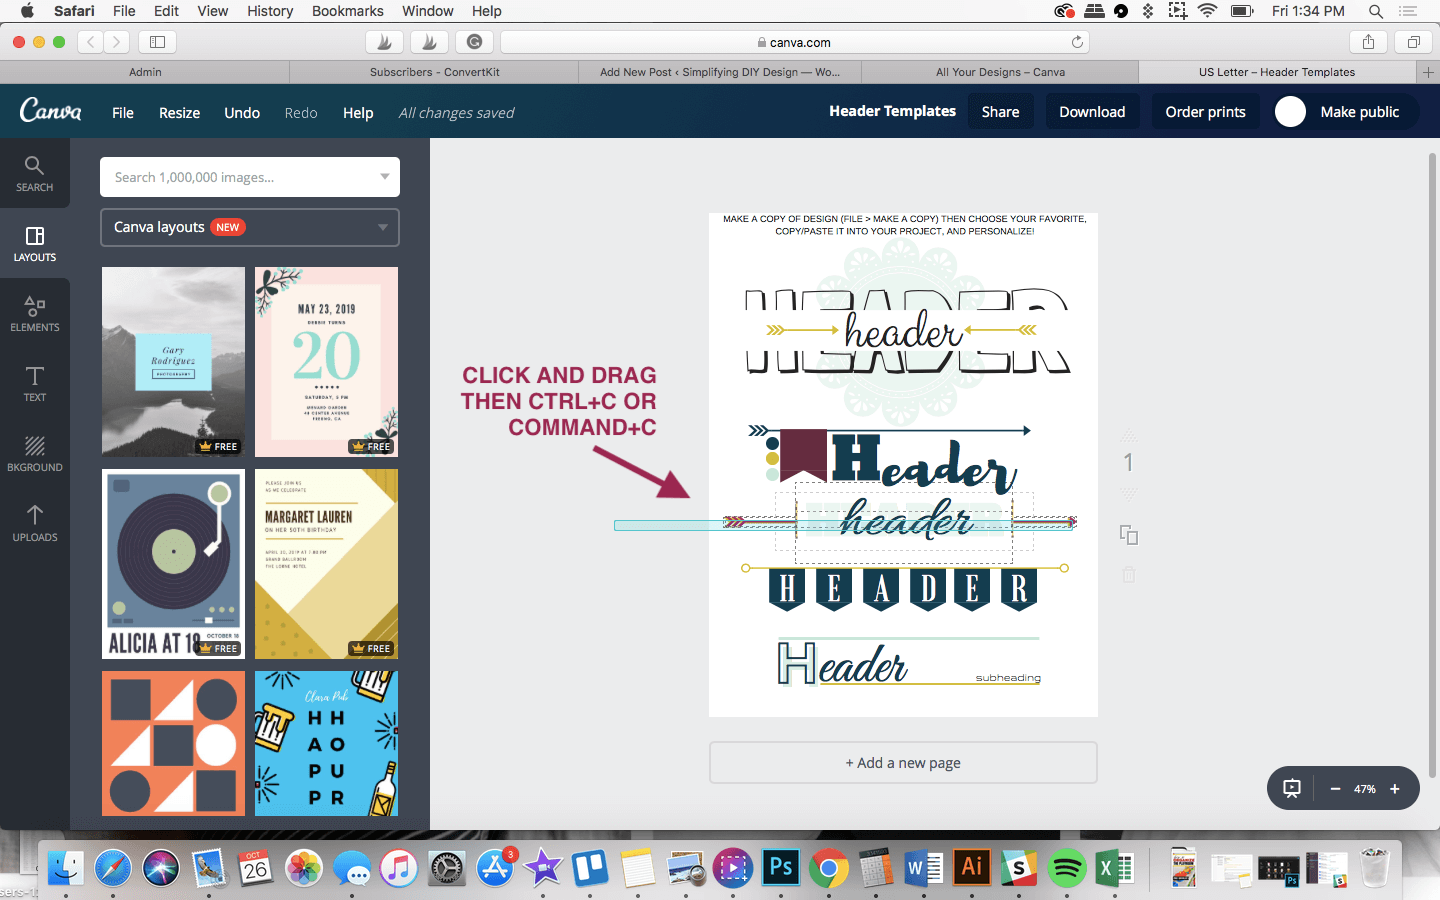
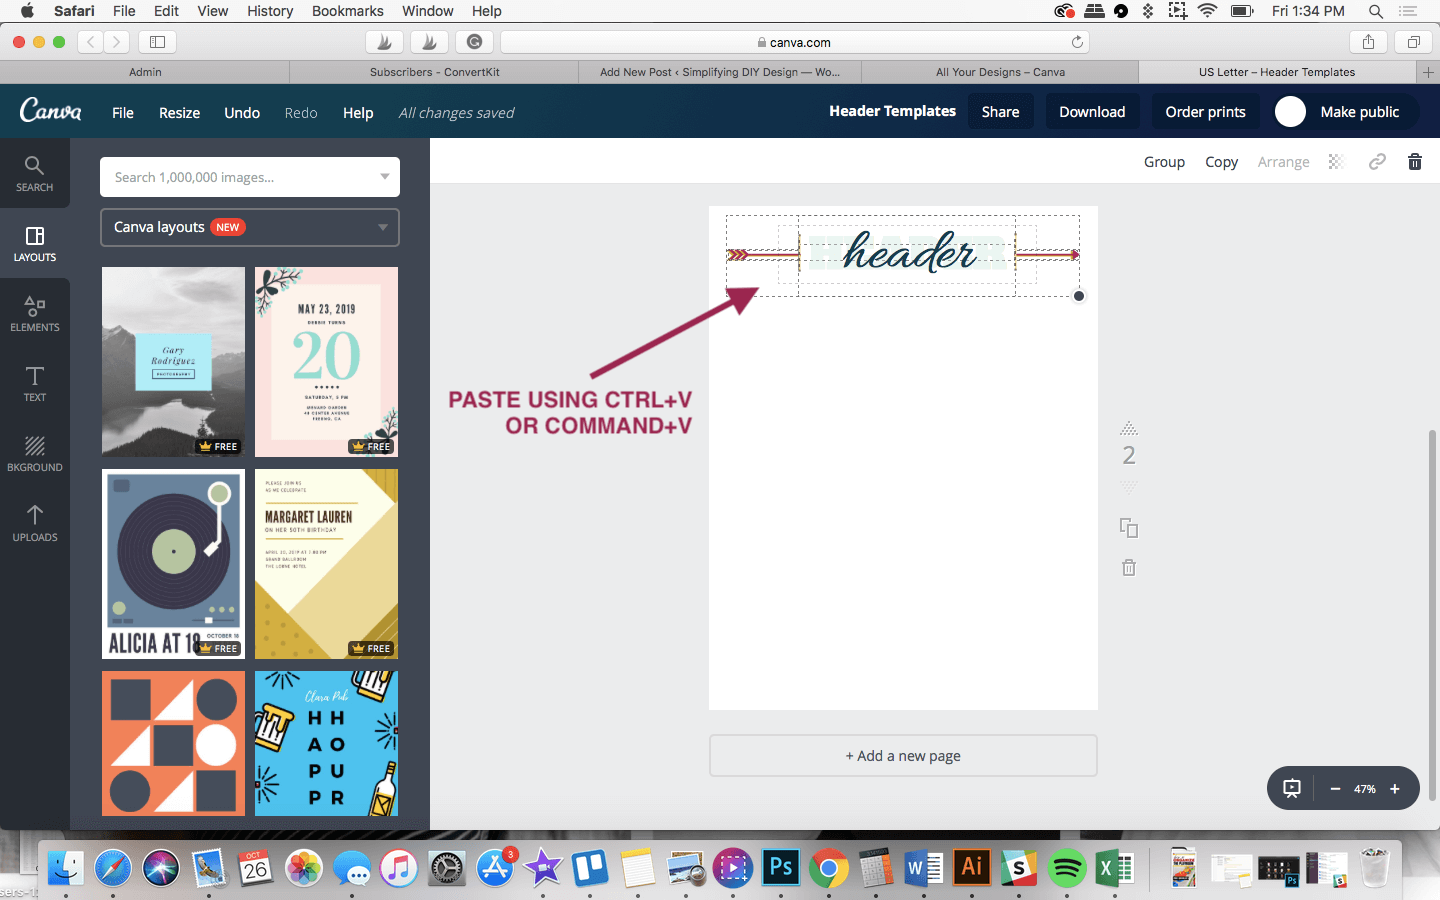
If you find yourself staring at a blank page (aka blank page paralysis), you may want to consider purchasing a template pack as your jumping-off point.
While you don’t own or control your social media accounts (unlike email), it’s still an incredible way to bring oodles of traffic to your blog.
Related Post: How to Drive Massive Traffic by Nailing Your Social Media Graphics
But, like most things, it’s easier said than done. We always recommend investing just a few dollars in an excellent template pack to help get the ball rolling.
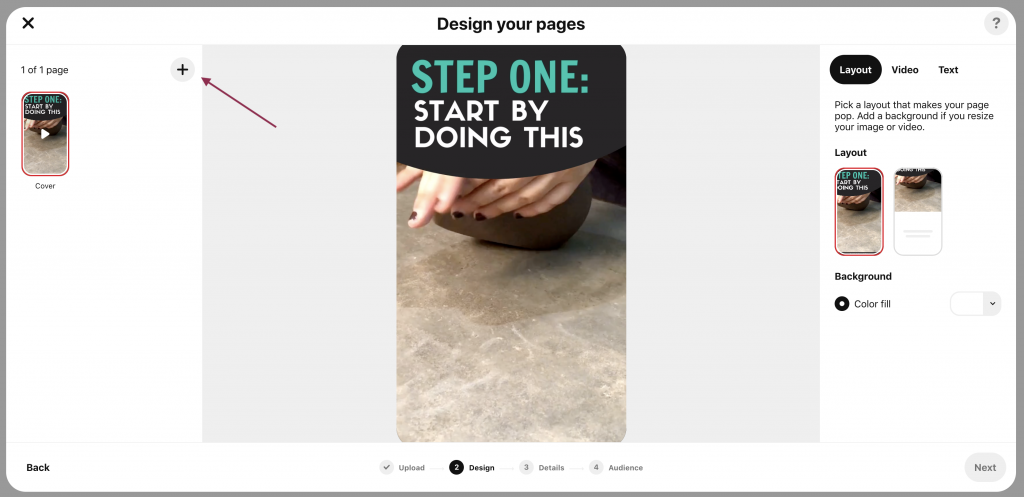
STEP TWO: CLICK ‘SCHEDULE’ LOCATED IN THE DROPDOWN BOX
Once your design is complete, it’s time to schedule your post using the Canva Content Planner!
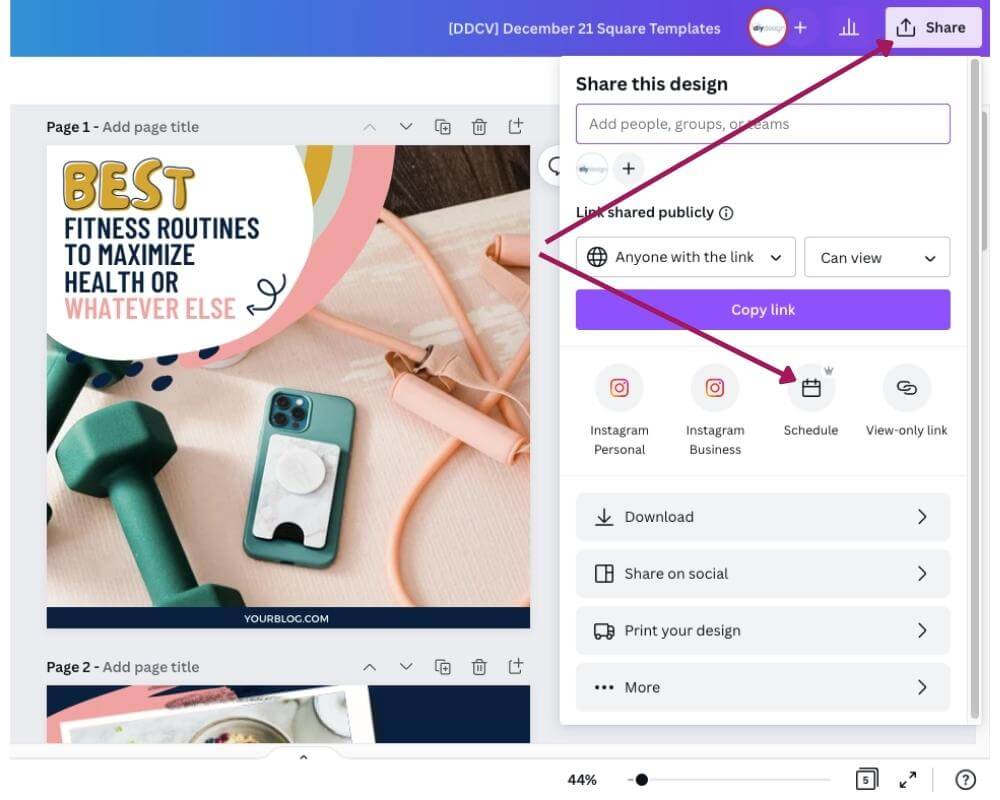
Click ‘Share’ from the top righthand corner of your project screen and then ‘Schedule.’
Canva recently cleaned up their menu banner, so if you can’t find a button that used to be there, check ‘Share’ or ‘File.’
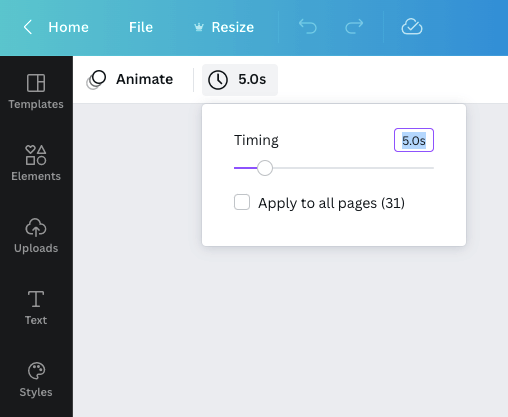
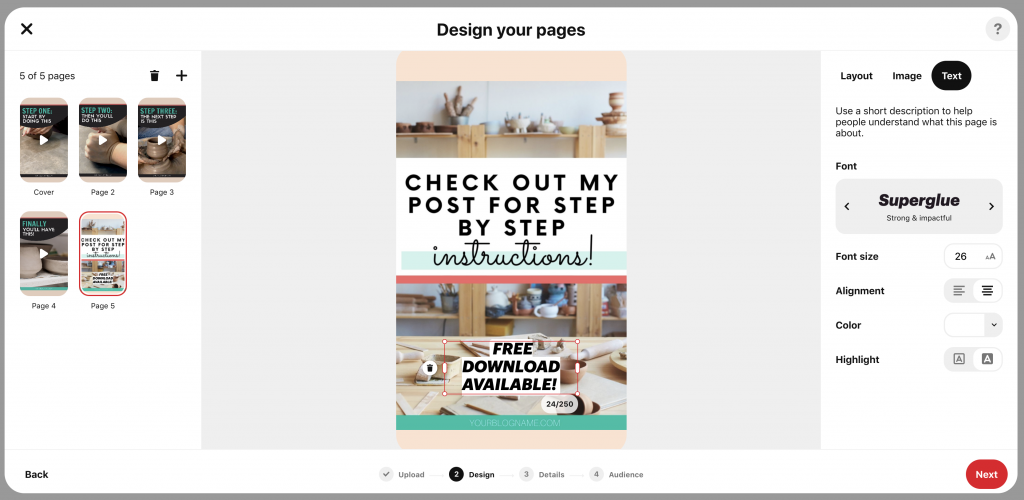
STEP THREE: CHOOSE YOUR DATE AND TIME
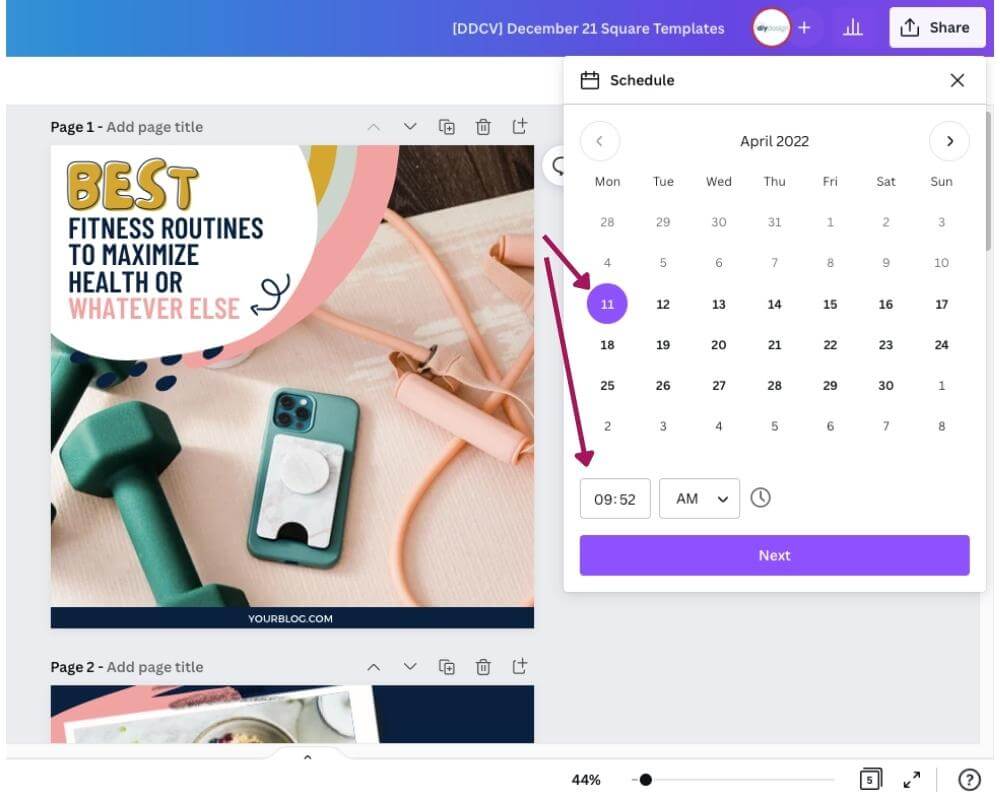
Once you click ‘Schedule,’ choose the date and time you want your design published. From there, select ‘Done.’
Smooth sailing so far, don’t you think
STEP FOUR: SCHEDULE AND CONNECT ACCOUNTS
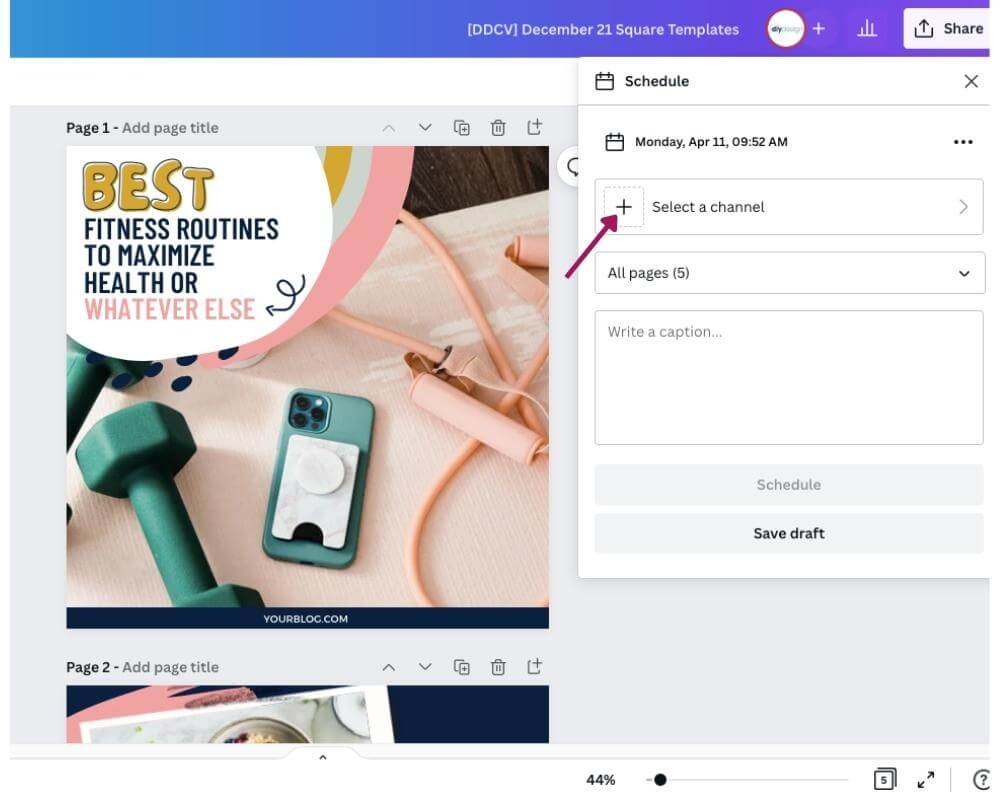
NOTE: If this is your first time scheduling a design with the Canva Content Planner, you’ll need to connect your account(s).
Click ‘+ Select a channel’ and then follow the prompts to connect that particular account.
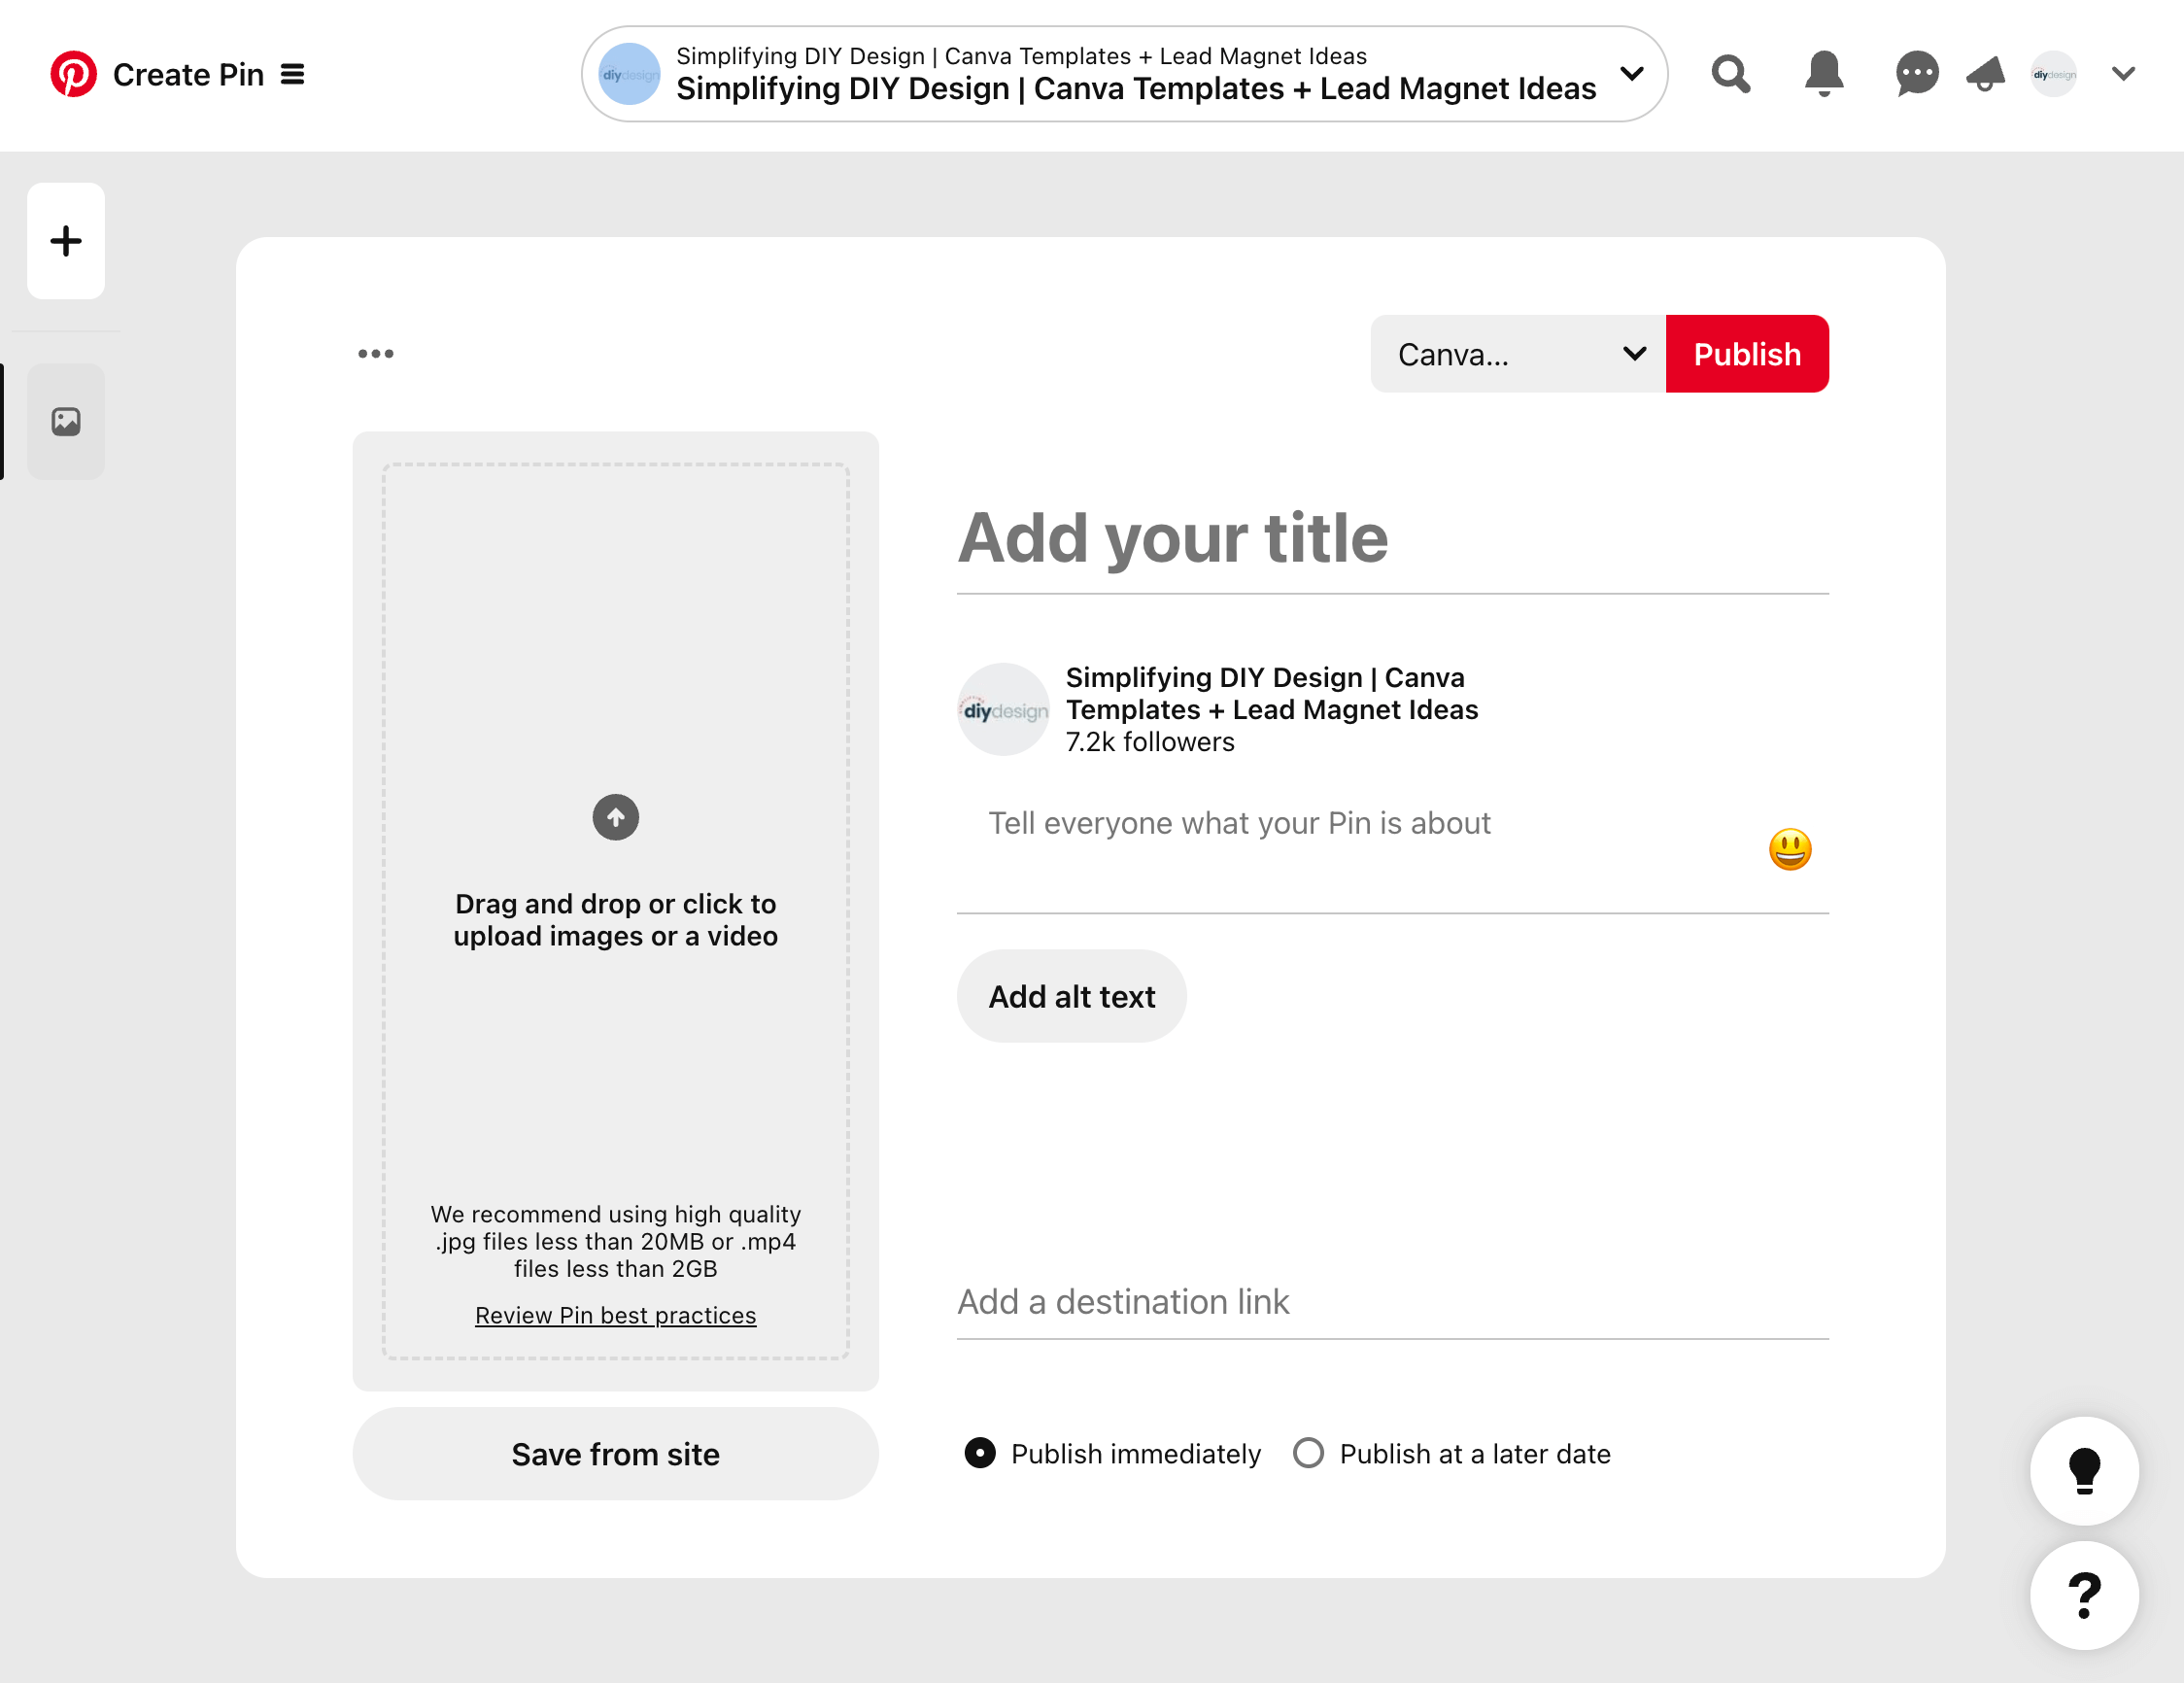
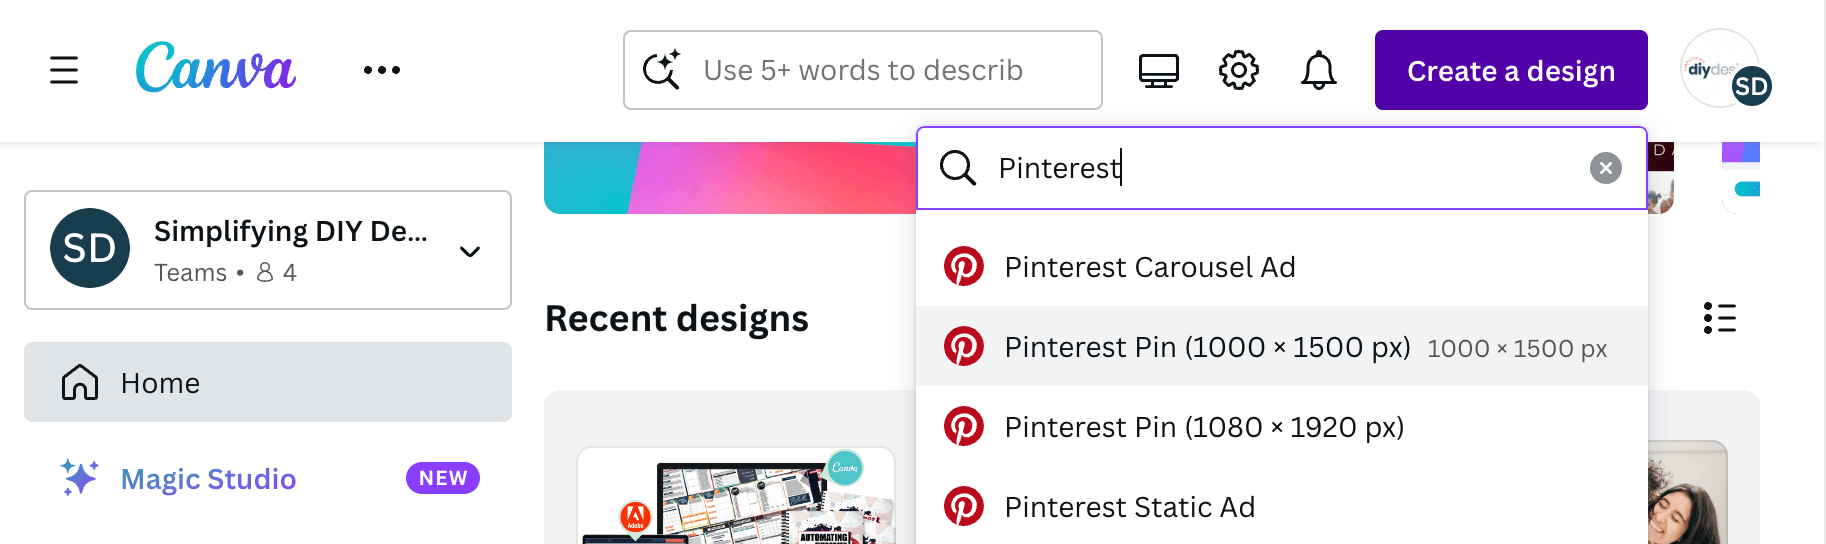
Now, you’re probably wondering how Pinterest works. You can choose which BOARD to pin! Just scroll through your boards and click the one you want. That’s it!
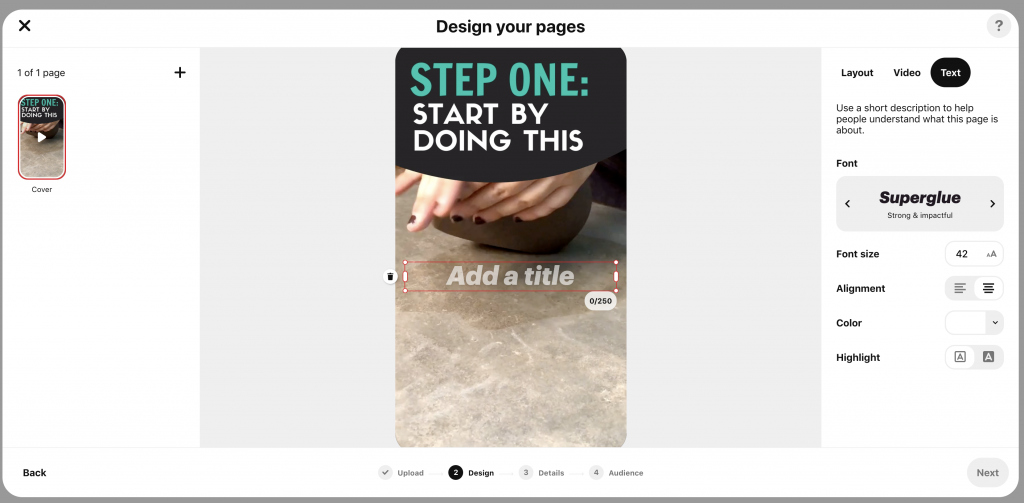
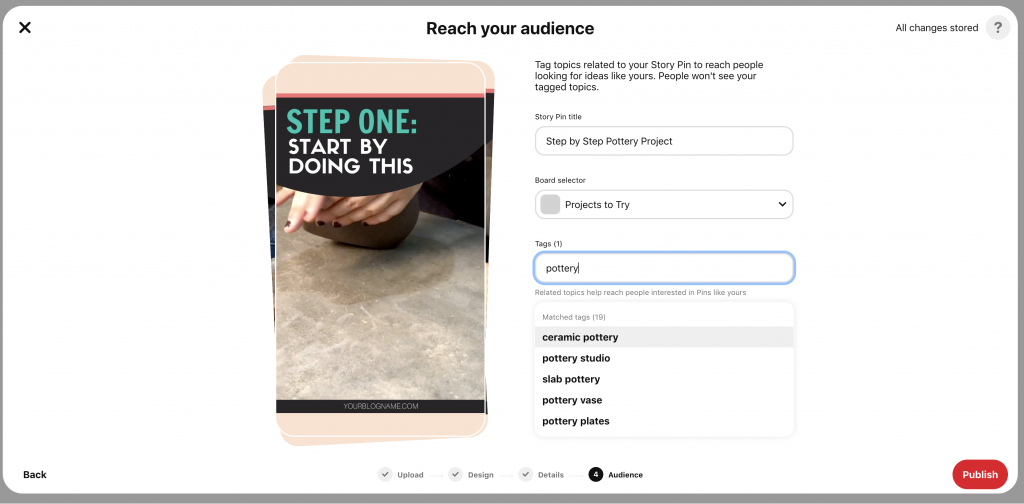
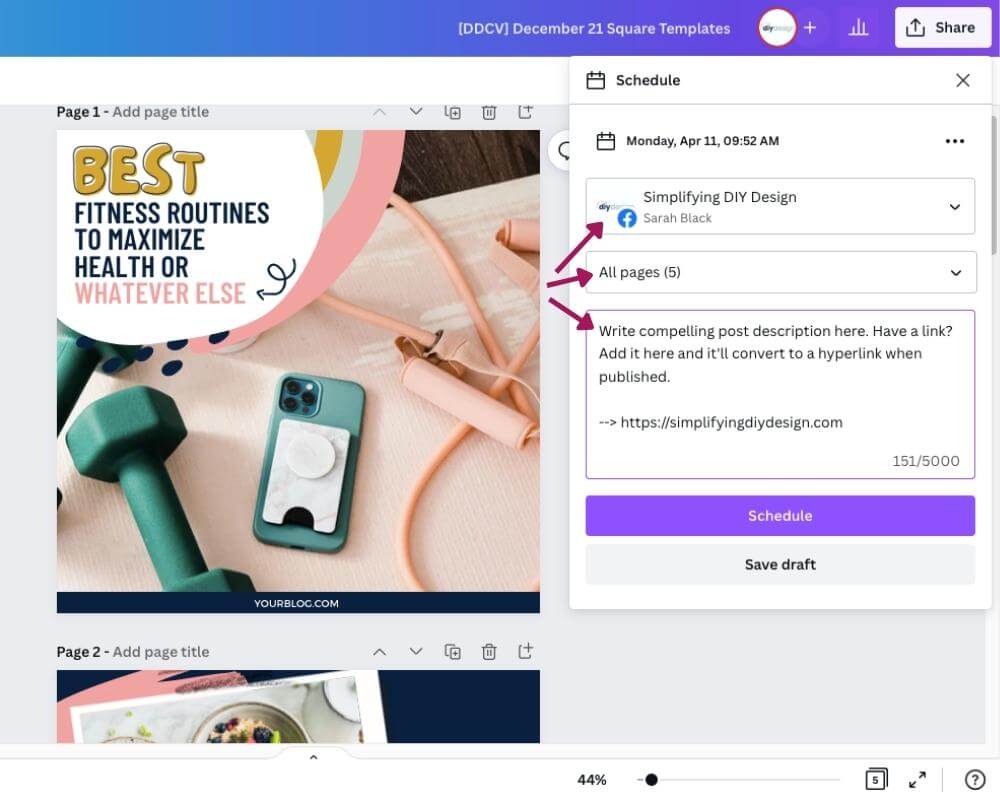
STEP FIVE: FILL IN YOUR CONTENT
Once the connection is complete, you’ll see the account you’re posting to. Under that, choose the page within your design you want to publish. Lastly, write a juicy post description and click ‘Schedule post.’
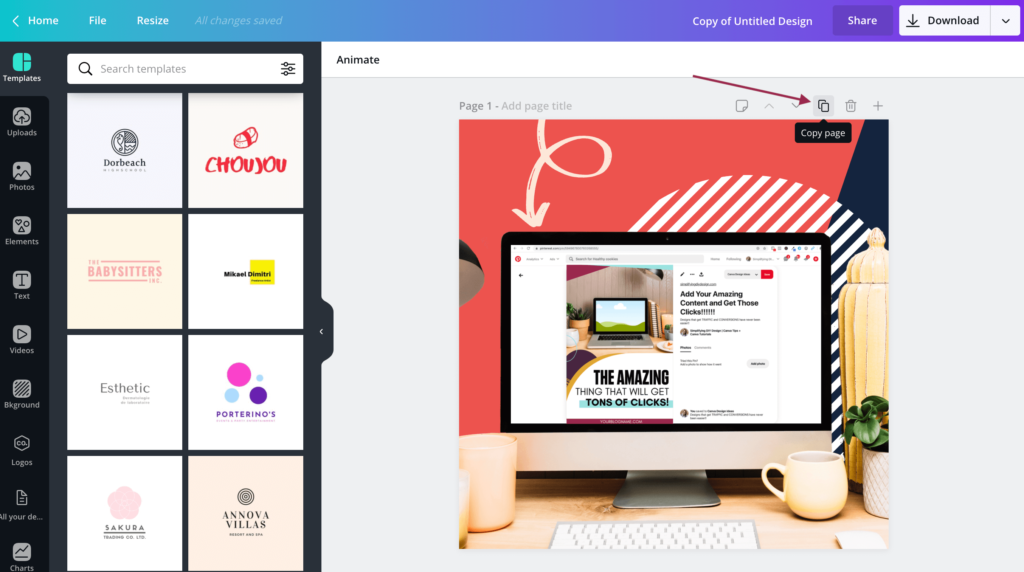
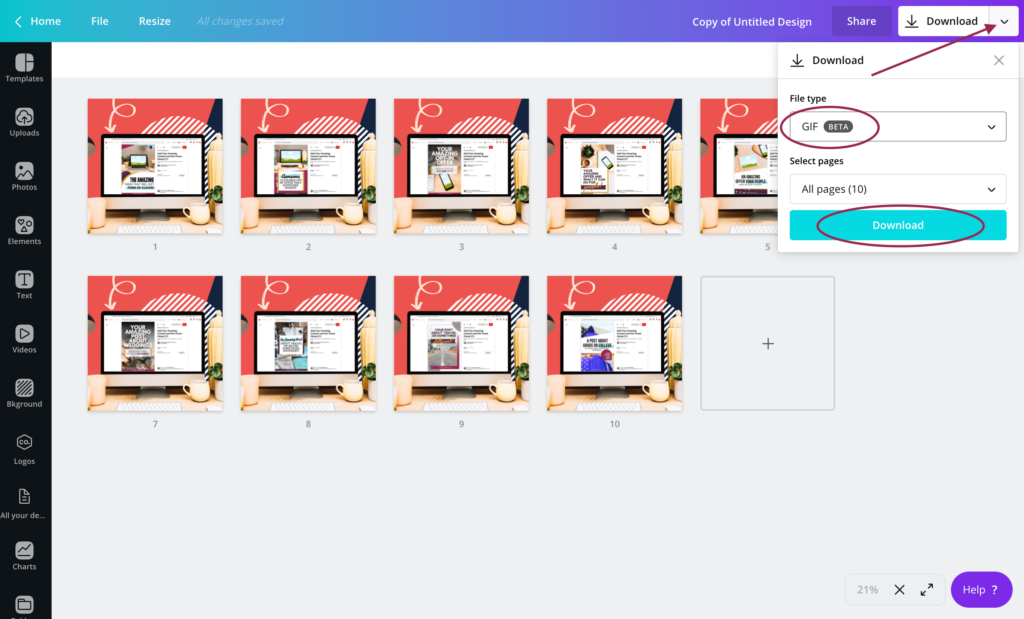
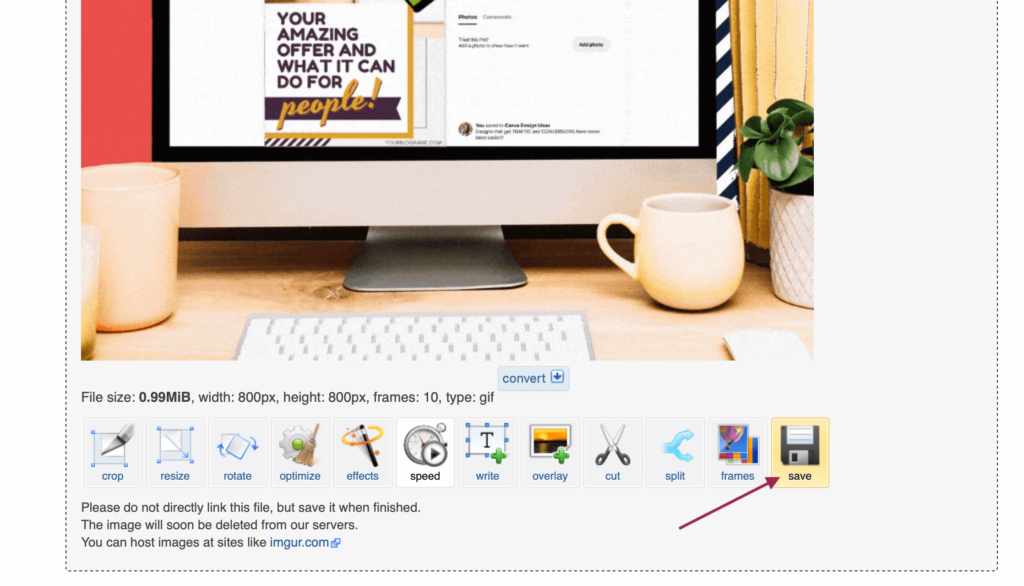
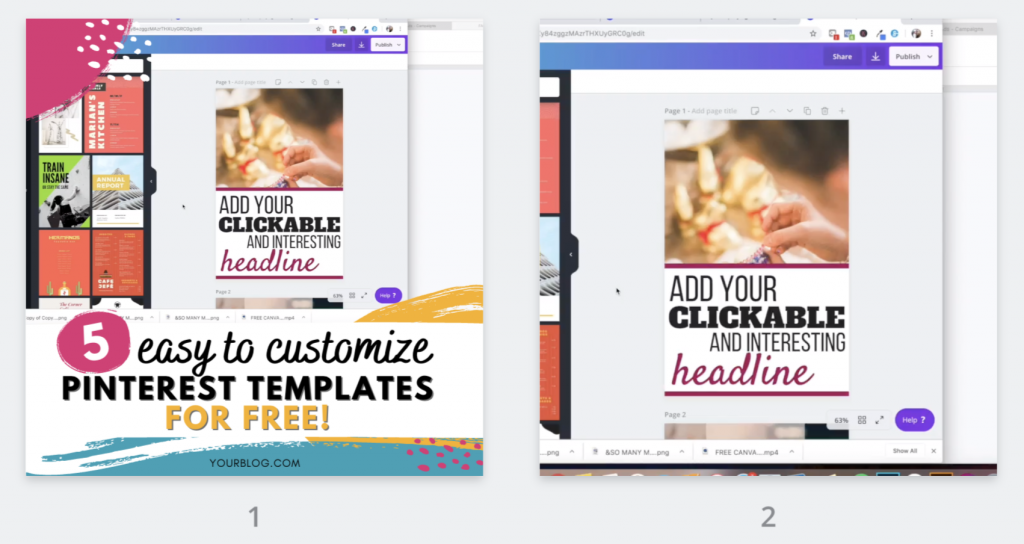
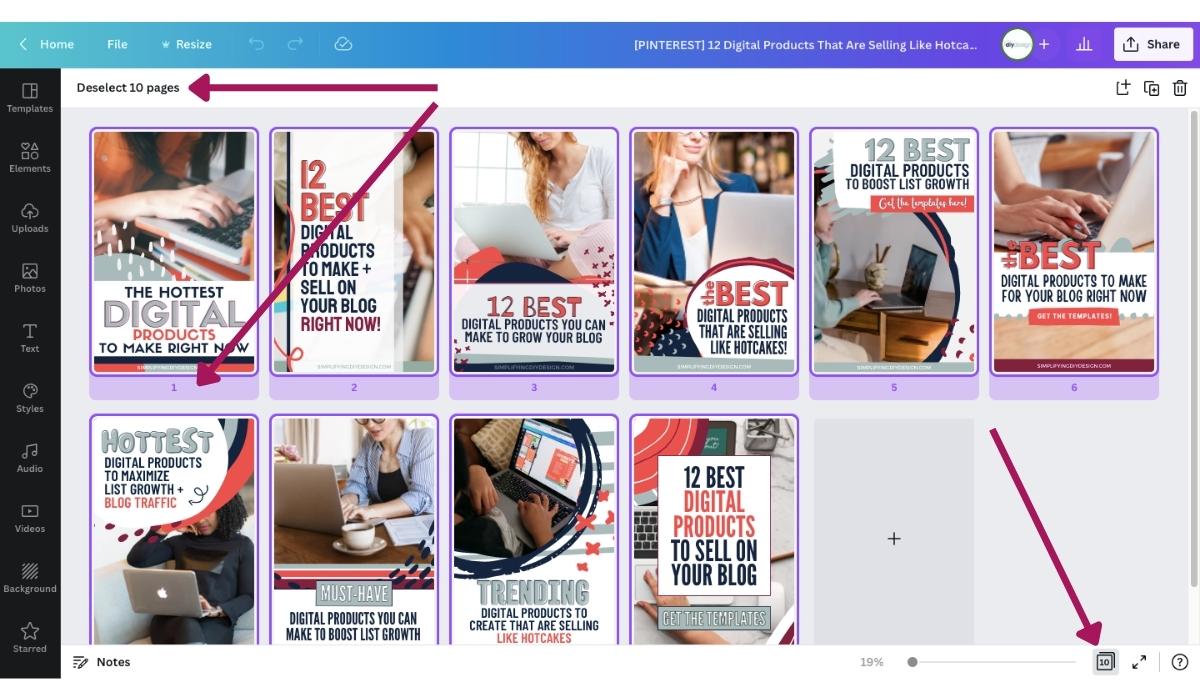
The best part about scheduling in the Canva Content Planner is saving time.
Our Canva account has SO many folders (organization!), and our designs have multiple pages. It was pretty time-consuming to locate a design, open it, find the page we want, and then download just one page.
Write a compelling post description
End the post with a quick call-to-action or CTA. We love to use questions to help our readers start the conversation in the comments.
If posting to Facebook, add the link to the description, and it’ll convert into a hyperlink upon publishing.
If pinning to Pinterest, you’ll see a ‘Destination link’ section. Add the link that ties to your image, such as a blog post or landing page.
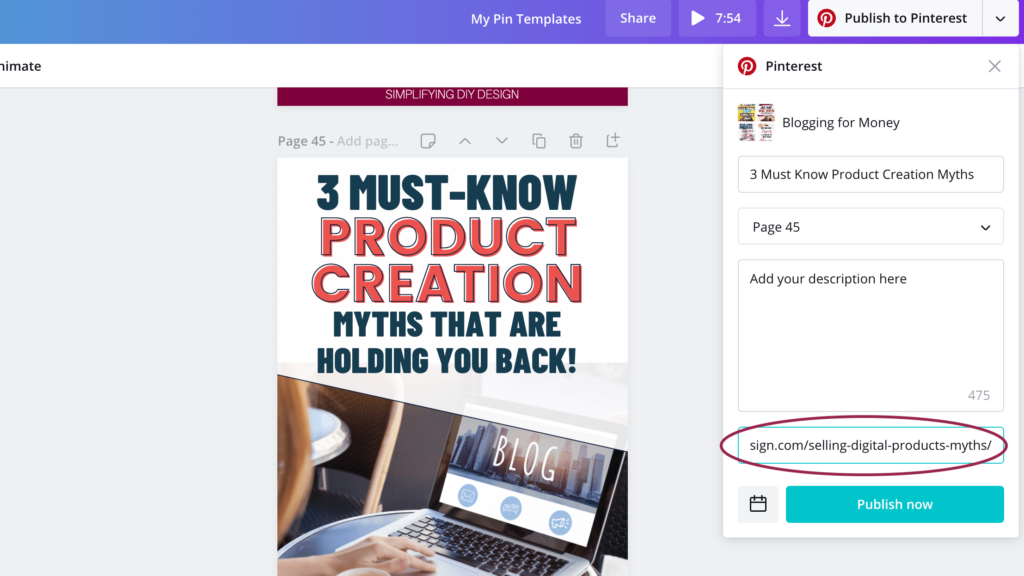
Finally, click ‘Schedule,’ and you’re done! How cool is that?
INSIDE THE CANVA CONTENT PLANNER
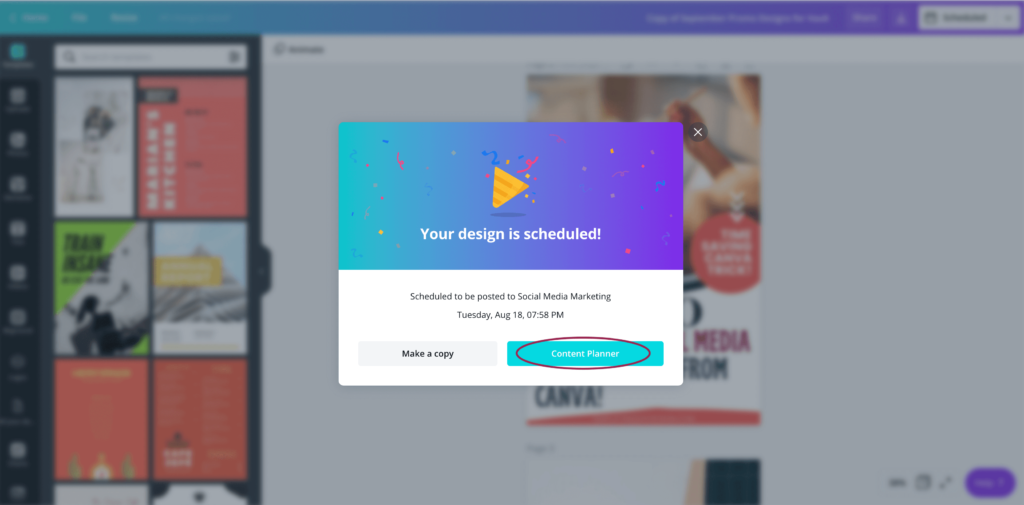
Once you schedule your post, a pop-up will appear asking if you want to go to your Canva Content Planner. Here you’ll see your scheduled posts, be able to edit your scheduled posts, and plan ahead.
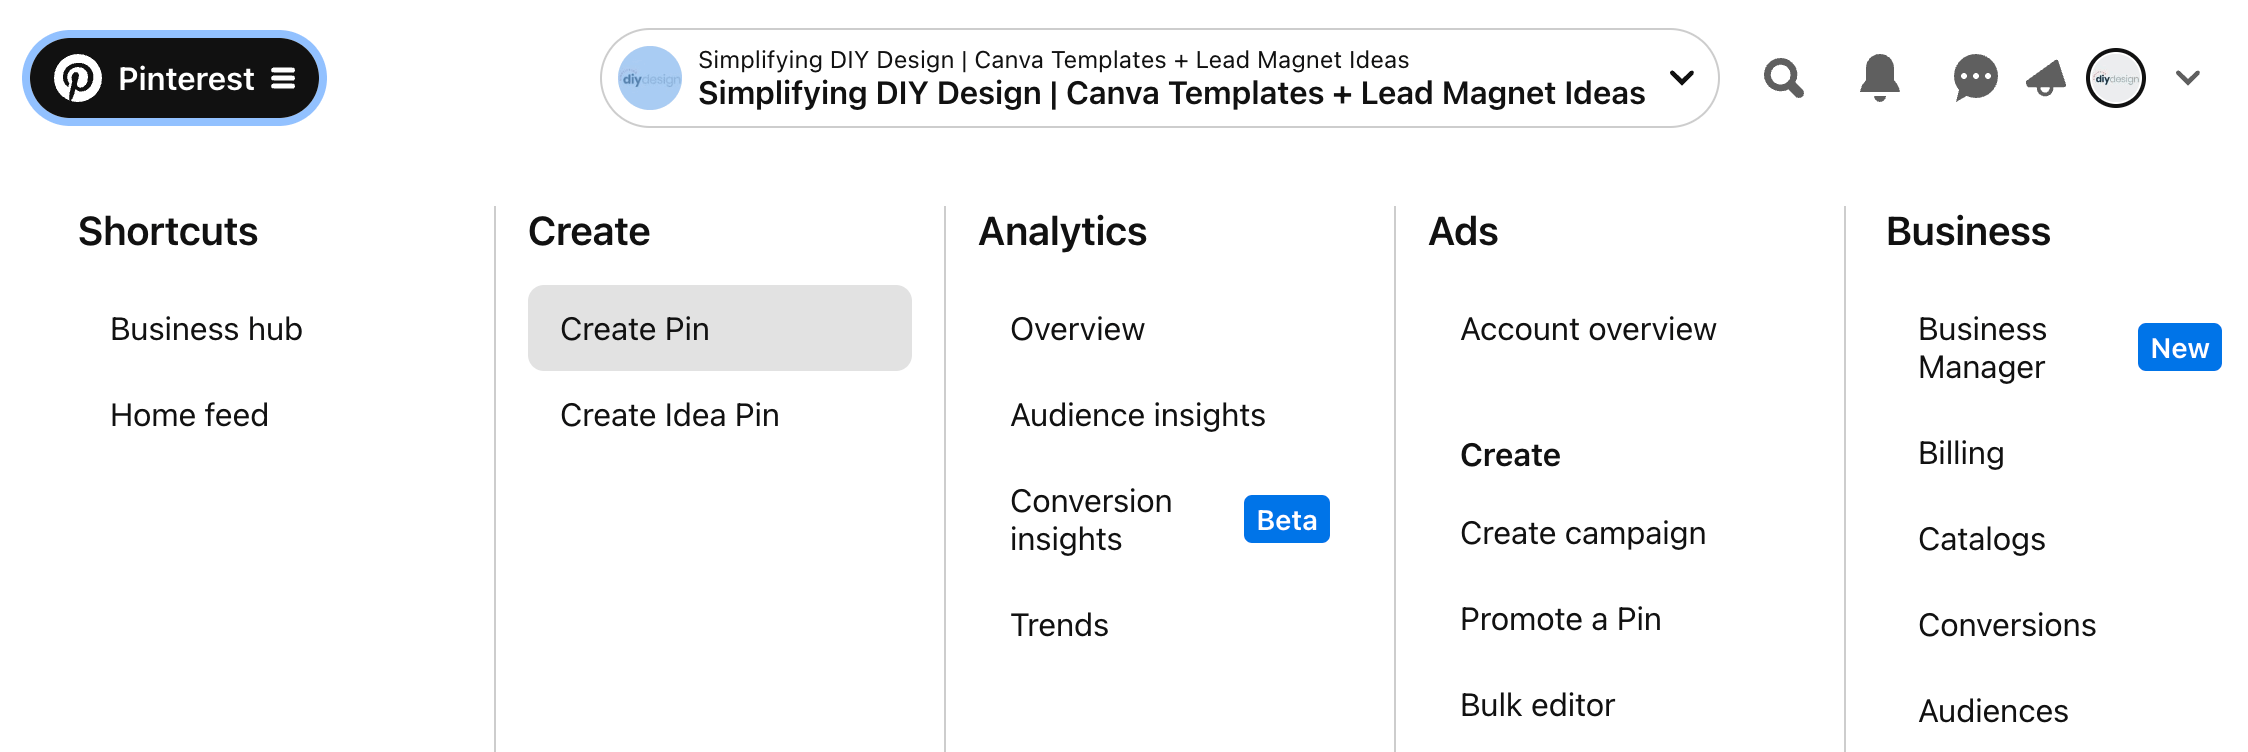
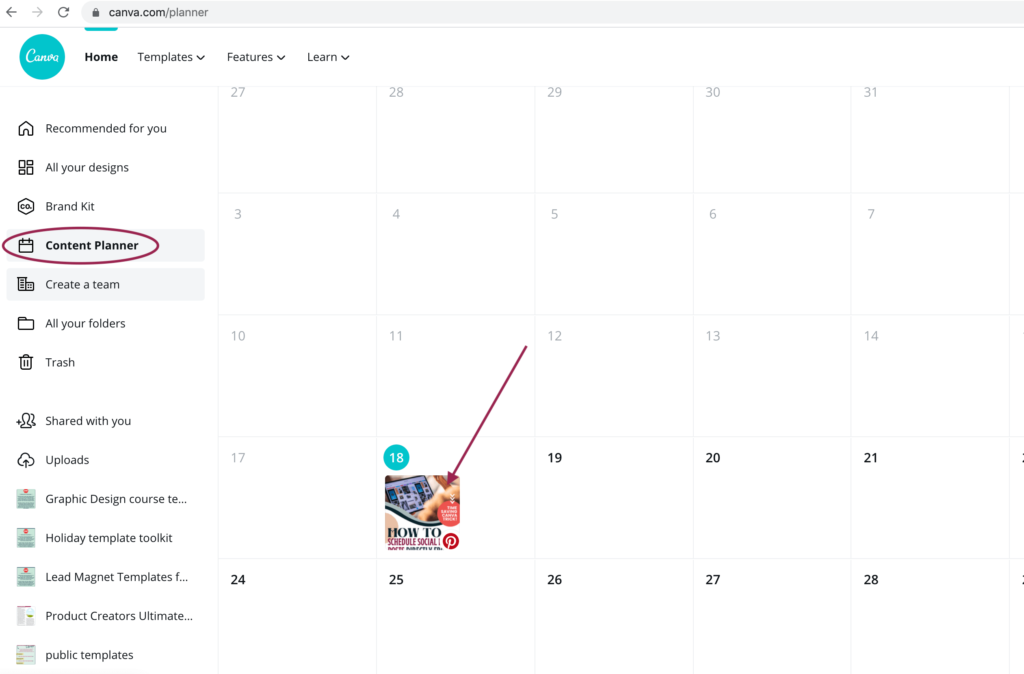
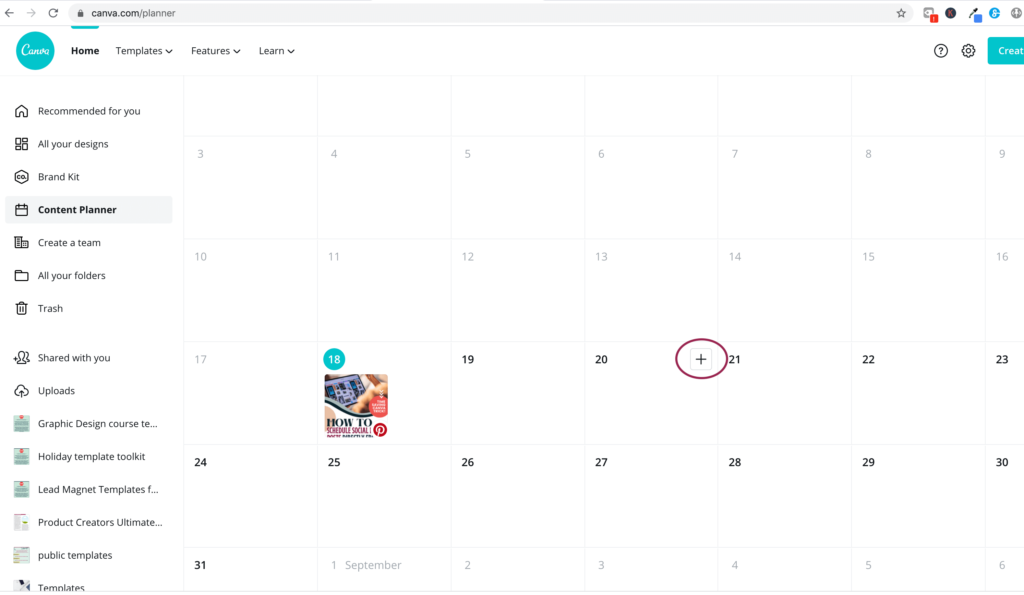
You can also access your Canva Content Planner by clicking on “Content Planner” in the main menu.
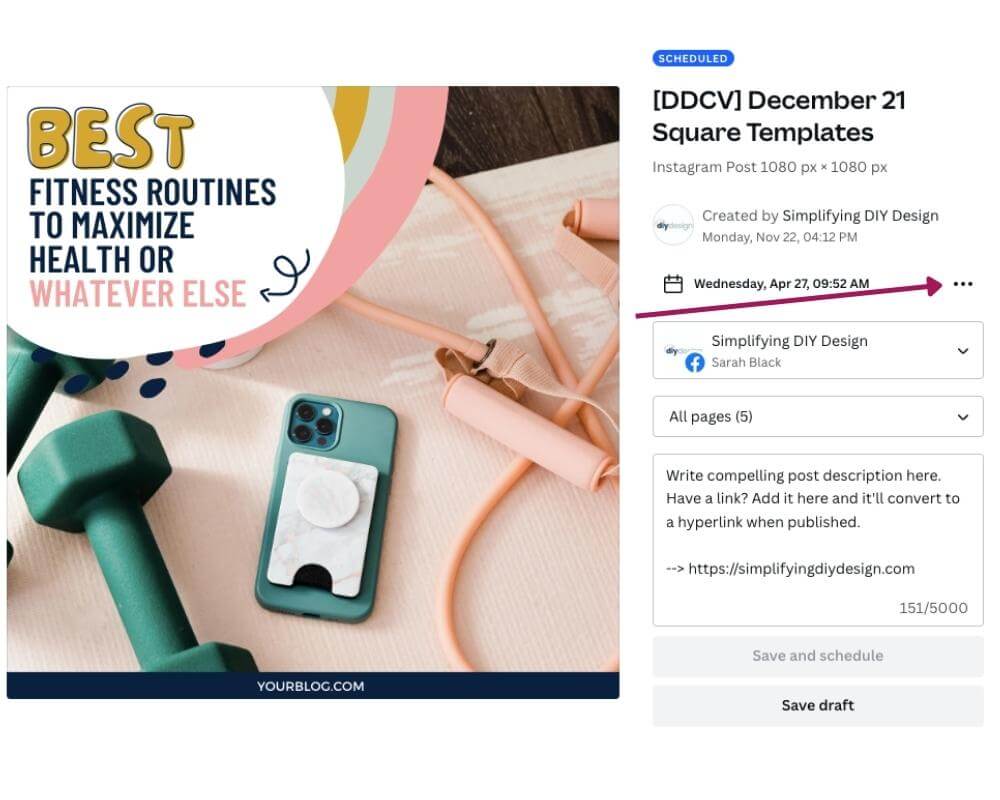
If you want to edit your scheduled post, click on the image and again on the three horizontal dots to the right of the scheduled date.
You can also plan ahead by hovering over the coming day and clicking on the “+” sign that shows up in the corner.
We’re all about saving time when it comes to social media design!
This is why we love templates and finding shortcuts and hacks to save you time. As full-time business owners (and many other hats!), we can use ANY shortcut we get.
Scheduling your posts directly within Canva ONCE and you’re done is such an awesome tool.
We’d love to know how you’ll use all this saved time with the Canva Content Planner in your business!
RESOURCES MENTIONED IN THIS POST:
- FREE Design Vault
- How to Drive Massive Traffic by Nailing Your Social Media Graphics
- Canva Shortcuts That Will Help You Design Faster
- FREE Social Media Template Pack
- Best Features for Editing Design Templates In Canva
- FREE Canva Tricks Cheatsheet
- 3 Quick and Easy Ways to Resize in Canva
Don’t forget to grab our Social Media Template Pack now! These fully editable Canva templates will help you create your next Pinterest pin, social media post, or promo graphic!
TRY CANVA PRO FREE FOR 30 DAYS
Start your FREE Canva Pro trial today and unlock ALL of their incredible time-saving features that cut your design time to just minutes.
To be honest? It’s the best $12.99/mo OR $119/yr we spend on our business because that time we save with every design is put back into making MORE money in your business!
WANT TO SAVE THIS FOR LATER? PIN IT TO YOUR FAVORITE PINTEREST BOARD!⬇