Whether you want to copy a single page from one Canva design to another or merge two Canva designs together, there are numerous ways to get the job done. And no, you don’t need a Canva Pro account to merge Canva designs, although we recommend it 100%!
As bloggers, we seem always to have a handful of the same tabs open 24/7 on our computers.
For us, it’s Gmail, our website, Asana, some sort of Google product (mostly Google Sheets), and, of course, Canva.
Now that we’re revamping most of our Canva template products with a fresh new look, we’re spending more time in Canva than ever.
Because of that, we’re merging Canva designs almost daily as we complete our template overhaul.
Want a FREE, no-fluff crash course on how to use Canva as a blogger? Enroll in our self-paced Canva 2.0 Quick Start NOW to dive in!
Since we’re firm believers that you can never stop learning, we started looking for different ways to merge two Canva designs together, hoping this would help us design faster and provide insight to our readers.
We share a weekly Canva tip with our email subscribers, and we have to keep that content bank full!
In this Canva merge journey, we found not one, not three, but five different ways you can merge Canva designs based on three different scenarios!
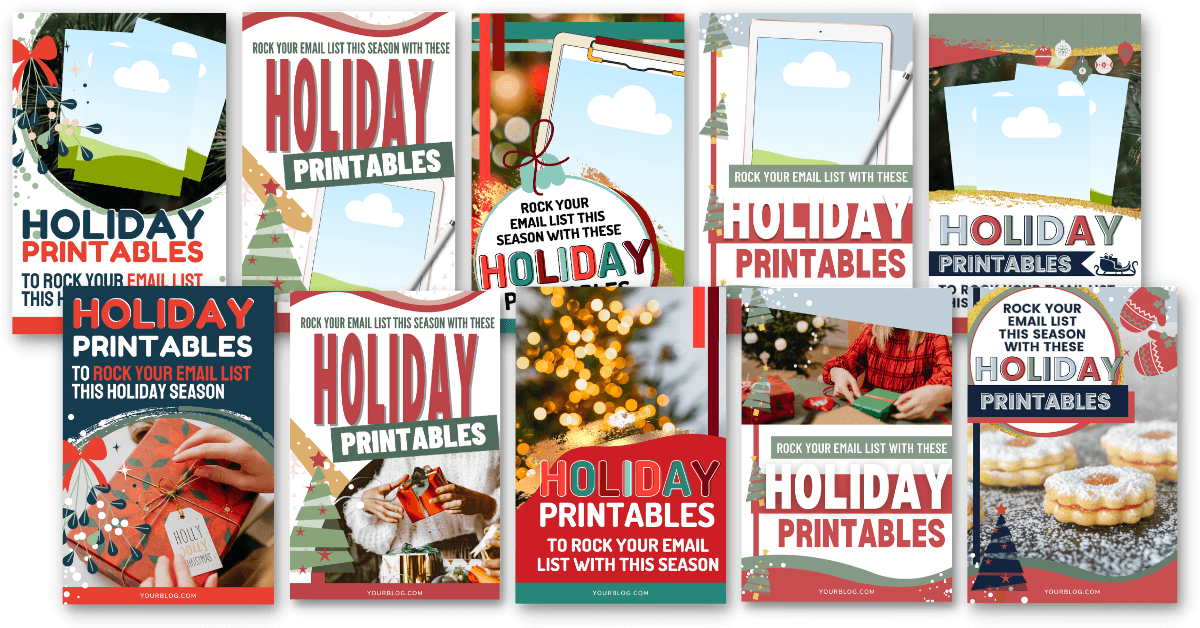
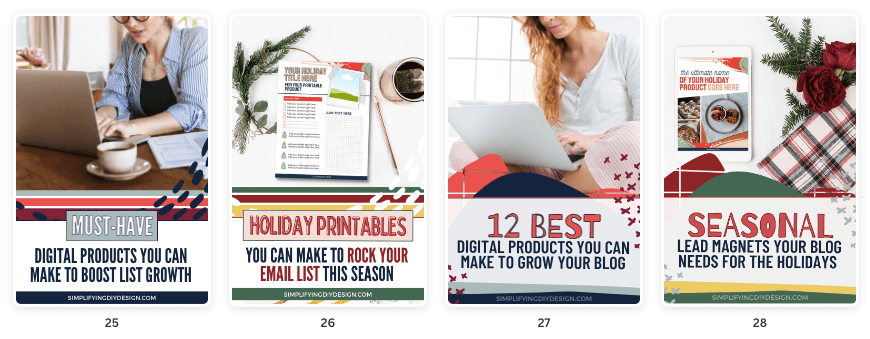
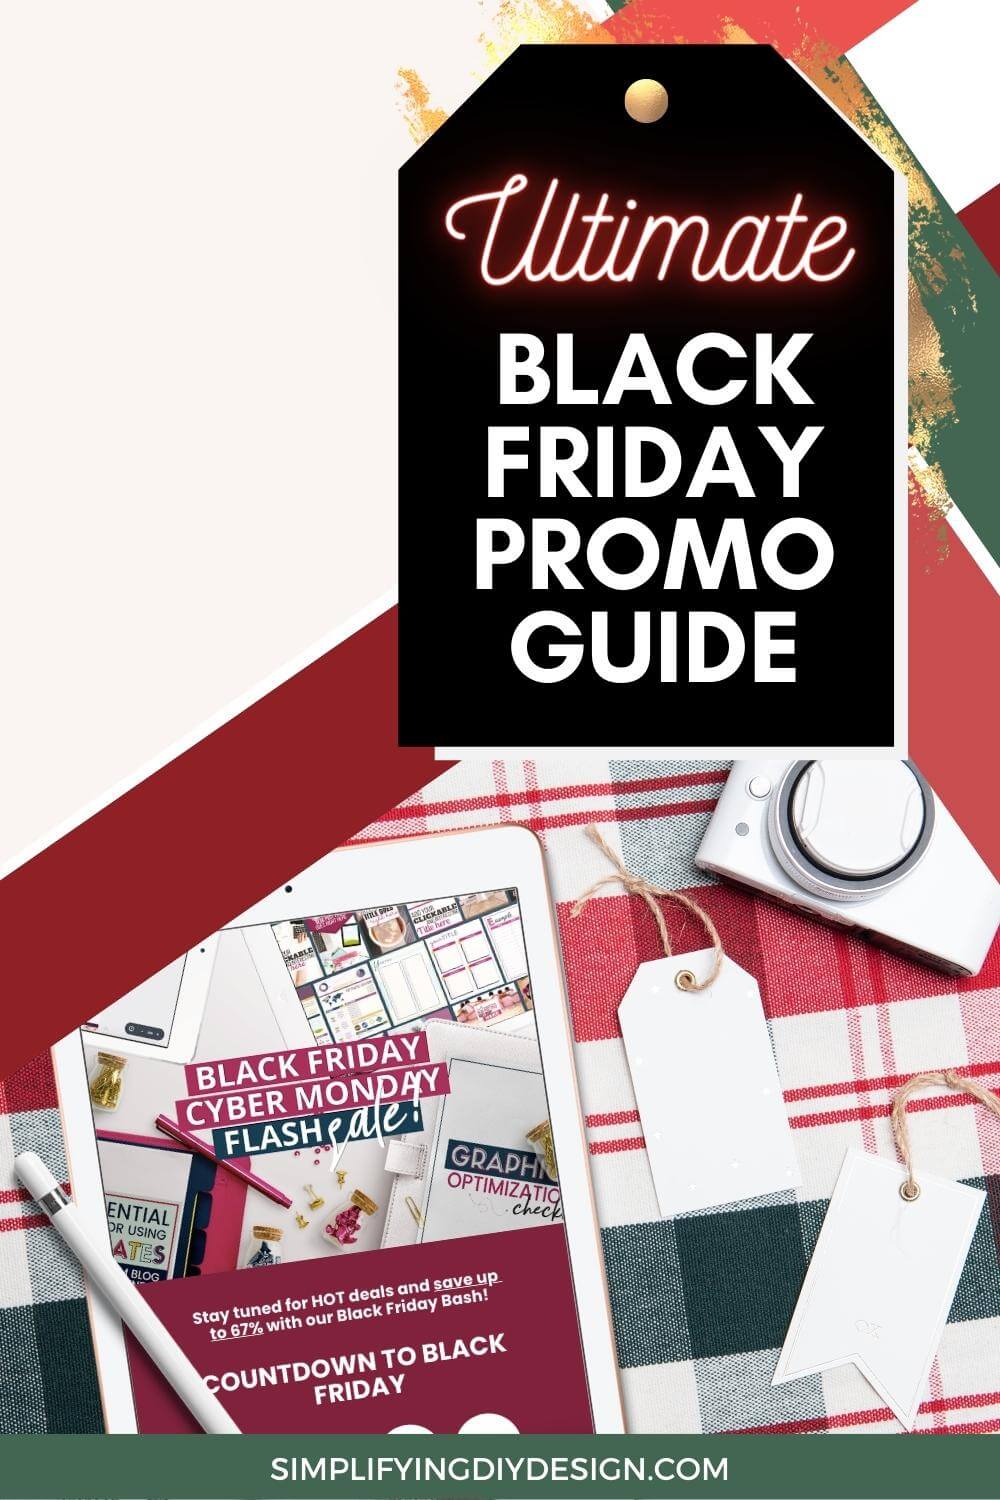
REMEMBER THIS POST LATER! PIN IT TO YOUR FAVORITE PINTEREST BOARD!⬇

Whether you’re looking to merge your Canva designs from one project to another, one account to another, or even after download, we’ve got a solution for you – all without spending a penny.
Copy + Paste to Merge Canva Designs
We find we use this option a lot when we’re tackling a few different projects at the same time.
The copy-and-paste merge method can be done in two ways.
- Click and drag to select the entire page (great for adding a single page to another design)
- Copying multiple pages via Grid View
Want to watch a video version instead? We’ve got you covered!
Let’s chat about copying one or two page designs to another.
First, you’ll want to open both projects in two separate tabs. One for the page(s) you want to copy and the other that you want to add the page(s) to.
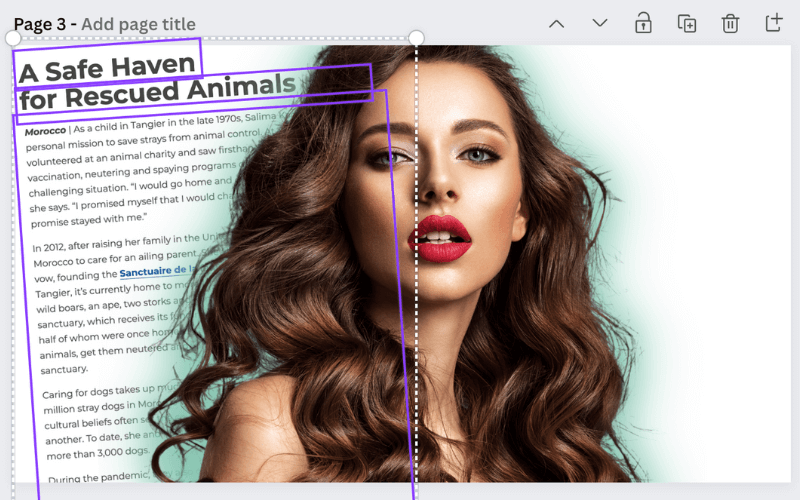
To copy a single page, make sure you’re zoomed out to where the entire page is visible on your screen.
Then click/hold outside of the page and drag your mouse to where your purple coverage block, as we like to call it, covers the entire page you want to copy and let go.
Using your keyboard, hit the Cmd+C (Mac) or Ctrl+C (PC) to copy your design.
Related Post: Canva Shortcuts That Will Help You Design Faster
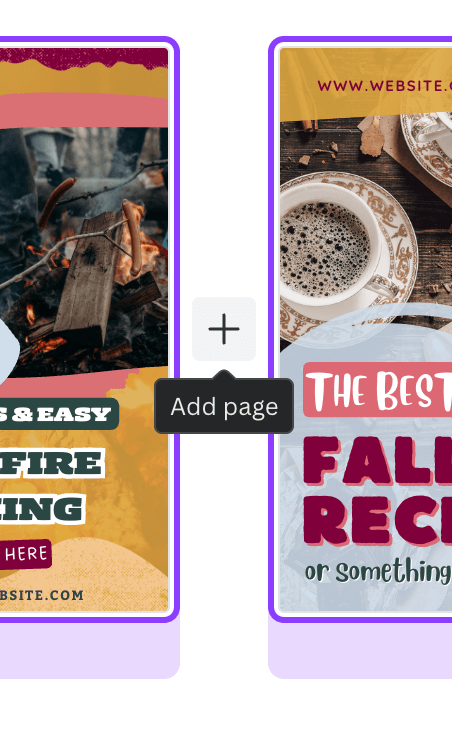
Select the tab for the project you want to add your page to. Add a new page to your Canva design by selecting the ‘Add page’ icon (vertical page with a plus sign on it) above any page of your design.

Alternatively, you can click the ‘+ Add page’ button at the bottom of the last page of your design.
Once you have the blank page centered on your screen, select Cmd+V (Mac) or Ctrl+V (PC) from your keyboard to paste your copied page.
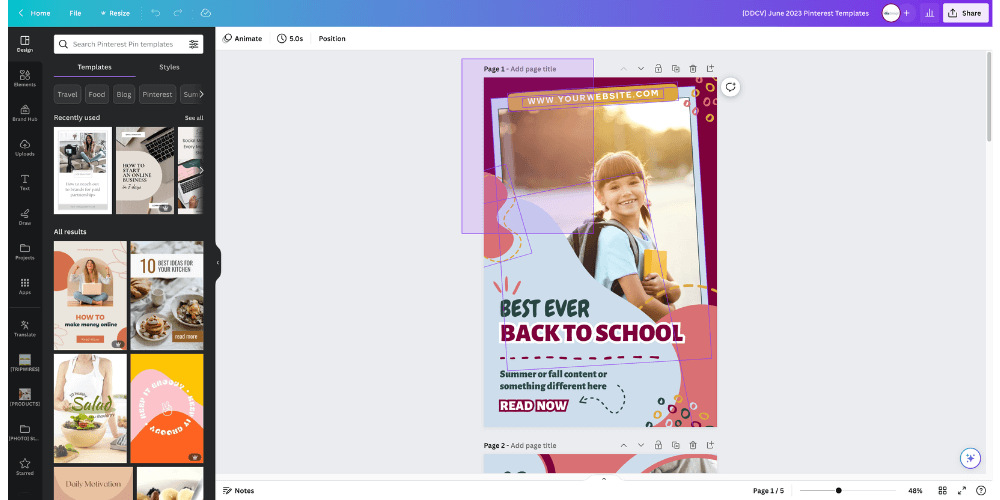
Copy multiple pages via Grid View
‘Grid View’ is a great option if you want to merge two or more pages into another design.
Again, you’ll want to have two separate tabs open – one for the pages you want to copy and the design you’ll be merging them with.
Instead of highlighting a single page, click on the Grid View icon (indicated by the overlapping square with the number of pages in the design) in the lower right of your screen.
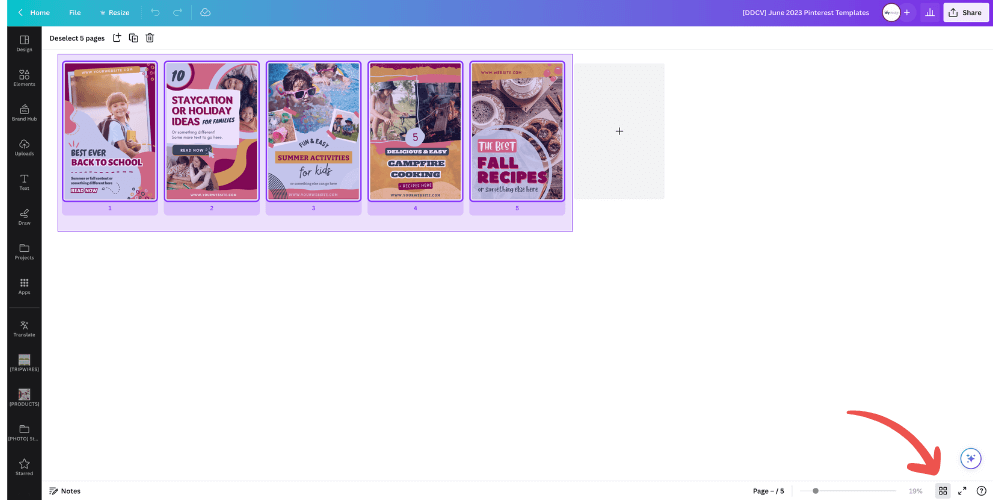
Holding the ‘Shift’ key, click on the first and last page you want to copy. (You can also click and drag here as well).
Follow the same keyboard commands to copy (Cmd+C for Mac or Ctrl+C for PC) and then head over to your second design tab.
Click on the ‘Grid View’ again and either hover between the two pages where you want to add your copy pages or click on the ‘Add Page’ icon that’s followed by the last page of your project.
Don’t worry about adding a new page for every page you’ll be pasting. Canva will automatically bump the pages out to make room for your new additions.
Once you have your placement figured out, make sure the one blank page is selected (purple border) and click Cmd+V (Mac) or Ctrl+V (PC) to paste your pages.
SIDE NOTE: You can also select the page you want your copied pages to start after instead of adding a blank one. However, we found that this method sometimes glitches, and it’ll paste over your pages instead of bumping them out to make room for your copied pages.
Merge Canva Designs Within a Project
If your Canva designs are organized in folders or have great titles, this will be a great option for you. Merging Canva designs within the project itself is just one of the MANY features we love about Canva.
Related Post: 7 Insanely Awesome Canva Tricks Every Blogger Should Know
This is the method we use to merge our Canva designs because we need to make the best use of our time, and it’s something we do very often.
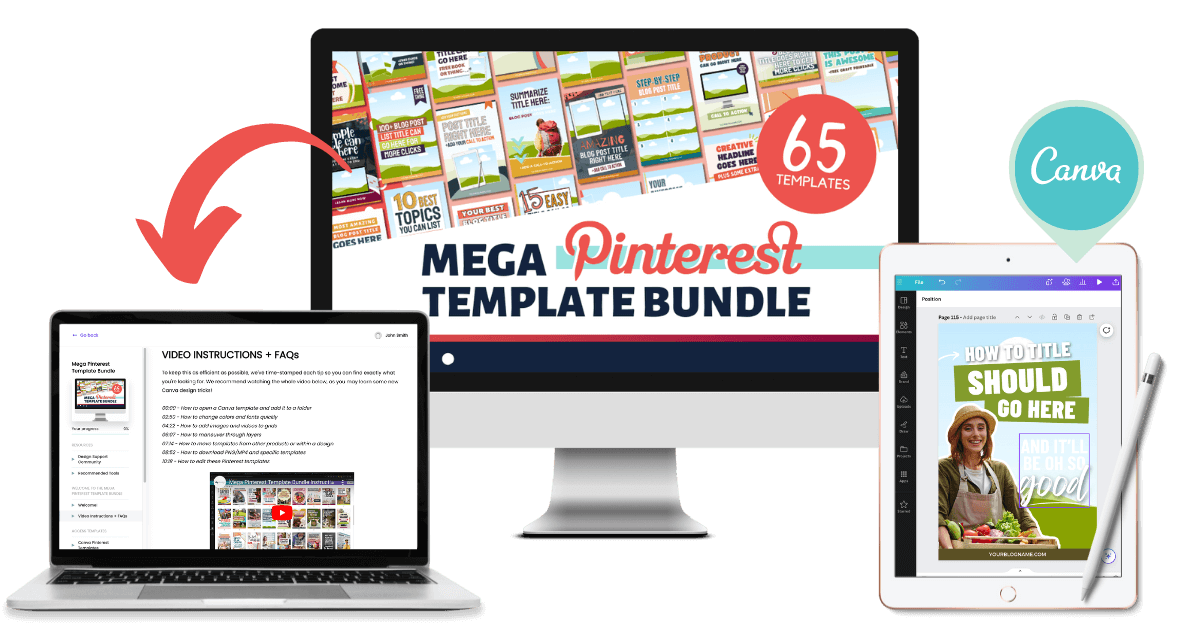
Believe it or not, we actually use the same templates from our Mega Pinterest Template Bundle (65+ Canva Pinterest templates) for our own business.
We’ll also use templates from our own products to create freebies for our email list, a companion workbook for a course, or something completely different.
Work smarter, not harder, right?
To merge two Canva designs from within your design page, click ‘Projects’ from the left menu bar and search:
- By Project name
- From the ‘Designs’ tab
- From the ‘Folders’ tab
Once you find the design you want to add, simply click to merge your designs. Canva will then ask if you want to replace the current page’ or add a new page.
Click ‘Add as new page’ and you’re all set.
Because you’ve merged two Canva designs together, you can continue to edit without interfering with the original design you just added.
Merge via (Static) Image Download
While this is the least common method to merge Canva designs, it’ll still get the job done.
The reason is if you needed to make any quick edits, you’d have to go back to your original and re-download/upload.
However, if you want to create product mockups using Canva, this will be your go-to!
Related Post: How to Create a Product Mockup Template Using Canva
To download your design, click ‘Share’ from the top right corner and again on ‘Download.’ Choose ‘PNG’ as your file type and select the ‘Download’ button.
Now, head to the project you want to merge or essentially add to your downloaded design and select ‘Uploads’ from the left menu.
Click ‘Upload files’ and navigate to your Downloads folder to upload your design.
If you haven’t added a new page to your Canva design, you’ll want to go ahead and do that now by selecting the ‘Add page’ icon (vertical page with a plus sign on it) above any page of your design.
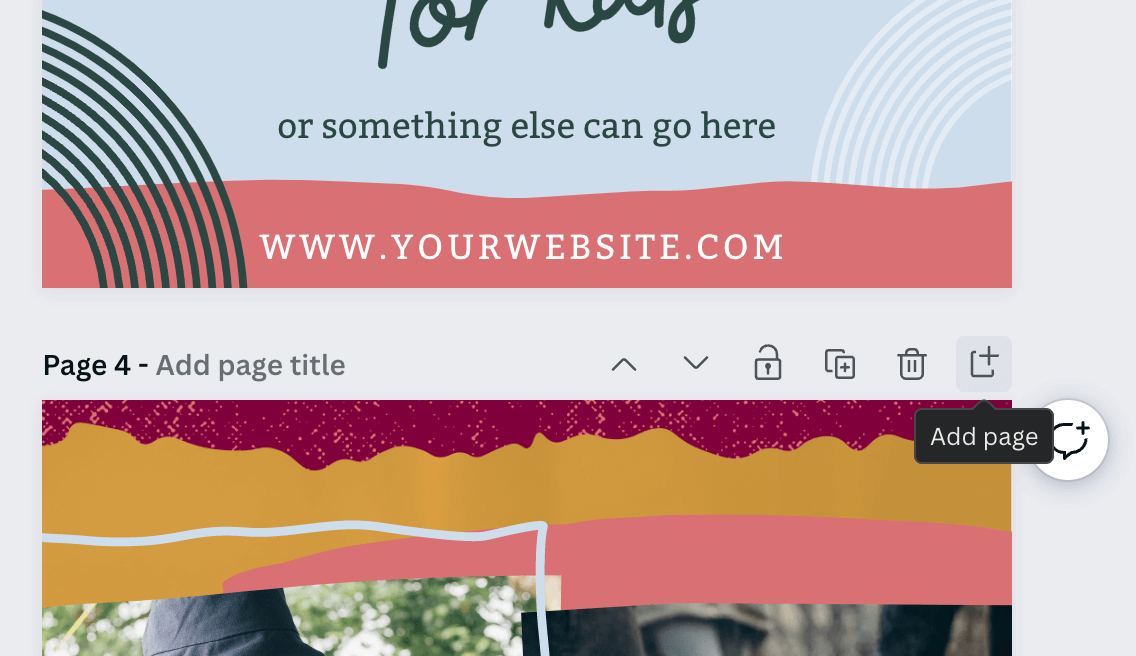
Another option is by clicking ‘+ Add page’ at the bottom of the last page of your design.
Merging from another Canva account
This is something we have done often since expanding our Canva team to more than five members.
One of our designers will create using their Canva account and then either:
- ‘Share’ the project with us
- ‘Copy to another team’
You can either merge it with another Canva design or download it immediately. We’ll show you how to do this in a moment.
The only drawback that’s completely unrelated to merging Canva designs is that once a design is shared with you, you can’t remove it from your end (you have to be the original owner of the project).
So if you’re a tad OCD about the look of your Projects page, you can always enable your specific email in the ‘Sharing’ dropdown. That’ll essentially hide all of the shared projects and only show designs you’ve created.
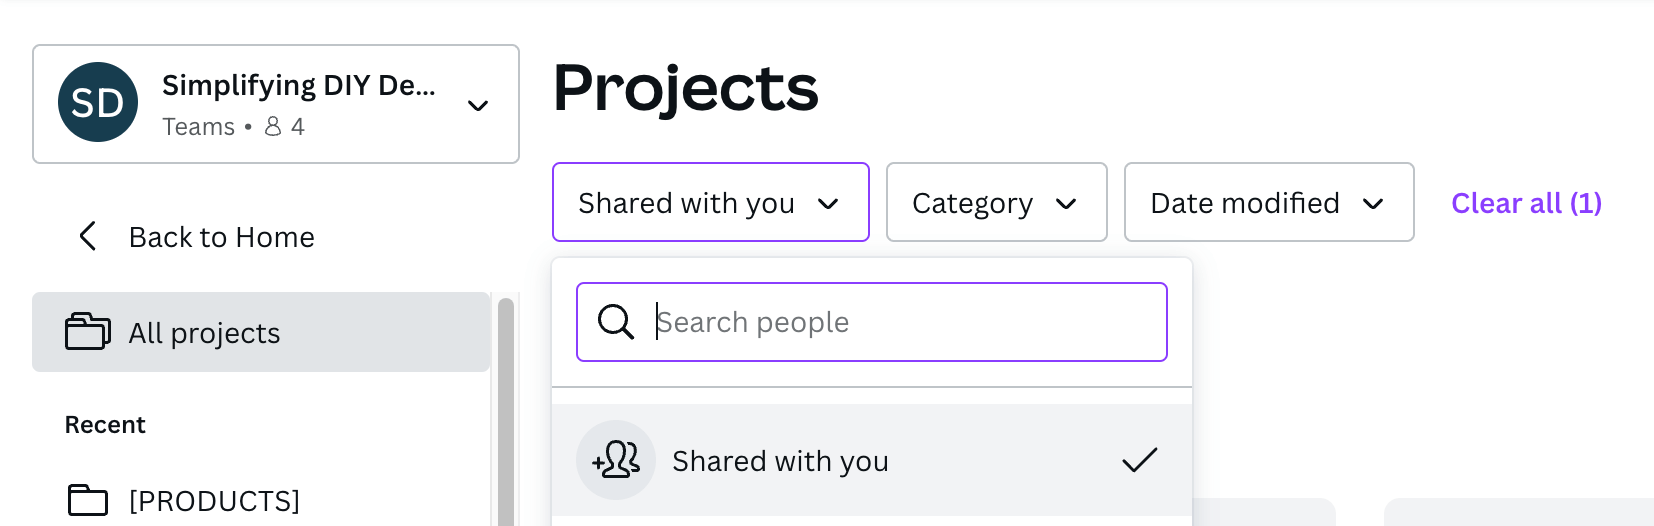
To view your shared Canva designs, go to ‘Projects’ and select ‘Shared with you’ from the dropdown. To save a design as your own, hover and click on the three horizontal dots that’ll appear in the top right of the project and again on ‘Make a copy.’
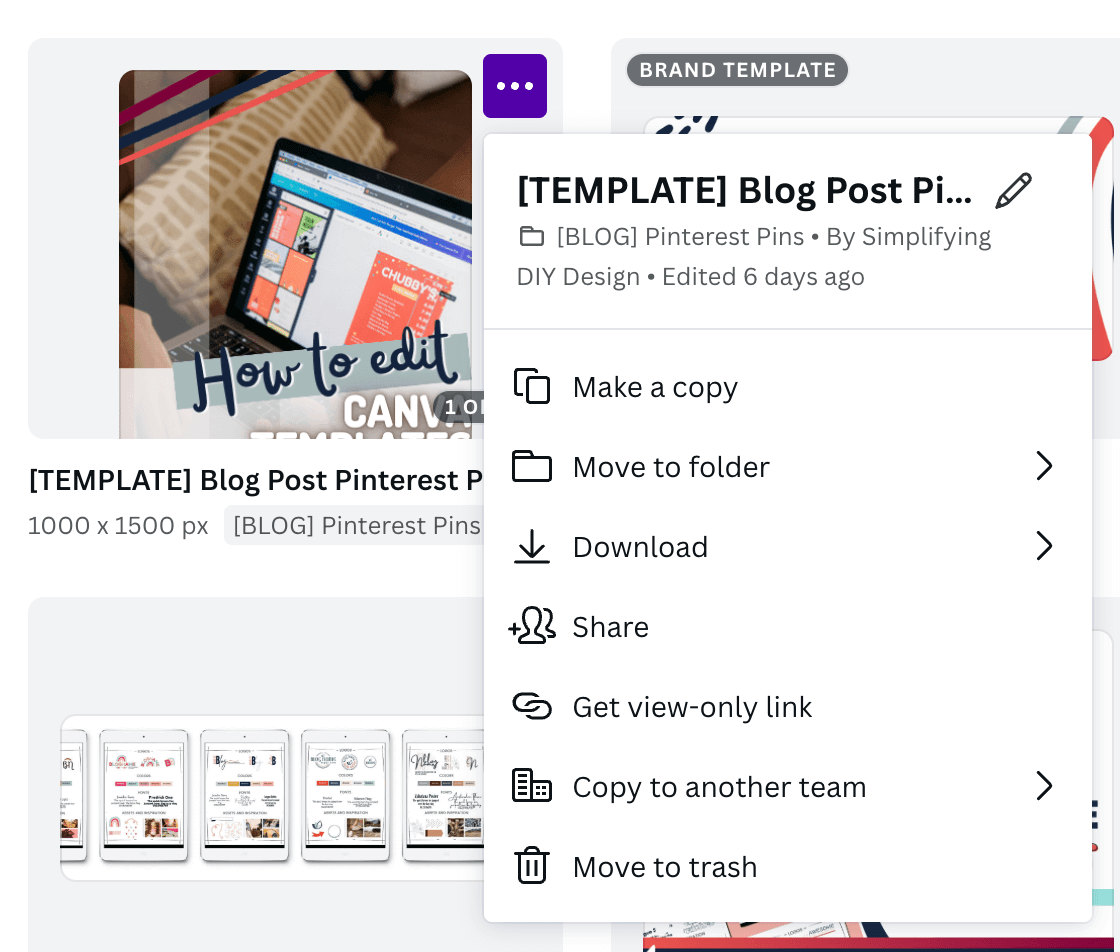
Here, you can also ‘Share’ with another Canva account or ‘Copy to another team’. Then name it whatever you’d like, and remember to save it to a folder to keep your designs organized.
Now, you’ll follow whatever Canva merging method we mentioned above works best for you.
To share your Canva design with another account, click on the same three horizontal dots and again on ‘Share.’
Enter the email address you want to share this design with and click ‘Send.’
Keep in mind that you can find this option on the Home page, Projects page, and within folders – wherever that particular design is located.
You don’t have to go to your Projects page just to enable that particular dropdown.
Merge PDF Downloads
Canva has recently rolled out a new update to their page limit, going from 100 pages to 300!
Even though most won’t need to merge two Canva designs because of the new page limit, it’s still a good trick to know.
‘Preview’ is a great option for Mac users.
First, open both documents in Preview. Then, enable the ‘Thumbnail’ view on the left by clicking ‘View’ from the top menu bar and again on ‘Thumbnails.’

Now, you can drag and drop the pages you want to add from the first project into the other!
DESIGN TIP: Have multiple pages you want to add? Hold down the ‘Shift’ key as you click on the last page you want to add. This will select all the pages in between, and you can drag and drop them all at once.
Another cool feature of Preview is reordering your PDF pages. It’s super simple: click, drag, and drop them in the order you’d like.
Related Post: How to Create Editable PDFs for Your Readers
For PC users, you’ll want to use a tool called ilovepdf.com to merge your PDF downloads.
You won’t have to download anything to your computer, AND it’s 100% free. Upload both of your documents and choose the ‘Merge PDF’ option.
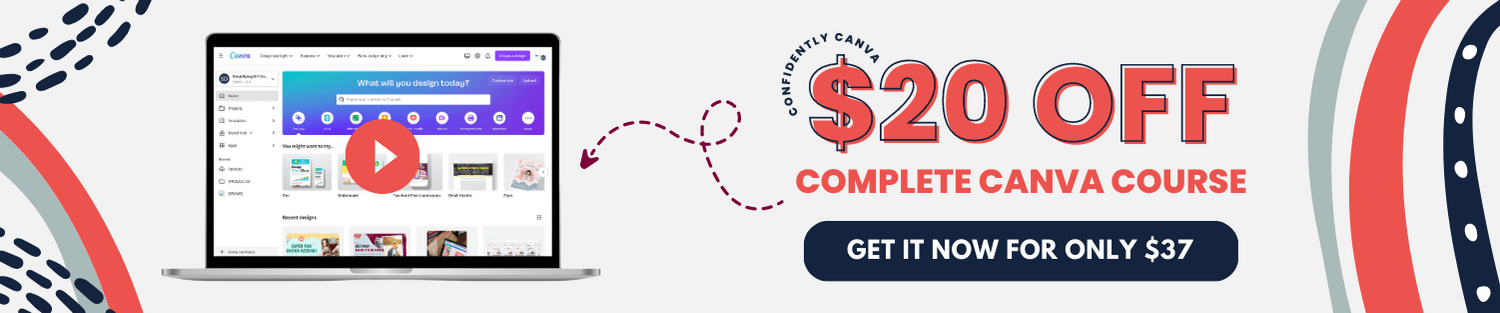
If you’re in awe of how easy it is to merge two Canva designs and want to learn more awesome Canva features, you’ll love our complete Canva course, Confidently Canva!
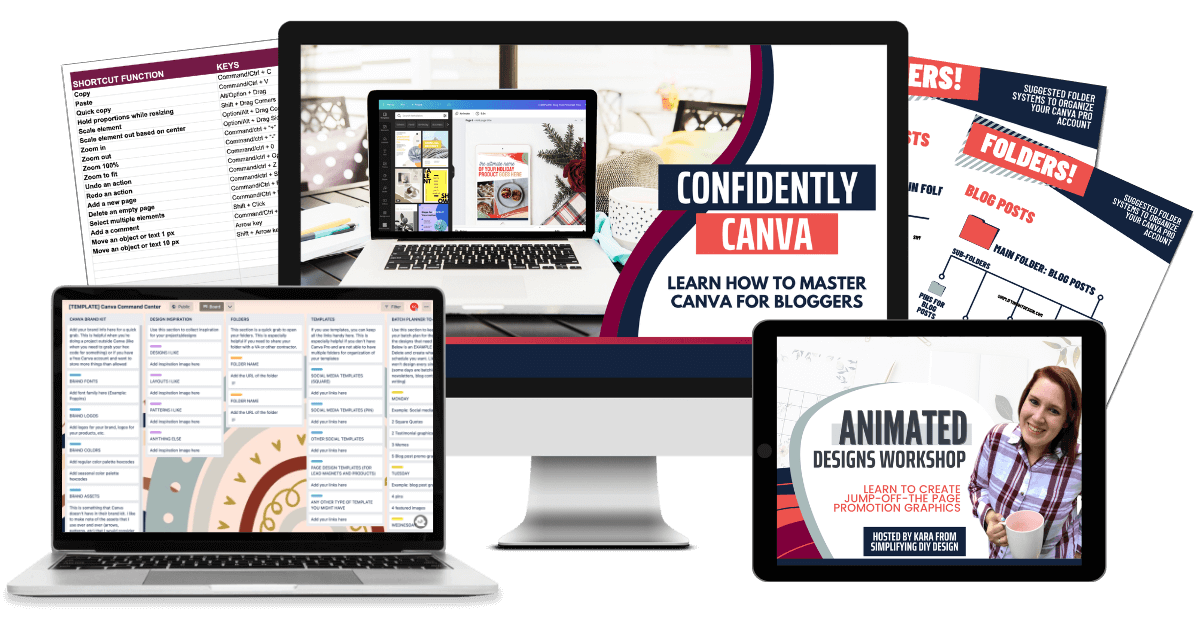
It’s EVERYTHING you need to know to feel completely confident in your designs because now you truly understand the tool you’re using and the design concepts involved.
Enroll now and get $20 off Confidently Canva today!
Canva is such an amazing tool, no matter what you’re creating.
We love how easy it is to merge two Canva designs because, as bloggers, we’re always creating new digital products to grow our business!
Easily merging Canva designs is also great for repurposing your content. We’ve pulled individual pages from outdated digital products and merged them with new and improved products.
This dramatically cuts down on time because the content’s already done; now, it just needs a new look.
RESOURCES MENTIONED IN THIS POST:
- Canva Shortcuts That Will Help You Design Faster
- 7 Insanely Awesome Canva Tricks Every Blogger Should Know
- How to Create a Product Mockup Template Using Canva
- iLovePDF
- 5 Ways to Build Your List by Repurposing Your Content
Don’t forget to enroll in our FREE no-fluff crash course, Canva 2.0 Quick Start! It’s great for beginner bloggers who want to learn more about the best design tool on the market!
TRY CANVA PRO FREE FOR 30 DAYS
Start your FREE Canva Pro trial today and unlock ALL of their incredible time-saving features that cut your design time to just minutes.
To be honest? It’s the best $14.99/mo OR $119/yr we spend on our business because that time we save with every design is put back into making MORE money in our business!
WANT TO SAVE THIS FOR LATER? PIN IT TO YOUR FAVORITE PINTEREST BOARD!⬇